Using the Wizard
To publish a video asset using the LightFlow portal, start the new asset wizard by choosing Use the wizard from the Create new asset menu in the Assets Monitoring section:
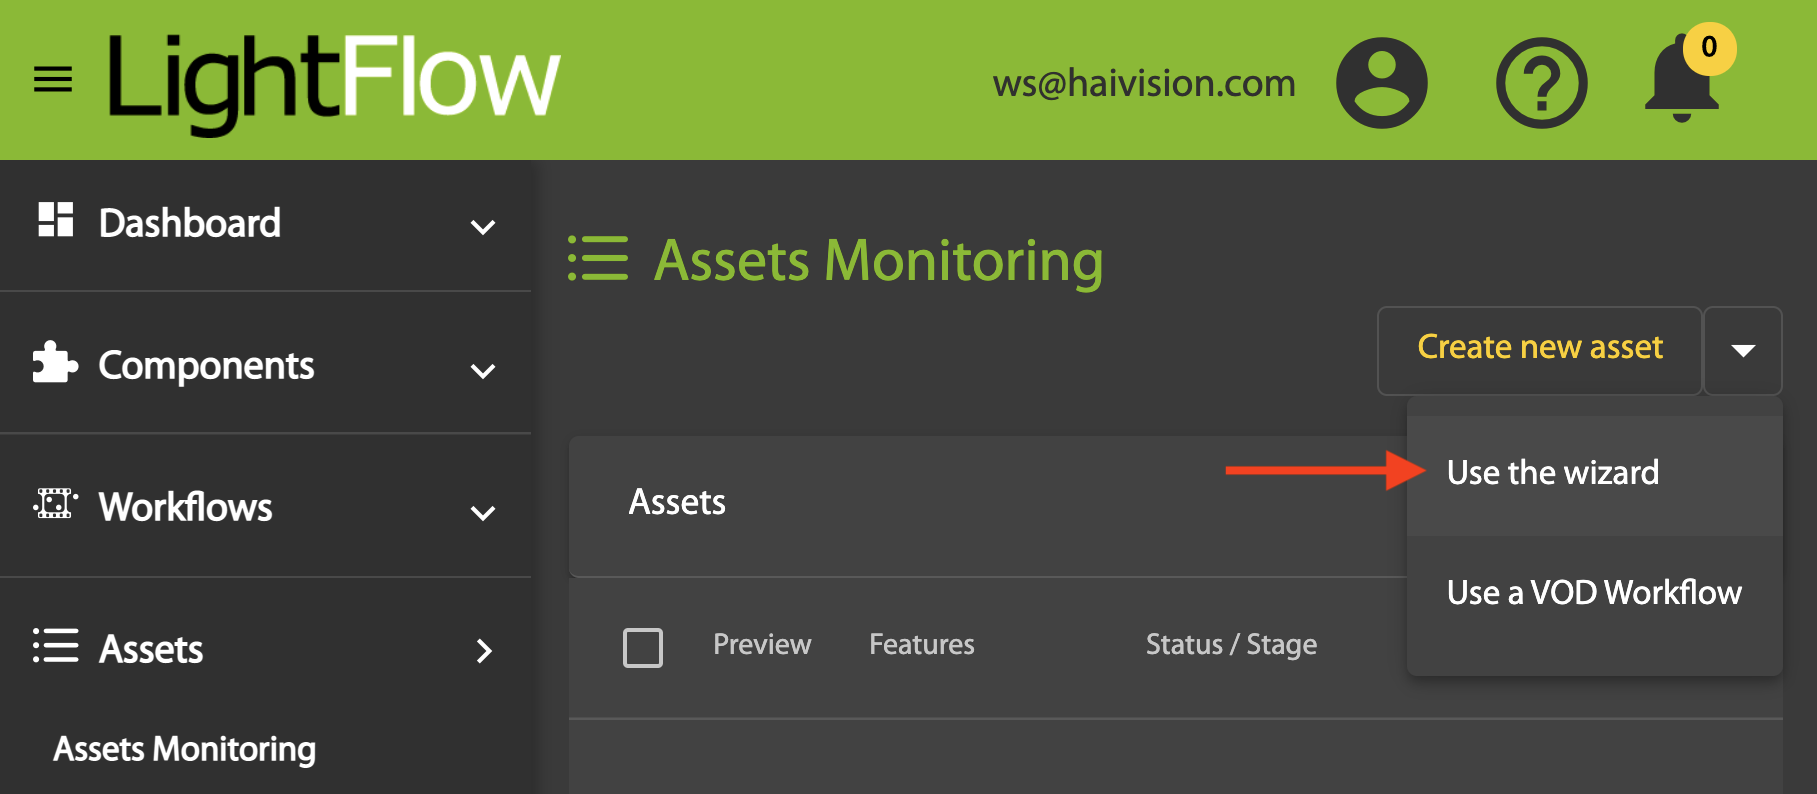
Alternatively, you can click Publish an asset using the wizard under Quick links on the Dashboard > Activity page.
The wizard will guide you through the six steps you need to complete to publish a video:
Step 1: Input
Specify the source of the video asset to be published. If the video to be published is available via Google Cloud, AWS, or some other publicly accessible source, provide a URL (note that YouTube and Vimeo URLs are supported). If not, you can configure any storage subsystem (S3, NetStorage, FTP, etc.) as a source for your videos, and then provide the corresponding path.
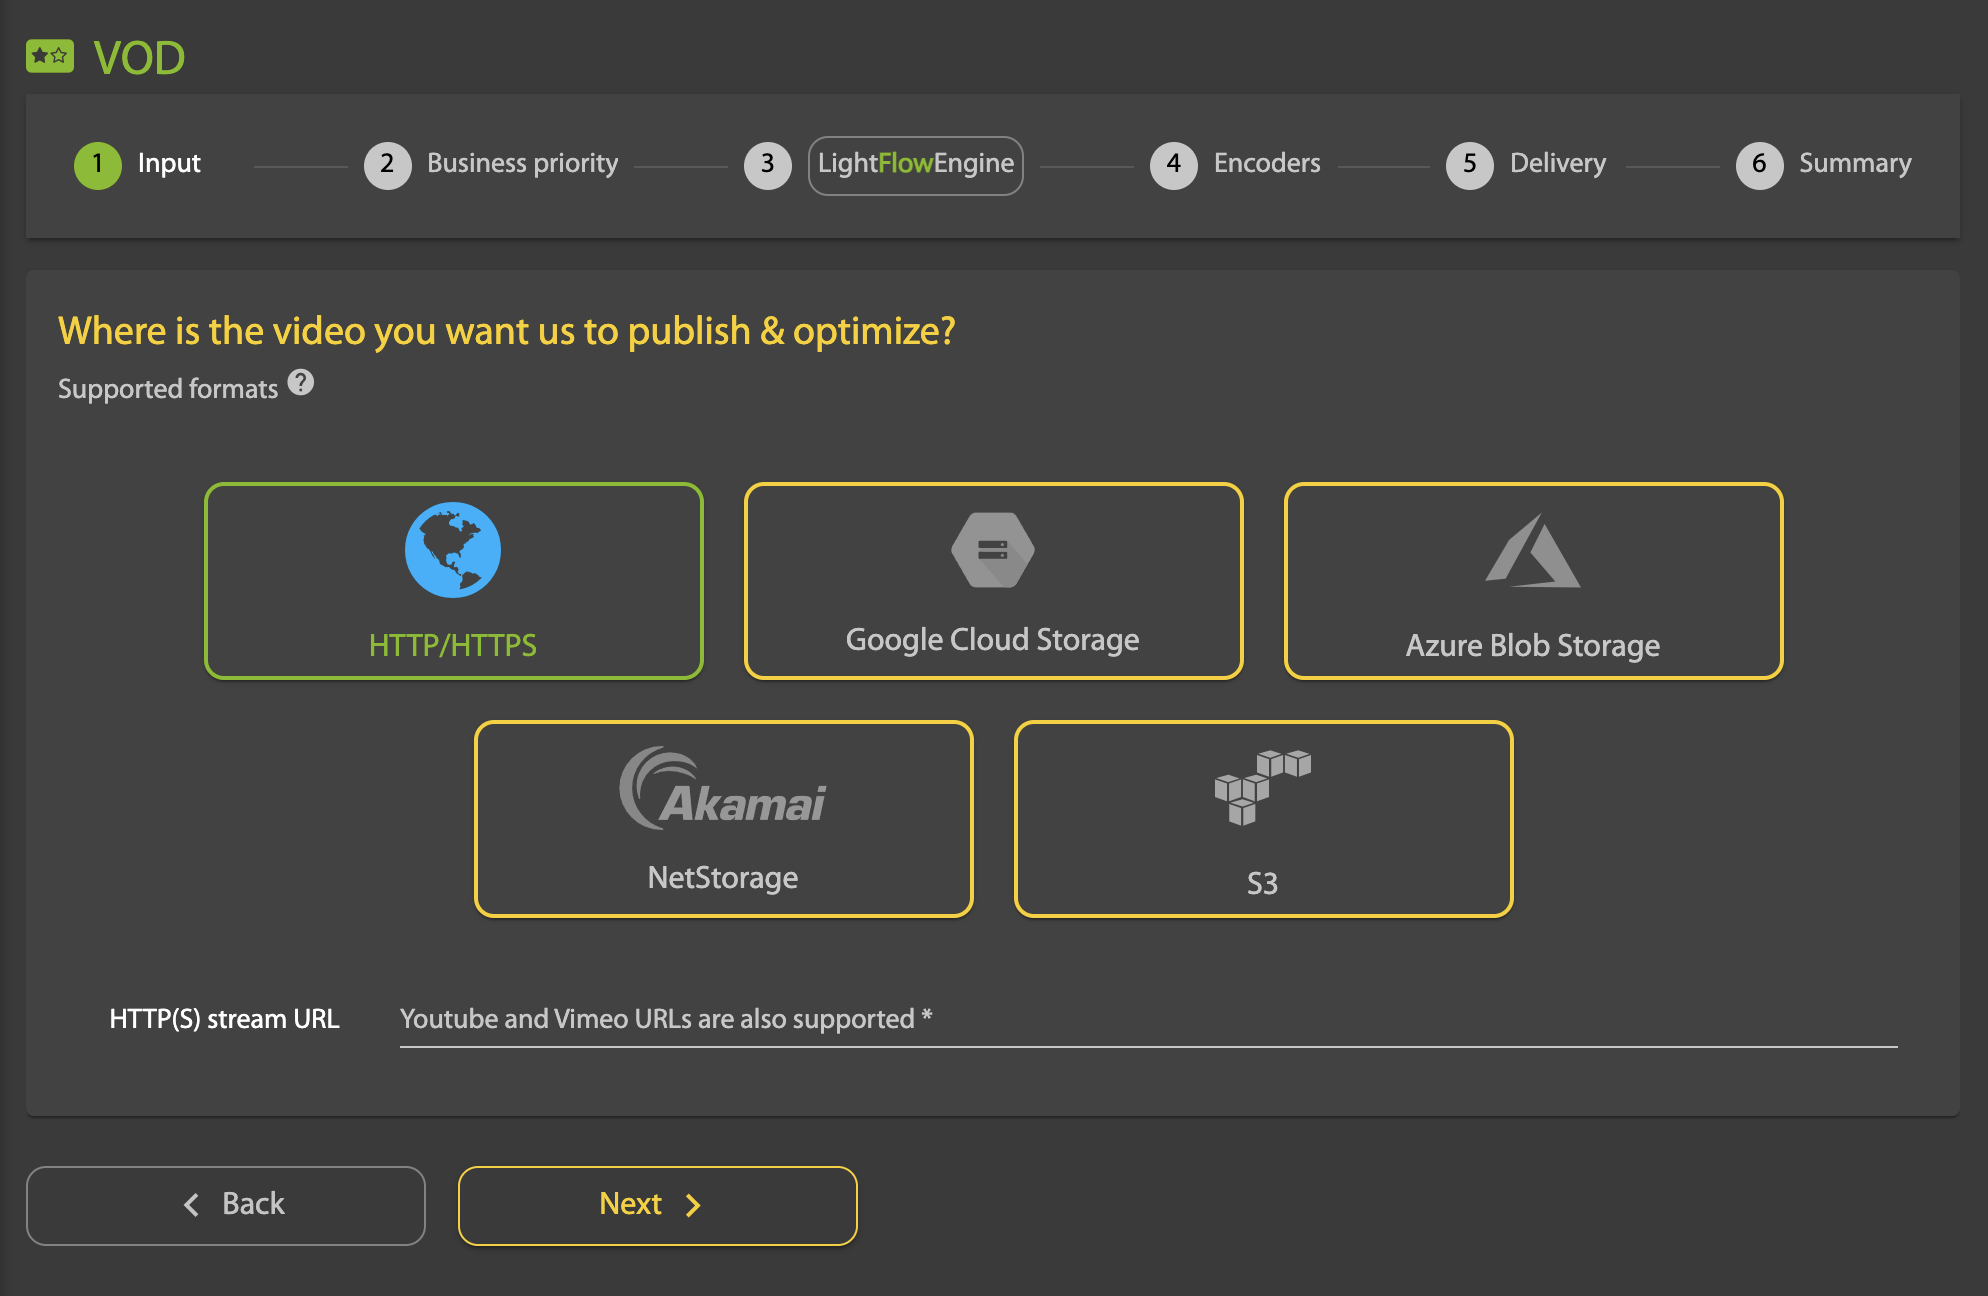
Note
Some storage systems must be configured (with credentials) under Components before they can be used by the wizard.
See the Compatibility section for a list of supported input sources and formats
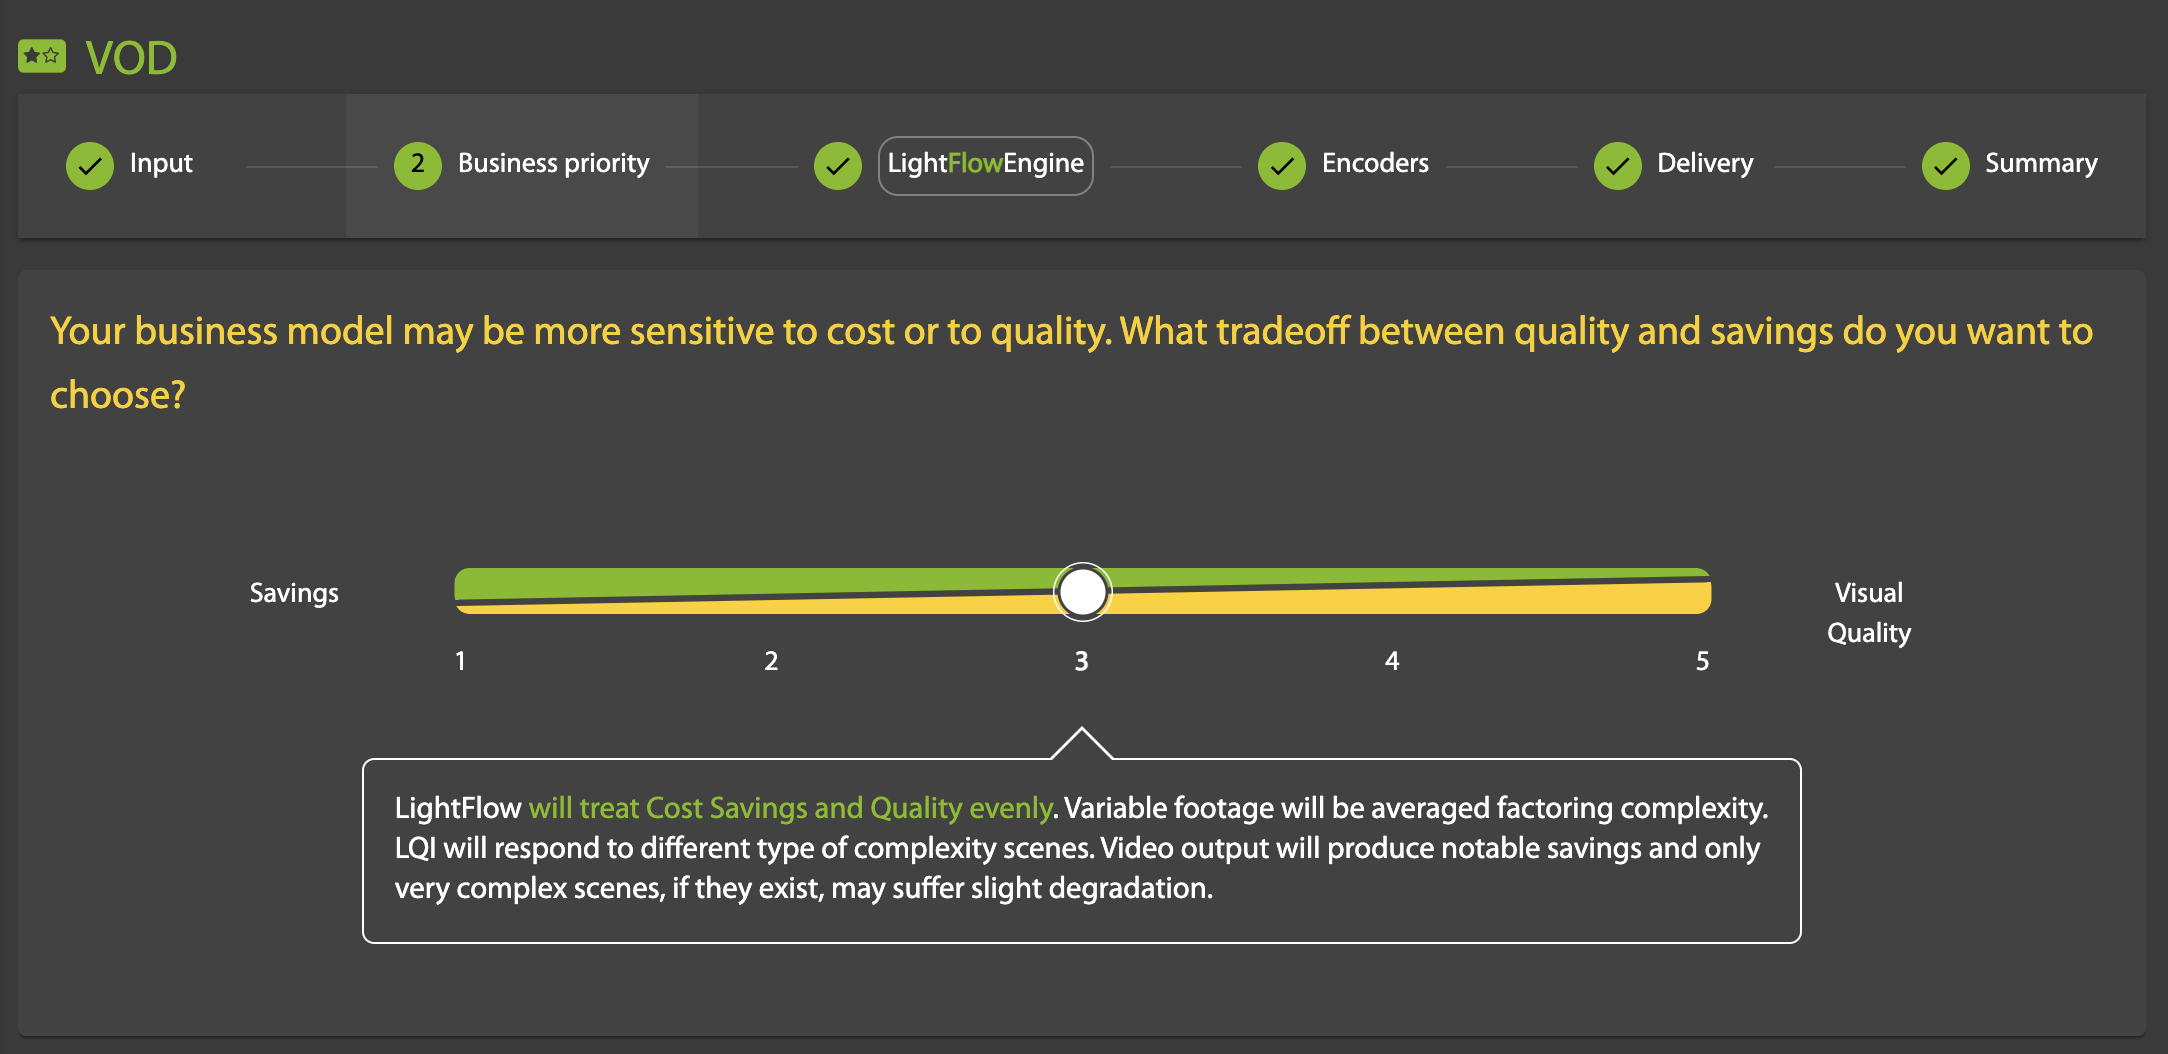
Step 2: Business priority
Outputs generated by LightFlow can be customized to take into account your business priorities. Select one of the five presets that defines the balance you wish to strike between visual quality and cost savings:
- Preset 1: LightFlow will prioritize cost savings over video quality. Variable footage will be averaged and the LightFlow Quality Index (LQI) will reflect the perceptual quality of low complexity scenes. Video output will produce the largest possible savings while complex scenes (e.g. high motion, varied textures) may suffer image degradation.
- Preset 2: LightFlow will give more weight to cost savings than to video quality. Variable footage will be analyzed to factor in some complexity. The LQI will reflect the perceptual quality of mostly low complexity scenes. Video output will produce significant savings while very complex scenes, if they exist, may suffer some image degradation.
- Preset 3: LightFlow will treat cost savings and video quality evenly. Variable footage will be analyzed to factor in average complexity. The LQI will will reflect the perceptual quality of different types of complex scenes. Video output will produce notable savings and only very complex scenes, if they exist, may suffer slight image degradation.
- Preset 4: LightFlow will give more weight to video quality than to cost savings. Complex footage will have more influence on the video analysis, so that visual quality will be high for the scenes with the highest-motion and very high for the whole video, while cost savings may be slightly smaller.
- Preset 5: LightFlow will prioritize video quality over cost savings. Video analysis will be focused on highly complex footage. The LQI will reflect the perceptual quality of complex scenes. Video output will have very high image quality while cost savings may be smaller.
Step 3: LightFlow Engine
Specify the resolutions and LightFlow Engine optimization method that you want to apply to the output. The perceptual quality of your published video can be optimized for SD/HD, 4K, or both:
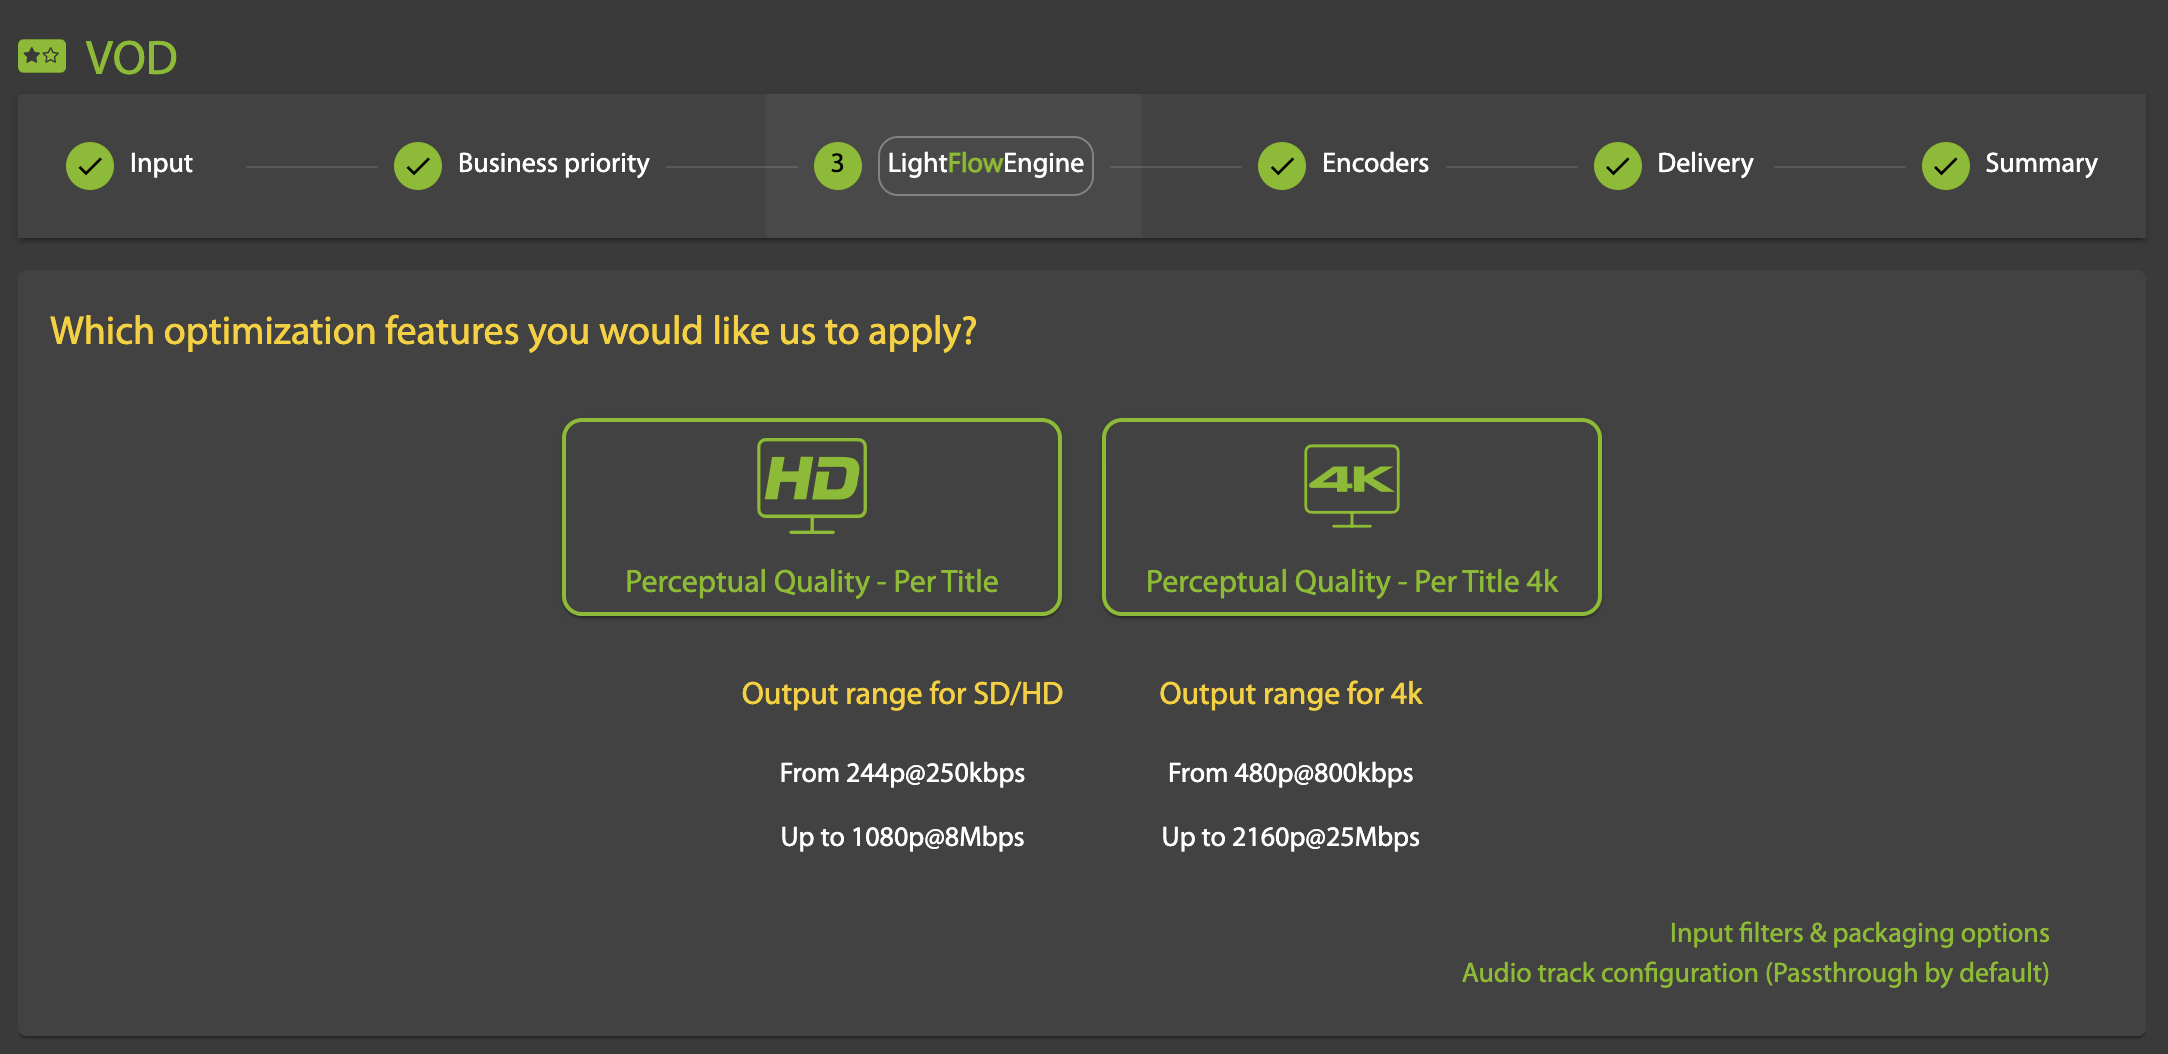
- Optimization for SD/HD: LightFlow will calculate the optimal bitrate ladder for publishing resolutions up to 1080p.
Output range for SD/HD
From 244p@250kbps
Up to 1080p@8Mbps - Optimization for 4K: LightFlow will calculate the optimal bitrate ladder for publishing resolutions up to 4K.
Output range for SD/HD
From 244p@250kbps
Up to 1080p@8MbpsOutput range for 4K
From 480p@800kbps
Up to 2160p@25Mbps - Both: Both optimizations will be performed.
Input filters & packaging options
You can configure additional settings by clicking on Input filters & packaging options:
Click on Input filters & packaging options to specify additional settings. While MP4 files will be automatically generating, files can be delivered using HLS, Microsoft Smooth Streaming, DASH, or all three.
| Choose one or more Input Filters and/or Output Packaging formats:
|

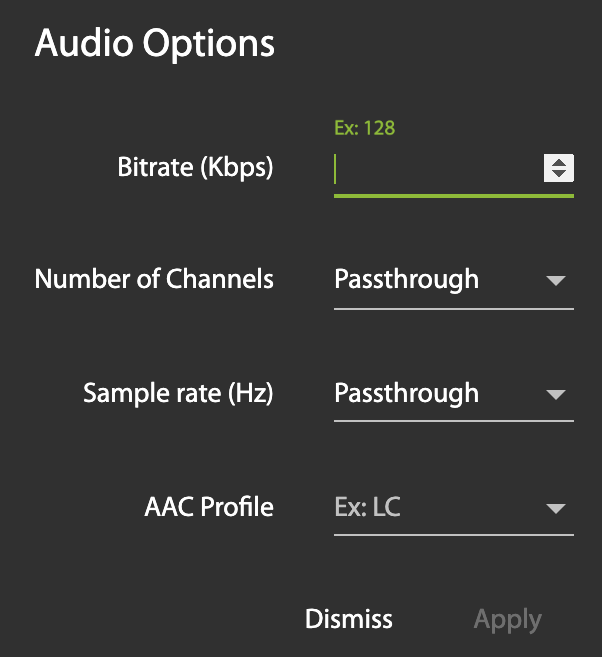
Audio options
You can configure additional audio settings by clicking on Audio track configuration:
| Choose one or more audio options (passthrough is the default):
|
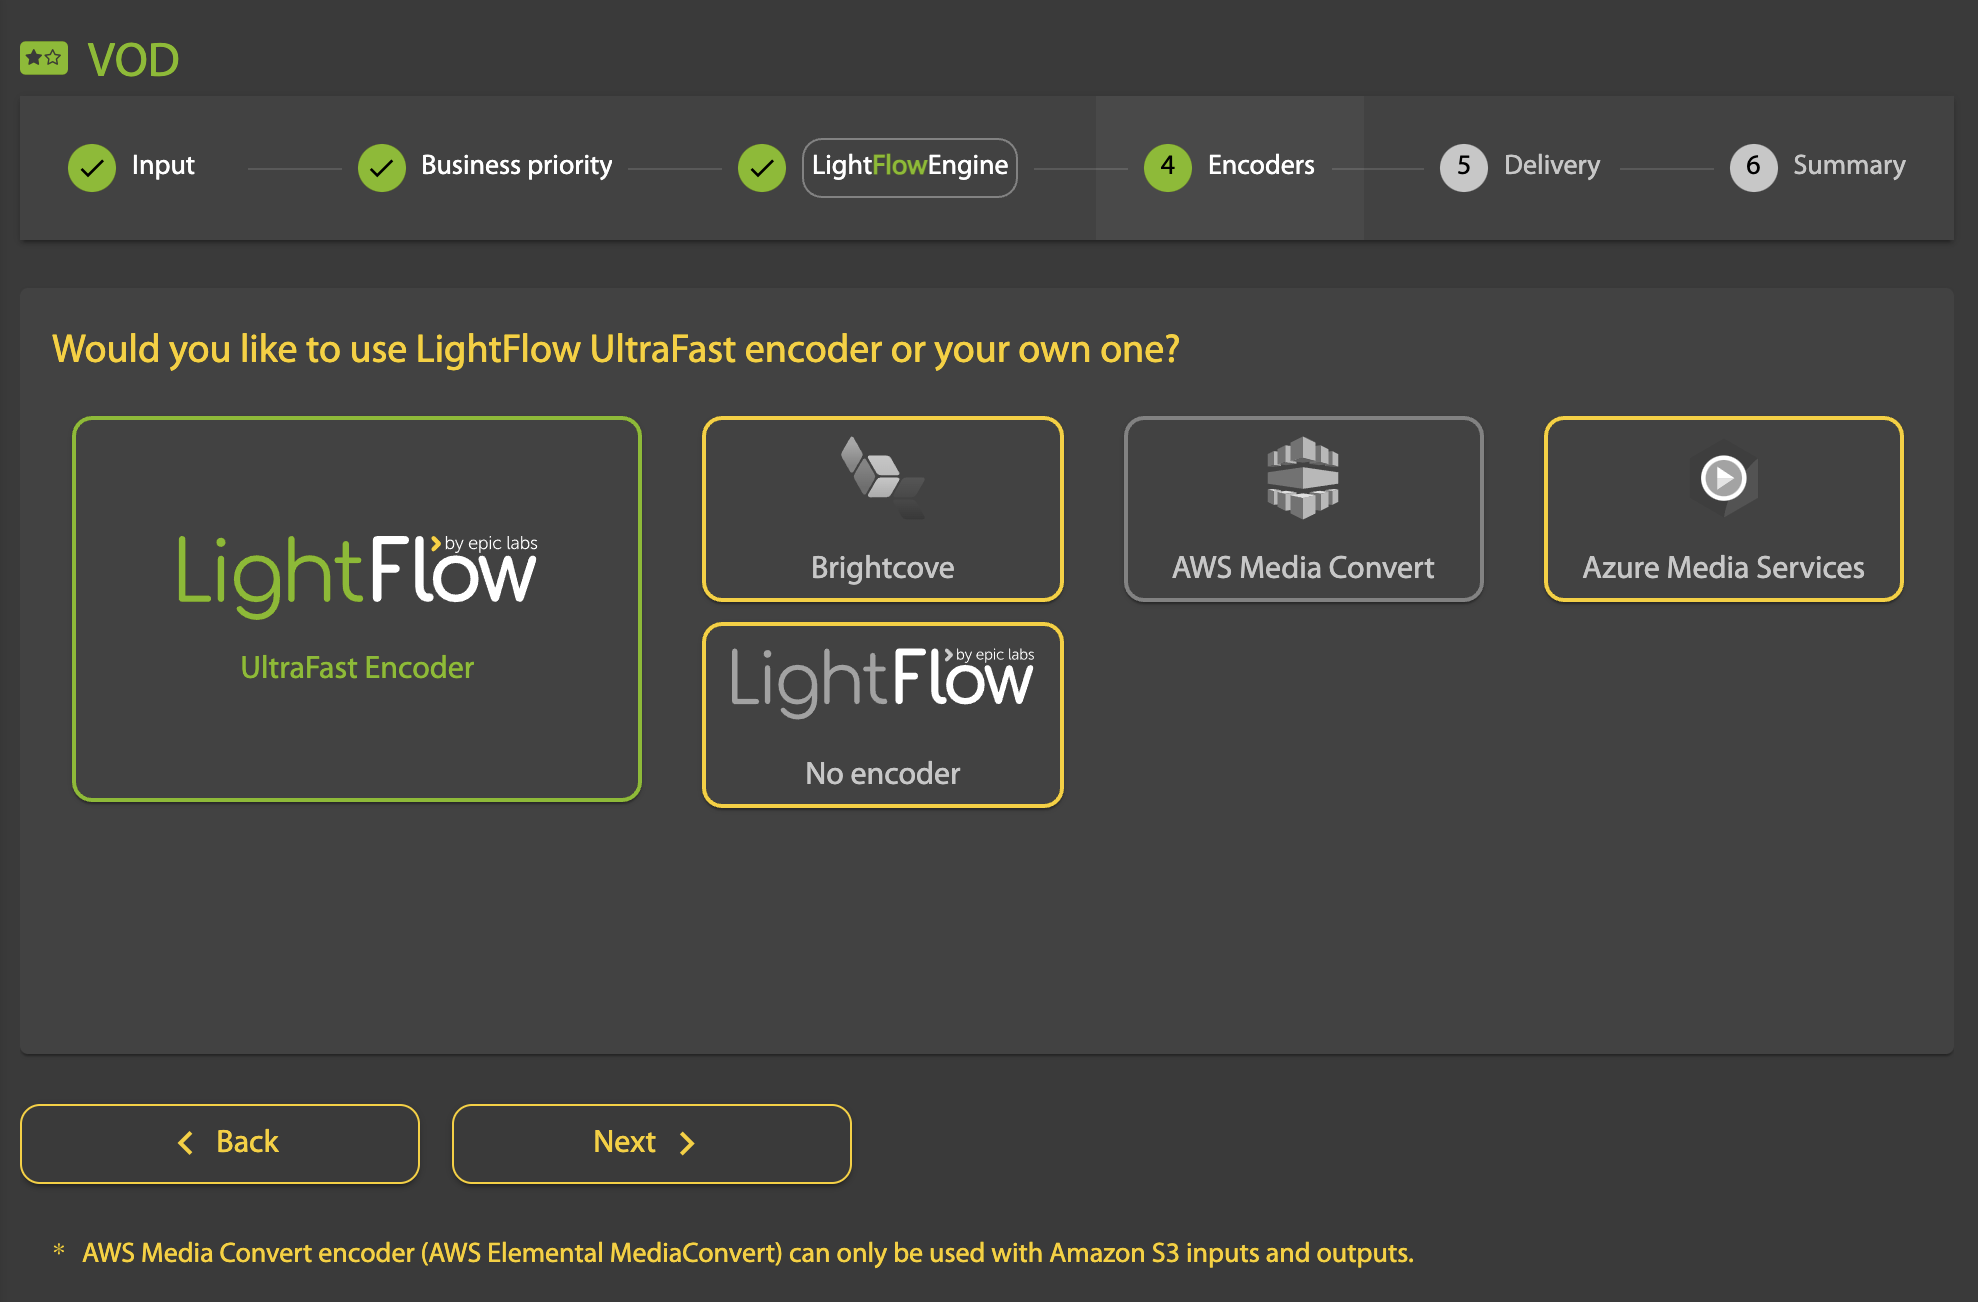
Step 4: Encoders
You can specify the optimal settings to encode your content, either by using the LightFlow encoder, or having LightFlow perform an analysis and then push the settings into an existing third party encoder. Choose one of the three options available in this step:
- LightFlow UltraFast encoder: This is the default option.
- Your own encoder: Currently AWS MediaConvert, Brightcove, Azure Media Services, and Livepeer encoders are supported. Note that you must first configure a third party encoder in your account for it to be available in the wizard.
- No encoder: The output will be the list of optimal bitrates/resolutions.
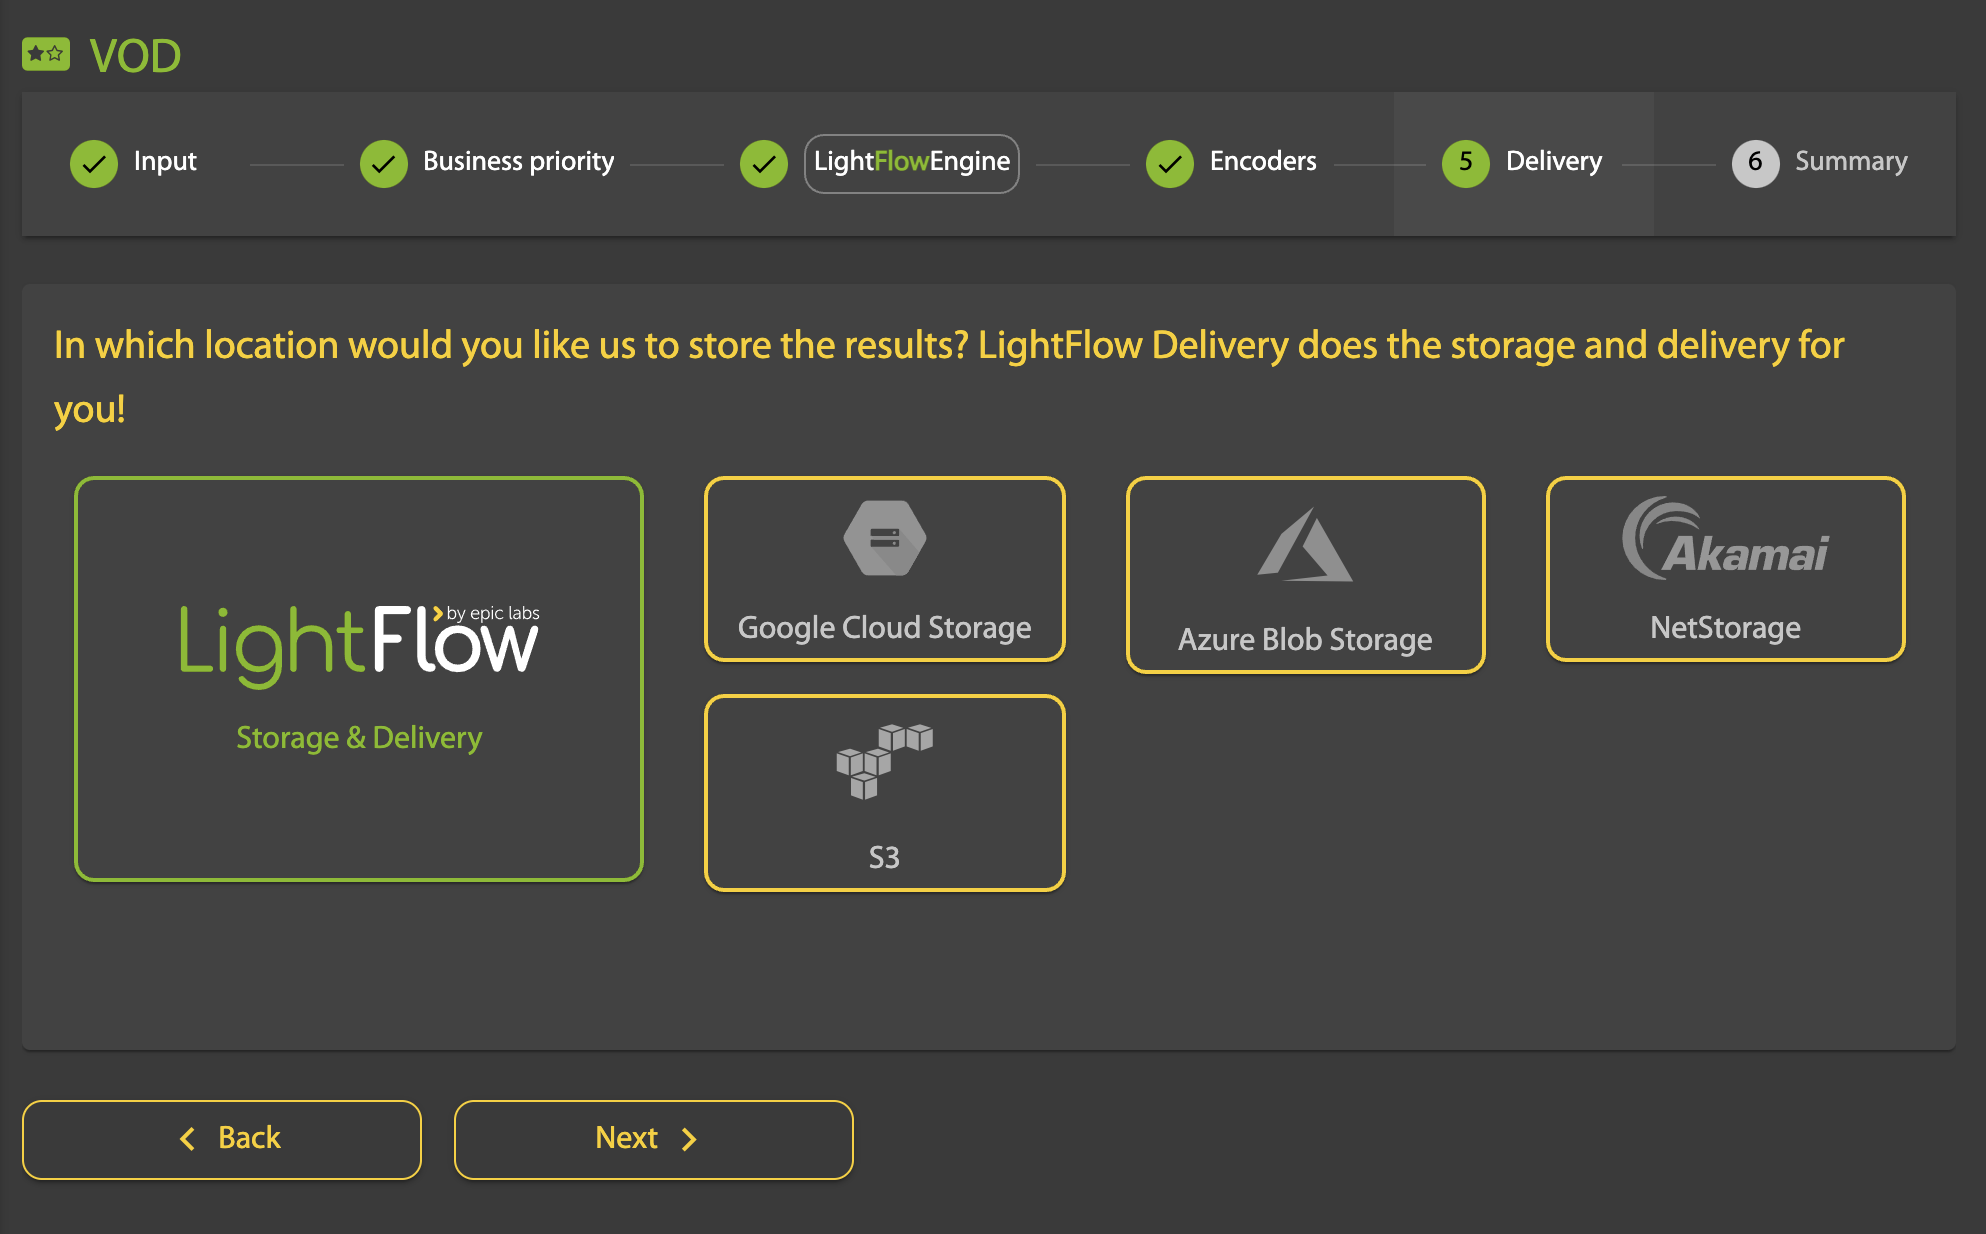
Step 5: Delivery
For the delivery (output) you have several options. LightFlow can generate an MP4 file, package it, and upload it to any storage you prefer. Or it can be stored internally, in which case LightFlow is not only transcoding the content but also serves as the delivery origin. If the output is to third party storage, LightFlow can pre-package the content. If the output is directly from LightFlow then we keep only the MP4 files, packaging them as HLS, DASH and Smooth Streaming chunks on-the-fly for delivery to the CDN. If you select LightFlow for storage and delivery, an additional benefit is that you can publish assets right away, without having to set up any other components.
Select the location in which your optimized videos should be stored:
- LightFlow: The LightFlow platform will store and deliver the video.
- Other Output location: In this case, the following information is required:
- Path: The path of the output directory where the resulting .mp4 files (and HLS/DASH files if selected) for each bitrate/resolution will be stored. For example, if the input file name is VideoSample.mp4, and the output path is /OutputDirectory/VideoSampleOutput/, then the resulting output .mp4 files will be uploaded to the output path as follows:
/OutputDirectory/VideoSampleOutput/output_300.mp4
/OutputDirectory/VideoSampleOutput/output_720.mp4
/OutputDirectory/VideoSampleOutput/output_1080.mp4
- Path: The path of the output directory where the resulting .mp4 files (and HLS/DASH files if selected) for each bitrate/resolution will be stored. For example, if the input file name is VideoSample.mp4, and the output path is /OutputDirectory/VideoSampleOutput/, then the resulting output .mp4 files will be uploaded to the output path as follows:
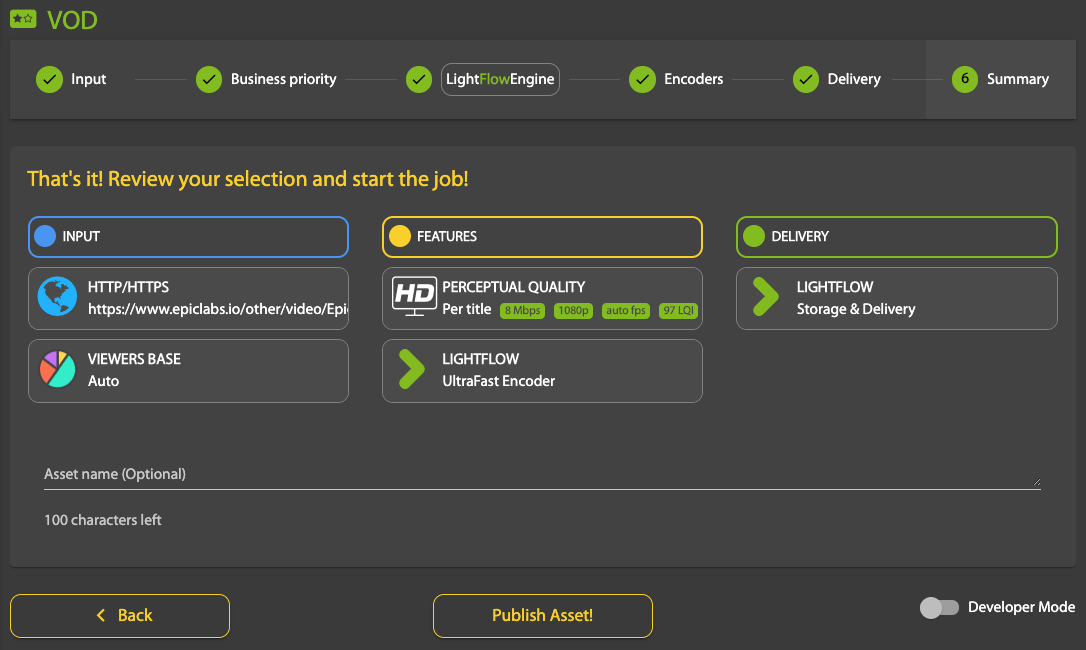
Step 6: Summary
Review the settings (click the Back button to return to a step if you need to makes changes or corrections). At this point you can enter Developer Mode to see all the different parameters that have been set.
Note
By default not all of the parameters visible in Developer Mode are set when using the wizard, but you can edit any of them, and add new ones. For more information refer to the DeepEye section.
When ready, click Publish Asset!
The Asset Monitoring page appears, where you can track the status of the asset being published:
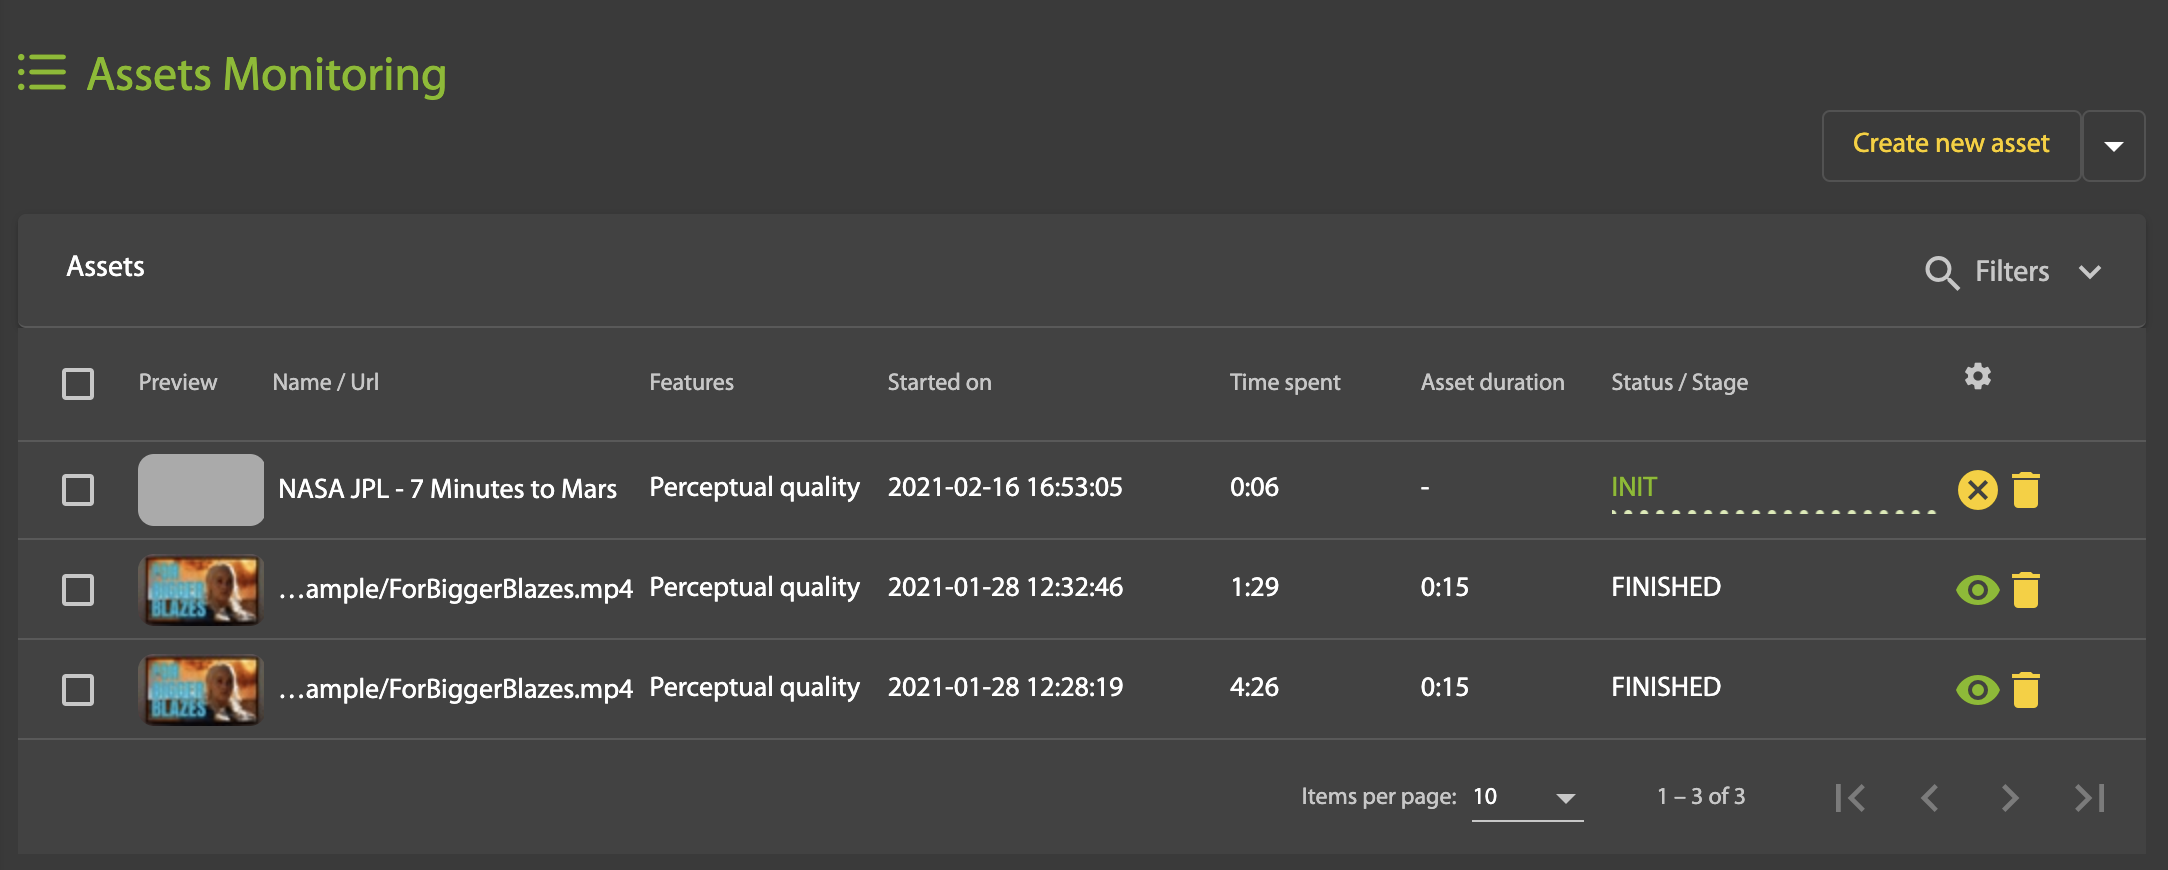
The video progresses through the different stages in the LightFlow processing pipeline: queuing, initialization, downloading, analyzing, transcoding, and then uploading to the final destination.
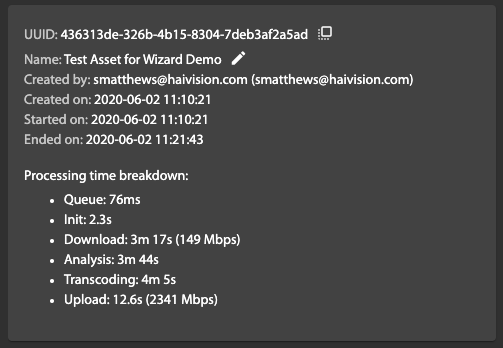
You can view a breakdown of the duration of each of these stages by clicking on the asset's name to view its details:
Note
You can cancel the job at any point by clicking the X button.
Once the publishing process is finished, the video will appear in the list of Assets. You can see the results by clicking the view icon:

If you selected LightFlow as the output, once the video has been processed you have the option to view it using the Video Comparator tool.