The Akamai transcoding output Hublet enables you to create an Adaptive Bit Rate (ABR) package for streaming multiple renditions of your content to the Akamai CDN. Producing multiple renditions of the stream helps ensure quality delivery that can be adapted as needed for a variety of devices and experiences while reducing bandwidth, storage, and delivery demands. Settings are often specific to the type of players or service delivery options you have chosen.
Use the Akamai Output Hublet to save bitrate/resolution configurations for up to 8 renditions that can be used across similar video assets in your catalog and for streamlining route creation.
To create a preset using the Akamai Output Hublet:
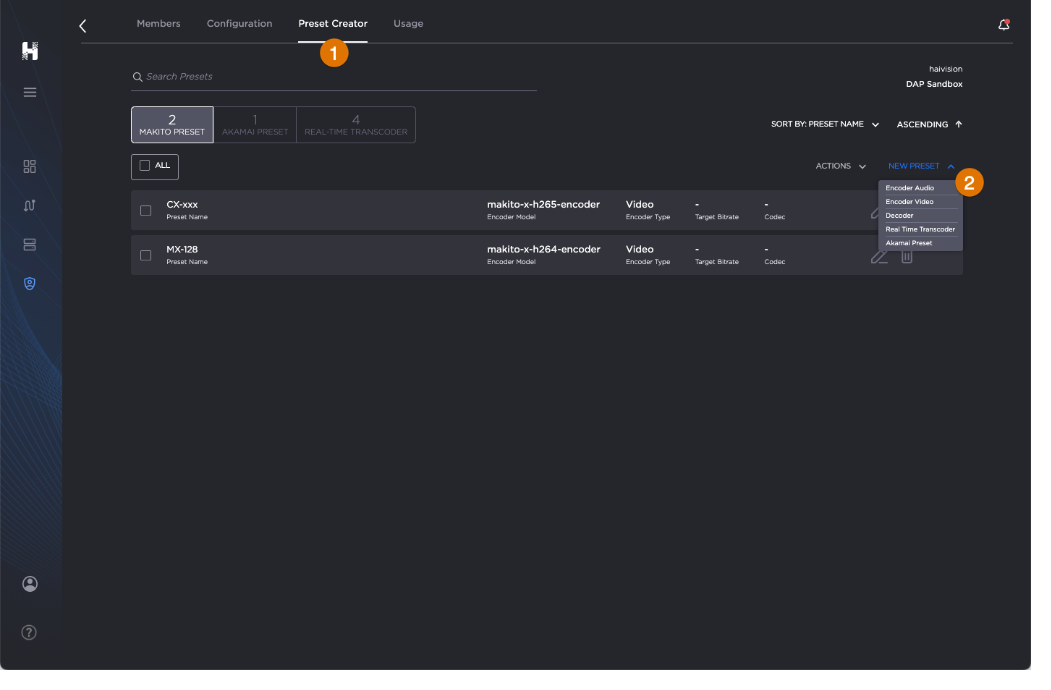
In the Admin Area, select Preset Creator towards the top of the screen.
Click the New Preset button and select the preset you wish to create.
Select Akamai Preset from the New Preset drop-down menu.
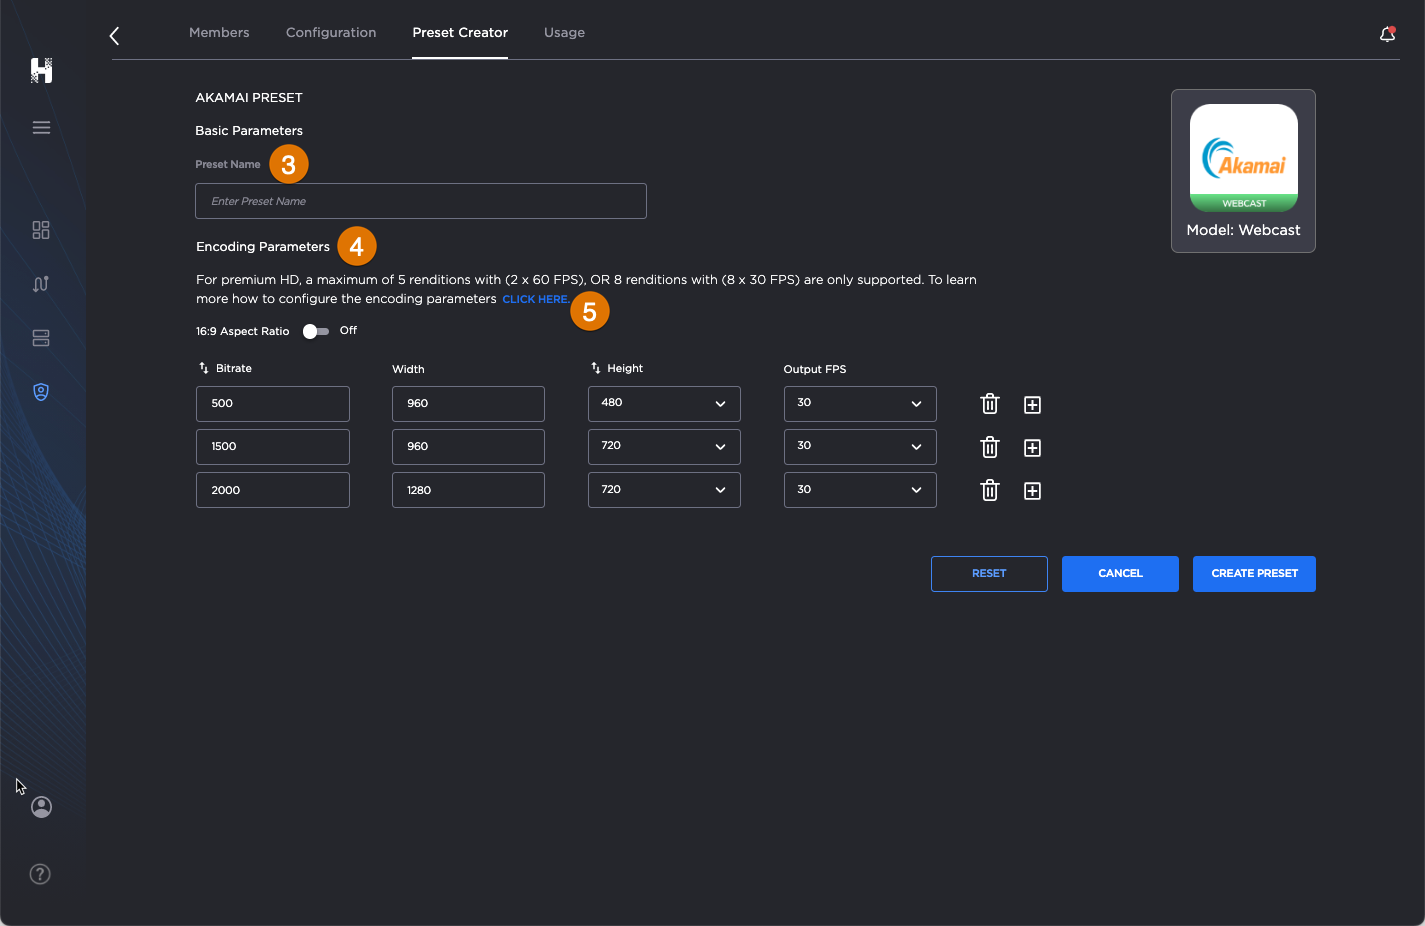
The main pane is then populated with the needed parameter fields.
In the main pane under Basic Parameters, enter a name for the Hublet .
Tip
Use a descriptive name for the Hublet so that your team recognizes it as the one to use for a particular asset or use case.
Under Encoding Parameters , the renditions for a basic Webcast model are listed by default. Customize these settings as appropriate.
Important
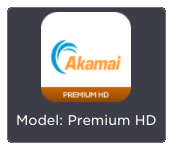
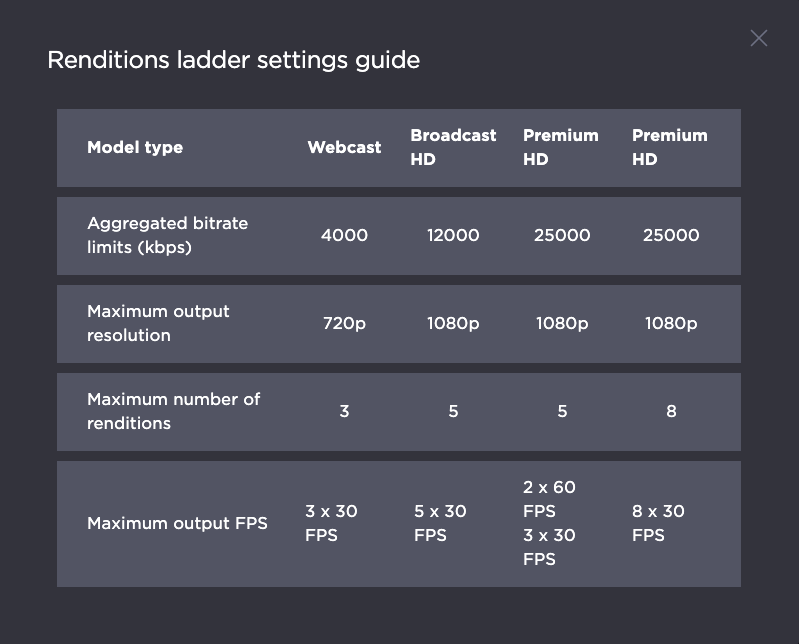
As you adjust and add renditions, the Akamai icon on the right side of the pane may change to reflect a new model tier. Guidelines regarding the maximum settings for each model are provided in the CLICK HERE link above the listings.
Be sure to keep in mind the economics for your Hublet's use case when choosing the right rendition mix to support your targeted devices.
Add or delete renditions as desired using theand icons at the end of the listing.
When finished, click the Create Preset button at the bottom of the screen.