Manually Connecting to an HMP Server
To manually register the device in the HMP domain:
If you haven't already done so, turn on the TV or monitor that the Haivision Play Set-Top Box is connected.
Power on the set-top box using the Power button on the remote control. The splash screen appears while the device is booting. For example:

Splash screen
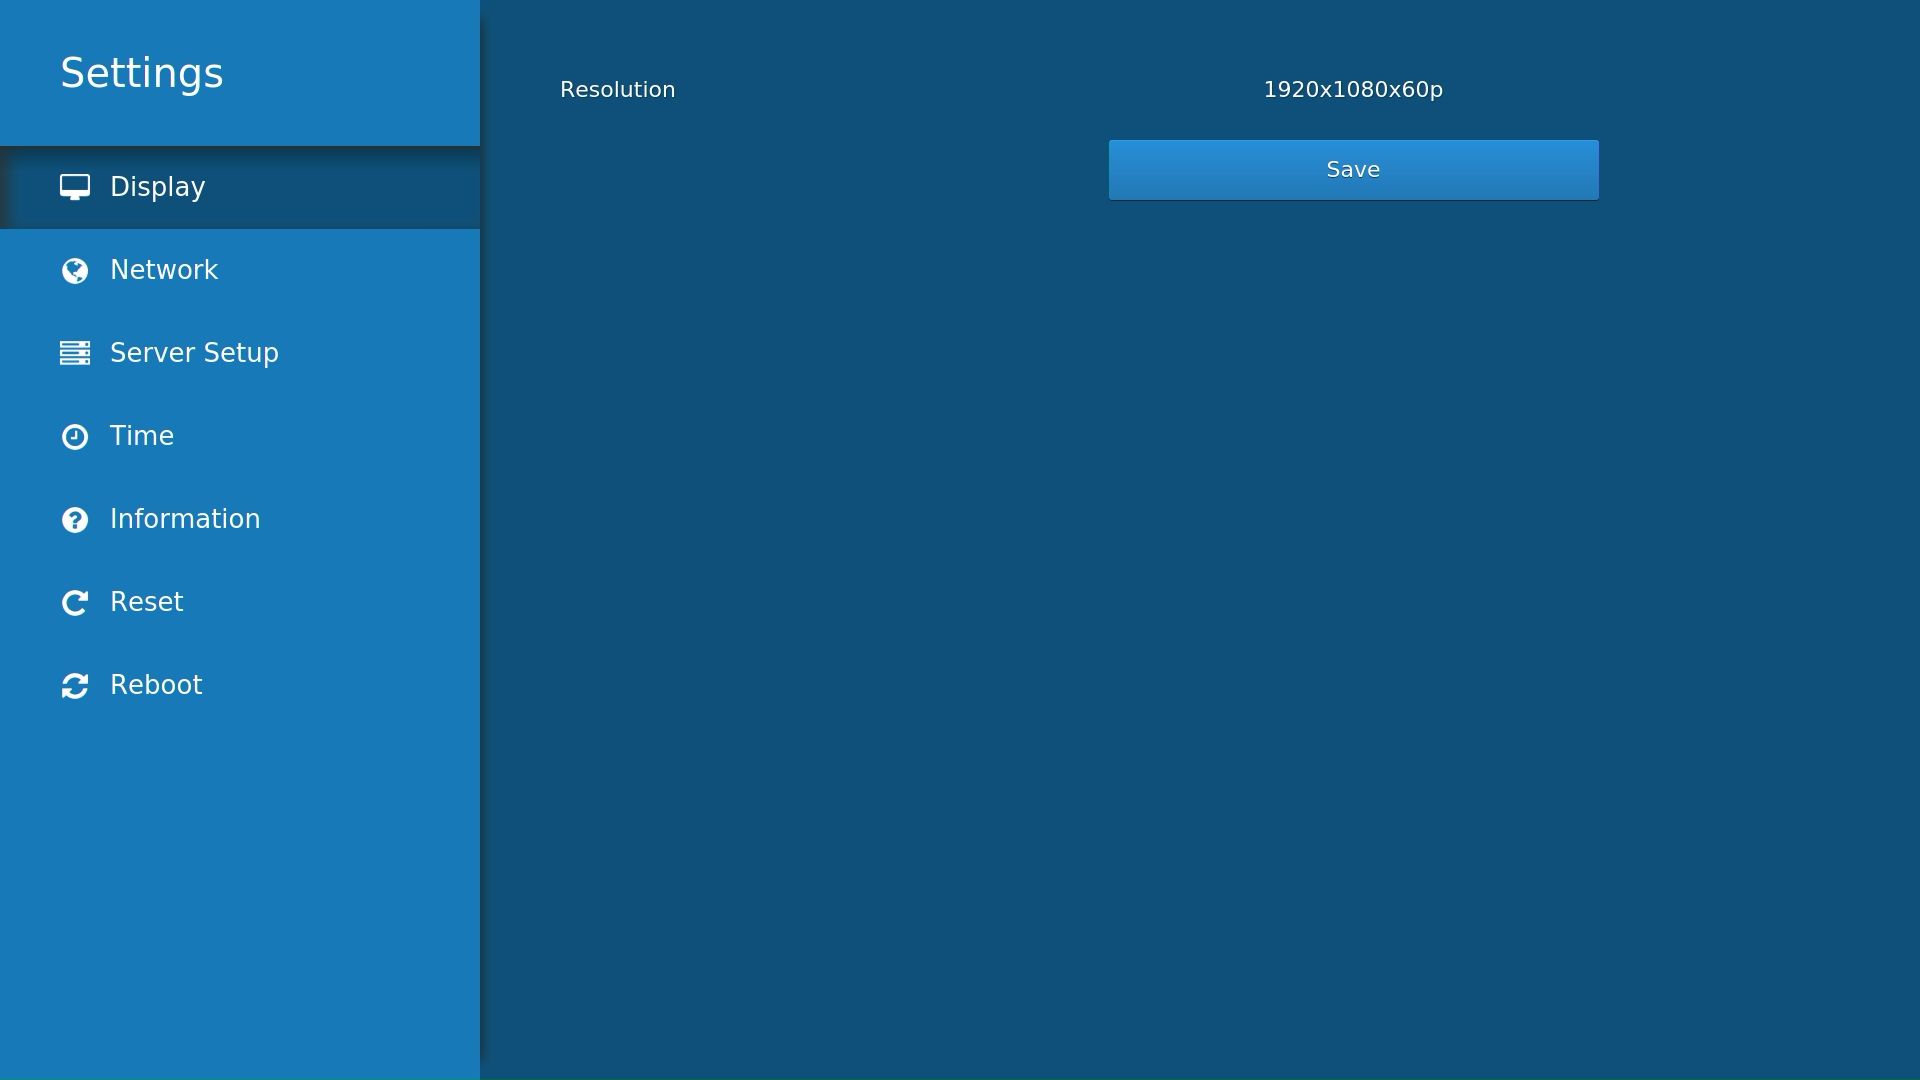
After booting, the STB Settings application opens.

Tip
If you do not see the STB Settings application on the screen connected to the Set-Top Box, press the 
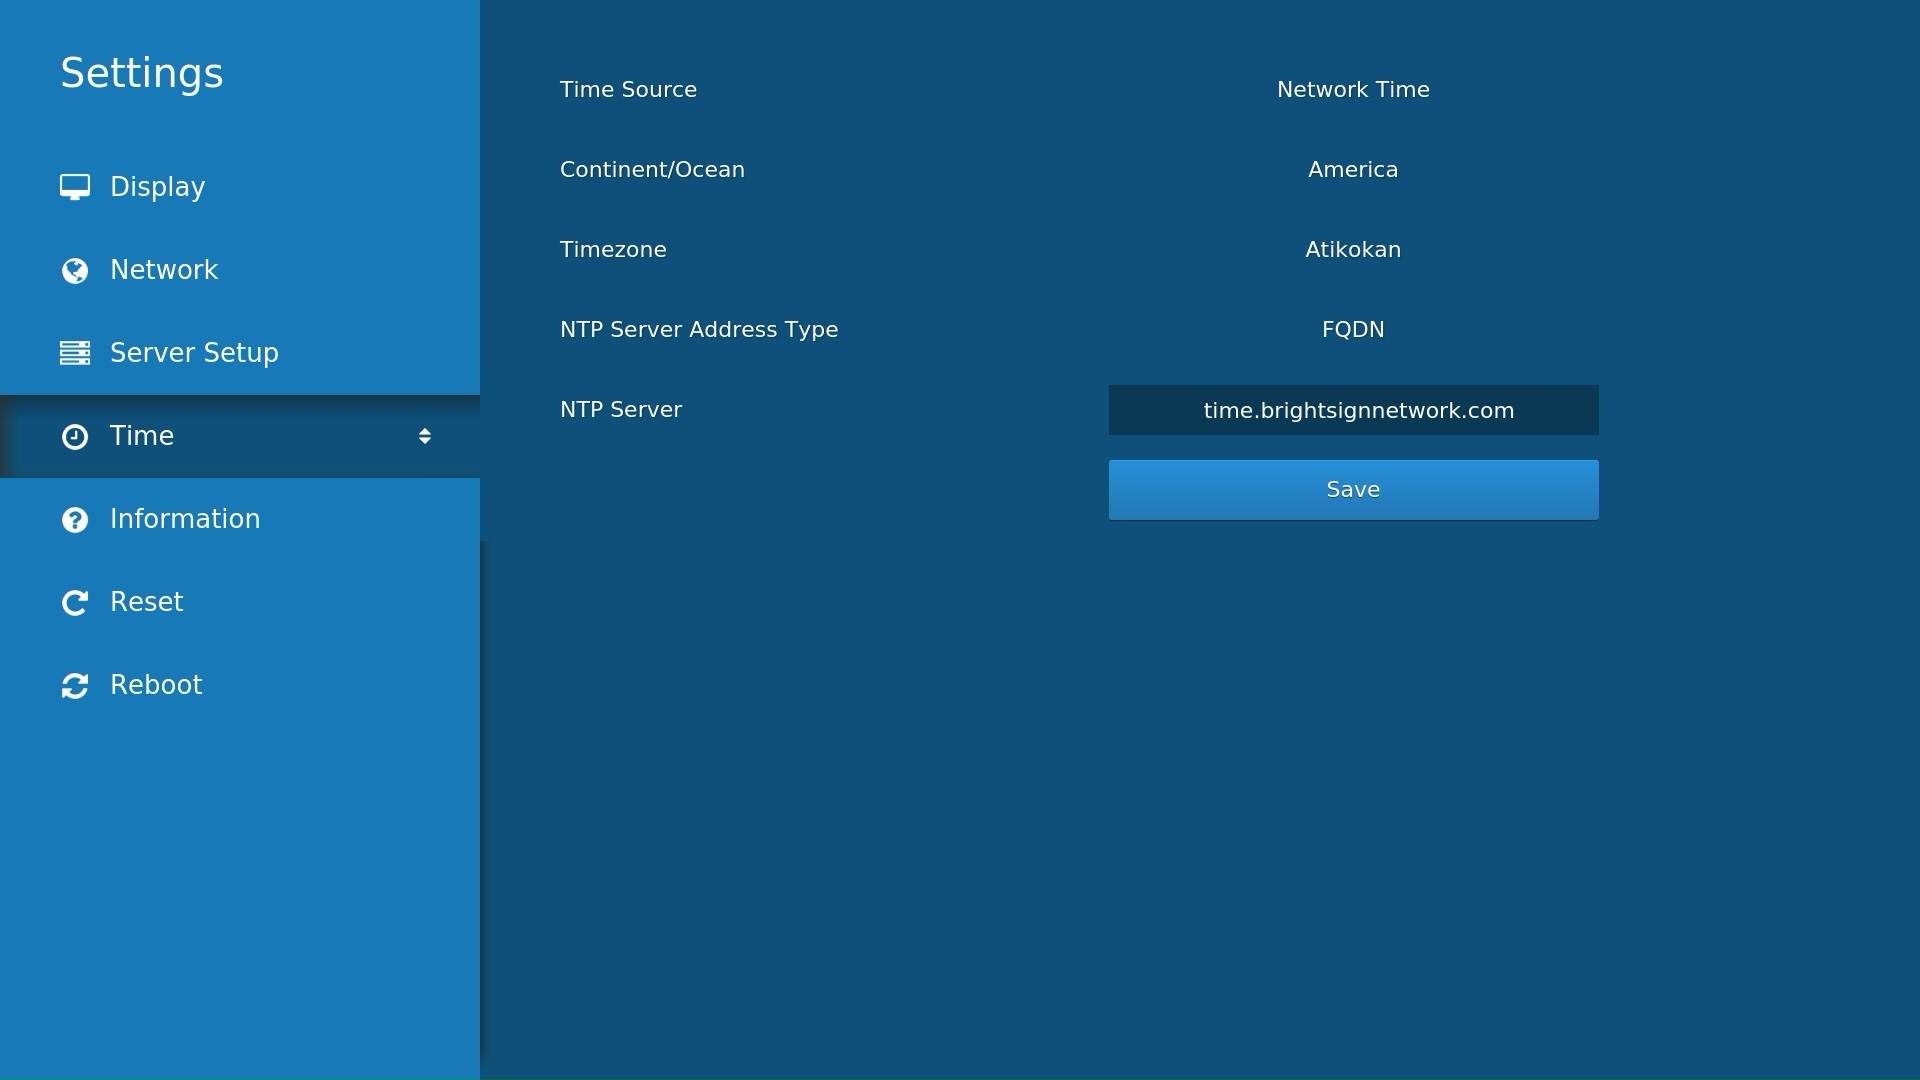
To set the date and time, press the Down Arrow on the remote control to scroll down to Time.

You can either set the device local system time or provide an NTP address to use network time. Click Save. See Time Settings for more details.
Important
We recommend using an NTP Server, as the correct date and time must be set for the Electronic Program Guide (EPG) to work.
If your network supports DHCP, skip to Step #6. (DHCP is enabled by default.)
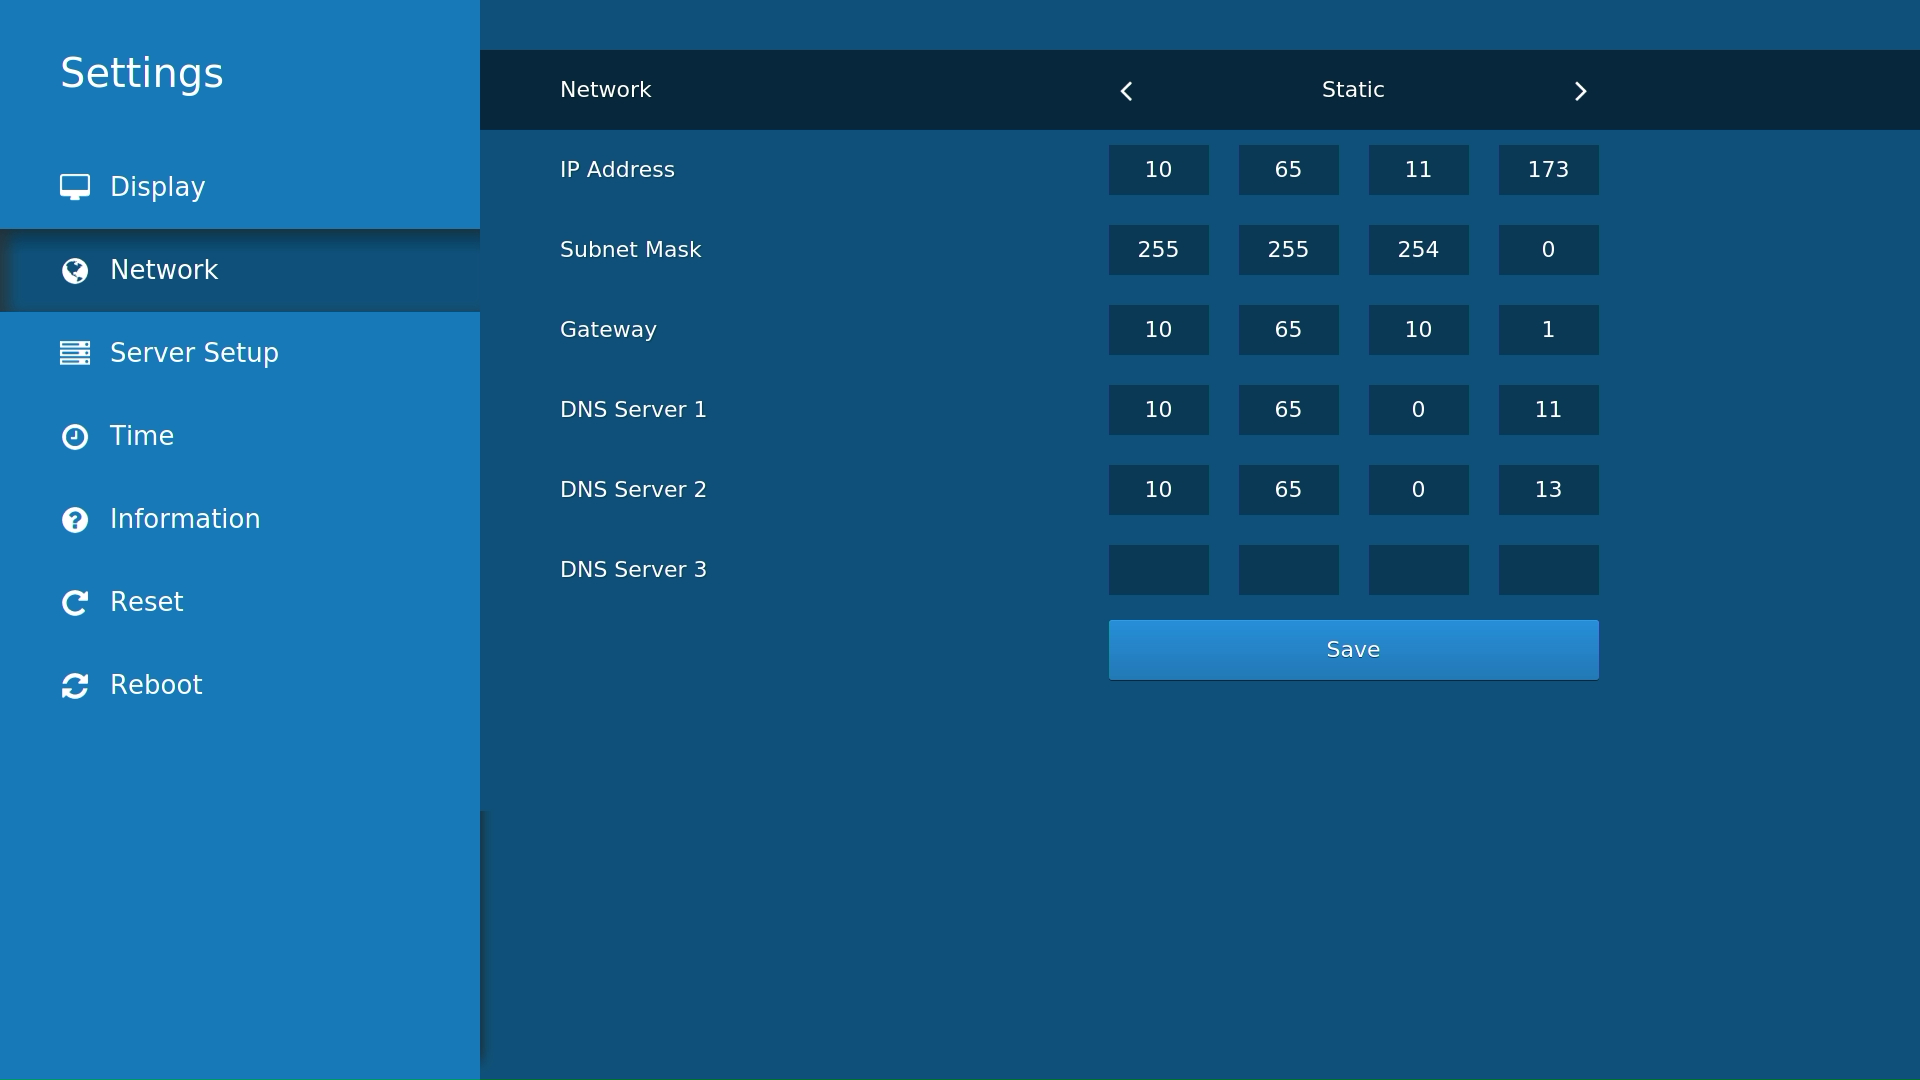
To specify a static IP address or change other network settings for the set-top box, press the Up Arrow on the remote control to scroll back up to Network. Select Static and fill in the required addresses. Click Save. See Network Settings for more details.
Network Screen
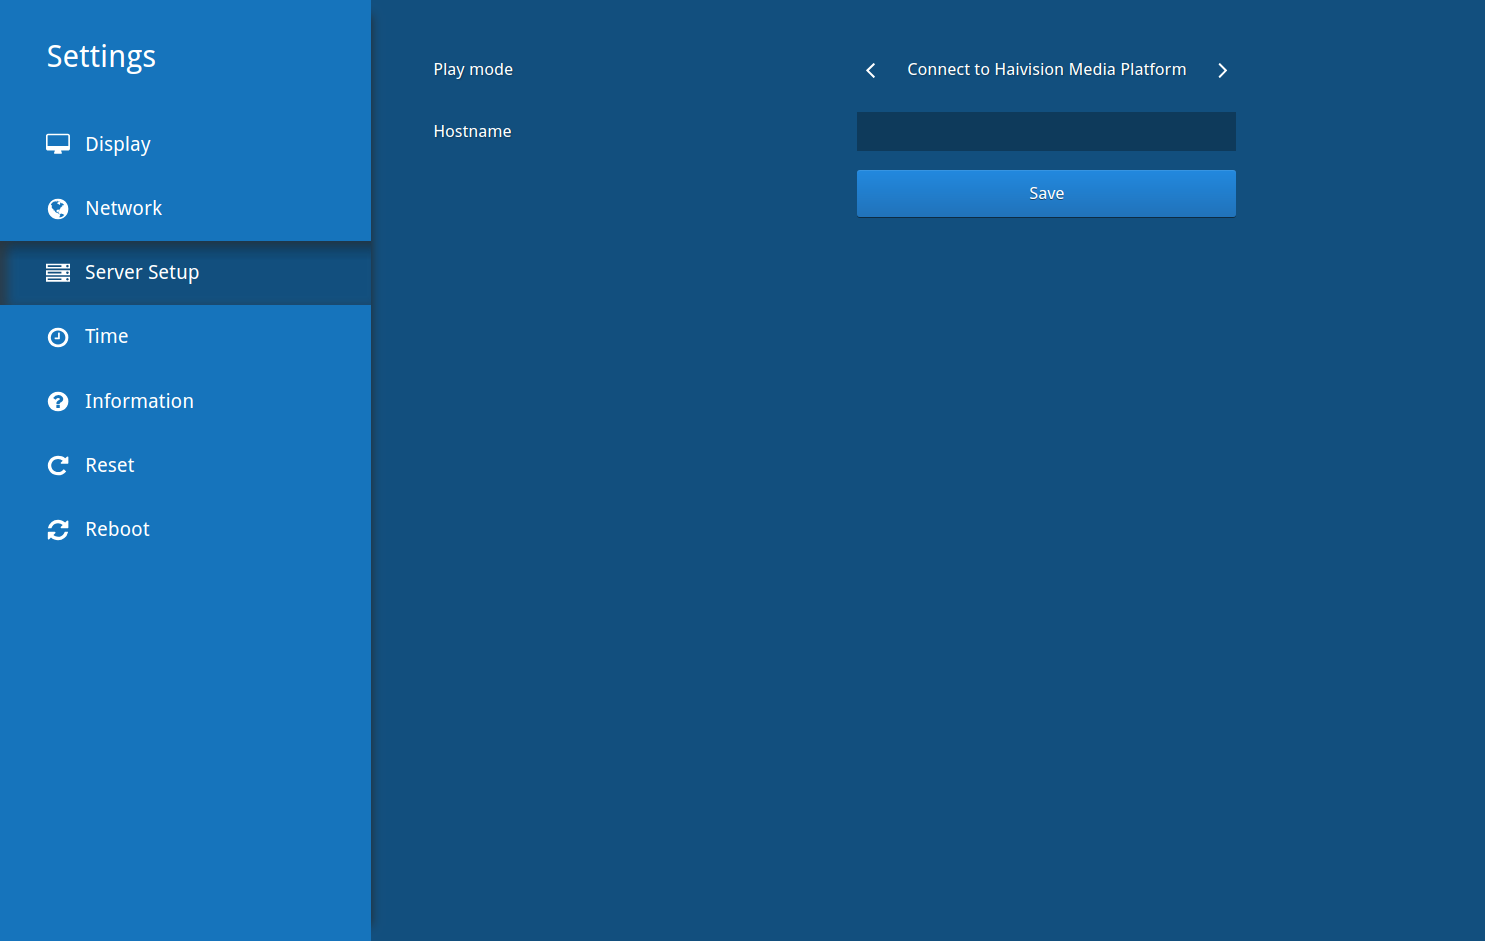
To specify the Haivision Media Platform information, press the Down Arrow on the remote control to select Server Setup. In Play mode select Connect to Haivision Media Platform and enter the hostname of the HMP server and the corresponding port number. Click Save. See Server Setup for more details.
Note
The HMP server's hostname must match the HMP certificate's common name (CN).

Wait until the STB Settings application downloads and installs all necessary files from the HMP server.
Tip
If there is a new software version, the STB reboots, which may take a few minutes.
