This detailed procedure guides you through the complete setup of a video transmission between a mobile transmitter and a Cloud StreamHub, as illustrated in the following figure.
On the Appliances screen, click the Add Appliance button.
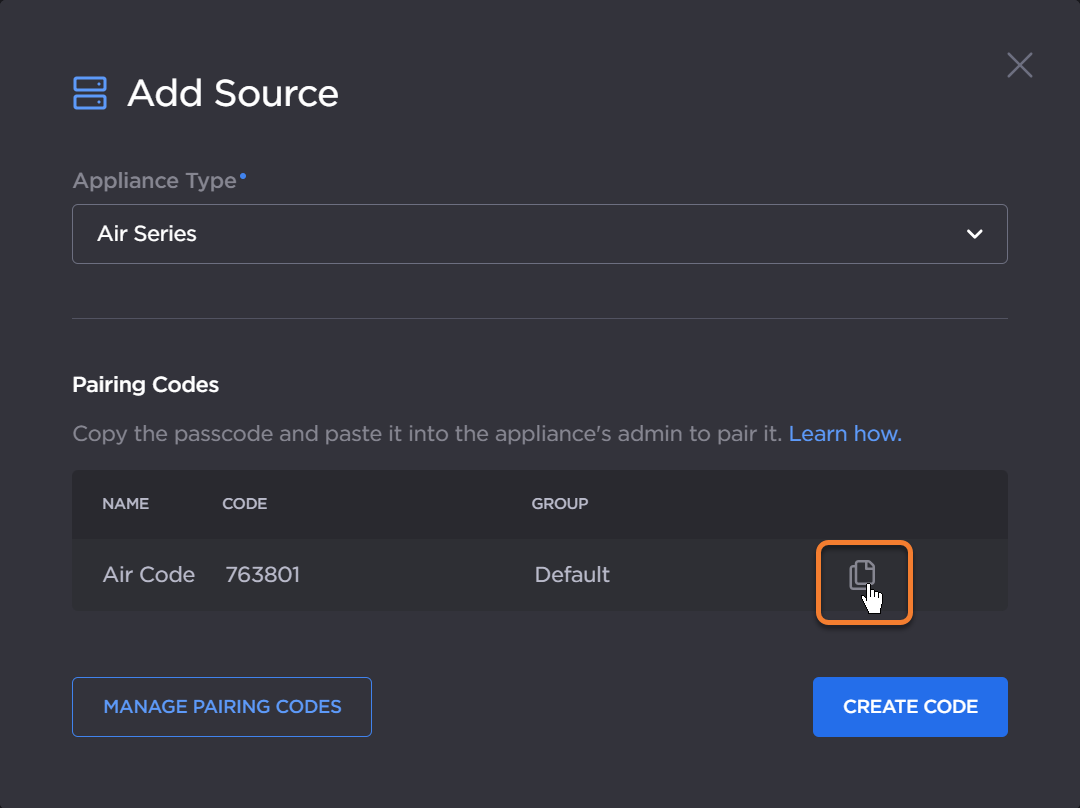
Select the transmitter type (Air, Pro, or Rack Series).
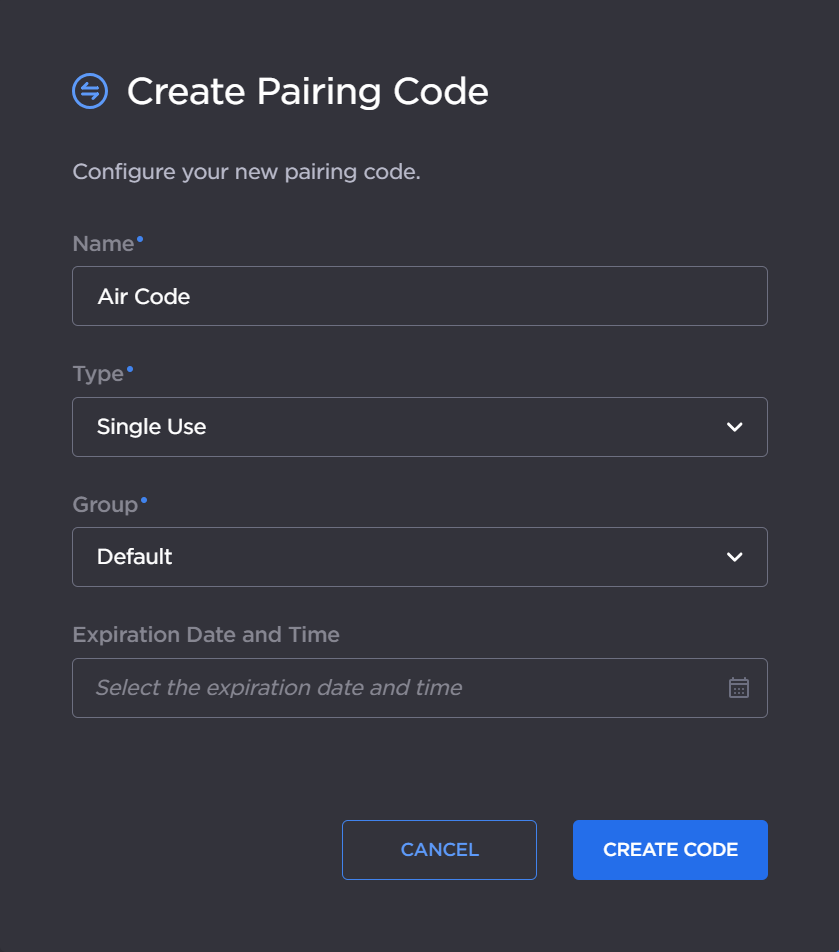
If there is no existing pairing code, click the Create Code button, and complete the fields as desired:
Name the code.
Select Single Use (unless you have additional transmitters to add.)
Click the Create Code button.
Click the Copy button next to your new code:
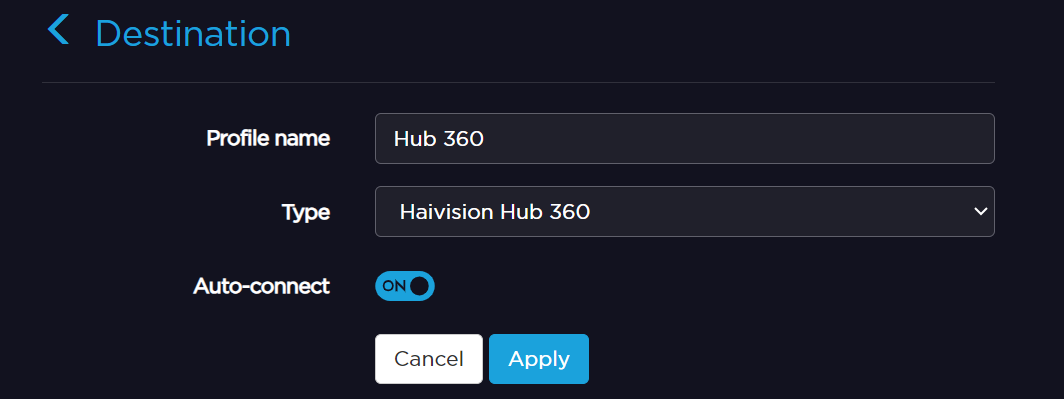
In a new browser tab, sign in to your transmitter’s web interface and navigate to Settings > Destination page. Click the +Add button, and complete the fields:
Name the destination.
Select Haivision Hub 360 from the dropdown list.
Click the Apply button.
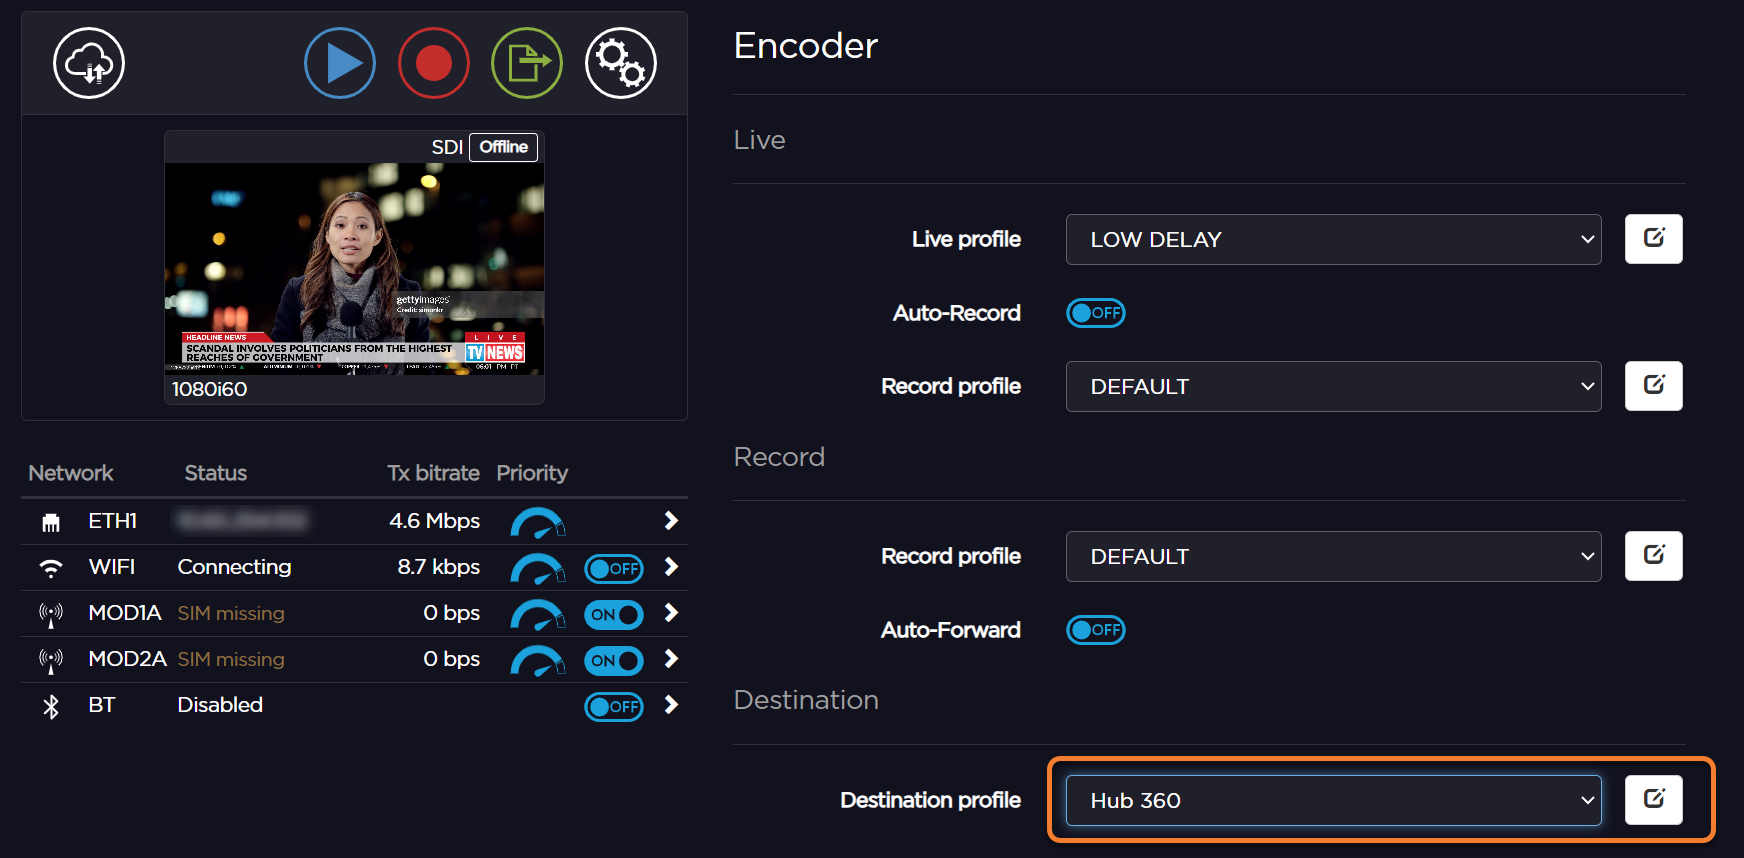
Click the icon and in the Destination Profile dropdown select the profile name you just created.
Data Bridge must be disabled for the Hub 360 connection to work.
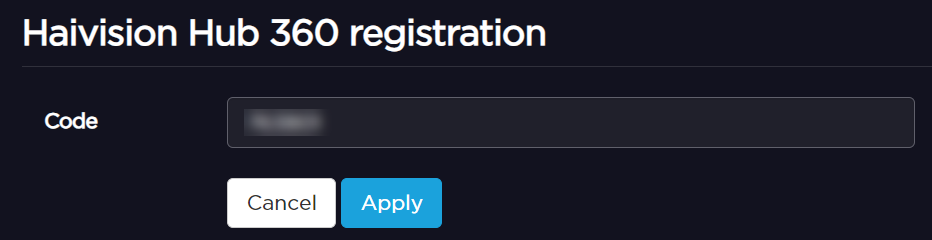
Paste the pairing code you copied in step #5 into the textbox that appears and click the Apply button.
Click the button to start streaming to Hub 360.
After a few seconds your transmitter appears in the Appliances list.
On the Appliances screen, click the Add Appliance button.
Select Cloud StreamHub in the dropdown
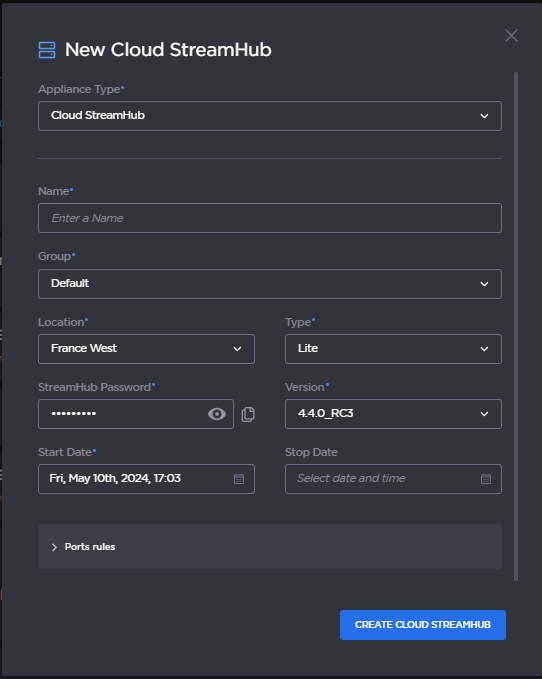
Complete the fields as desired. For this demo, we will use the default settings except:
Name your Cloud StreamHub.
Enter a Stop Date and Time of 1 hour from the current time, in case you forget to stop it manually.
Make note of the default Port Rules for SRT/UDP output streams if you choose to use either of those protocols in the next step.
Click the Create Cloud StreamHub button.
After a few minutes your Cloud StreamHub is provisioned and started. Monitor its creation in the Appliances list:
Configure your Newly Created Cloud StreamHub
In the Appliances list, find the Cloud StreamHub you created and click >Access Interface. The web interface for the Cloud StreamHub opens in a new browser tab.
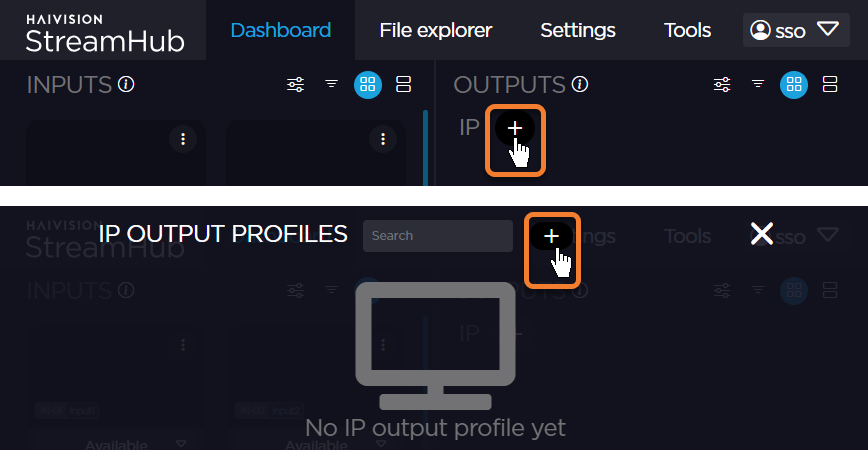
In the Outputs pane of the StreamHub web interface, click the button, and in the resulting IP Output Profiles screen click the button.
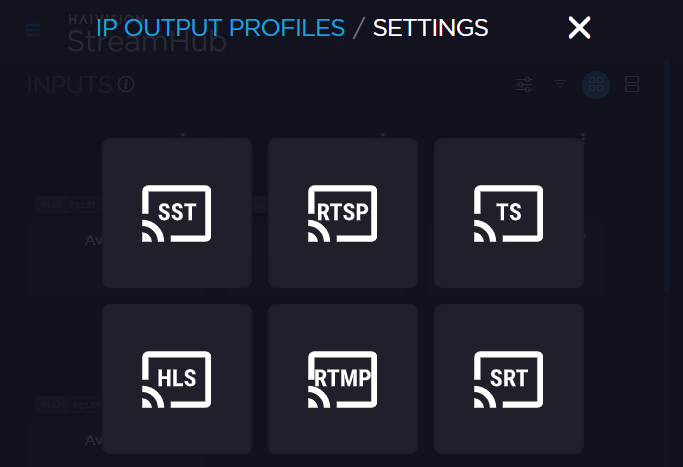
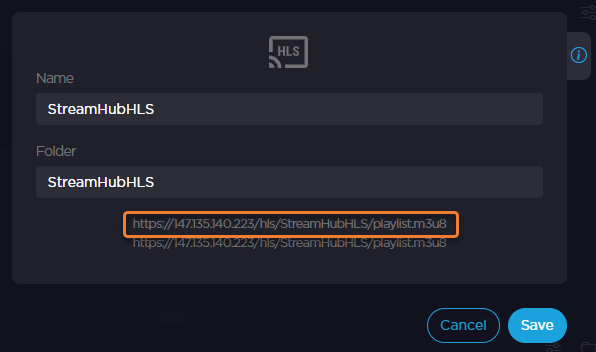
Select the desired output streaming protocol and configure its settings. To simplify the setup, for this example, we are using an HLS output.
For HLS output, enter a name for the stream and folder, and copy the link given on the configuration screen.
Click the Save button.
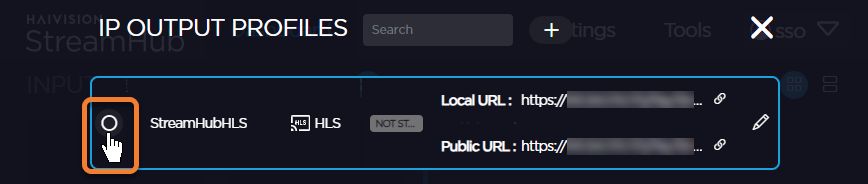
Click the button to activate the output profile.
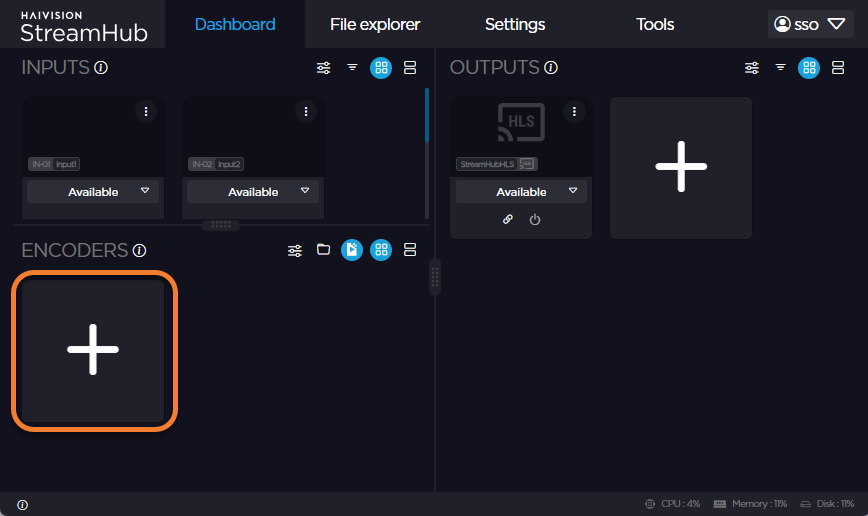
(Optional) If desired, create an encoding node in the same manner as creating the output profile by clicking in the Encoder section of the screen.
Link the Cloud StreamHub Inputs to Outputs
Return to the Hub 360 tab in your browser and click Master Control in the sidebar.
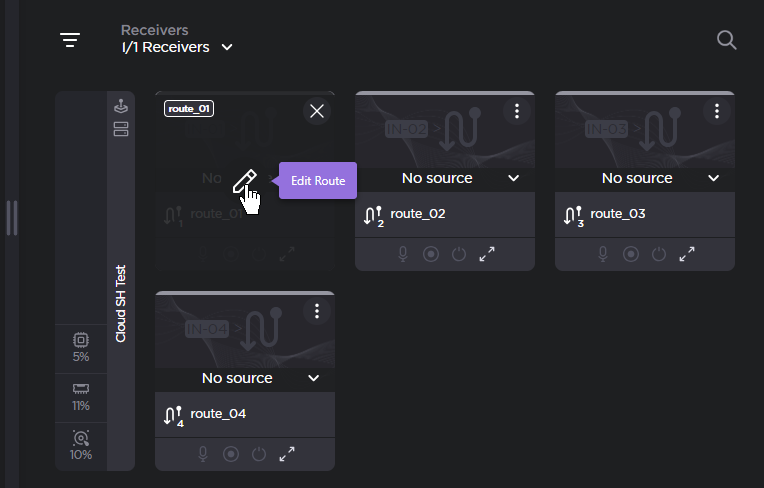
In the Receivers section of the screen, locate your Cloud StreamHub and click the icon next to one of the available routes and click the icon to edit the route.
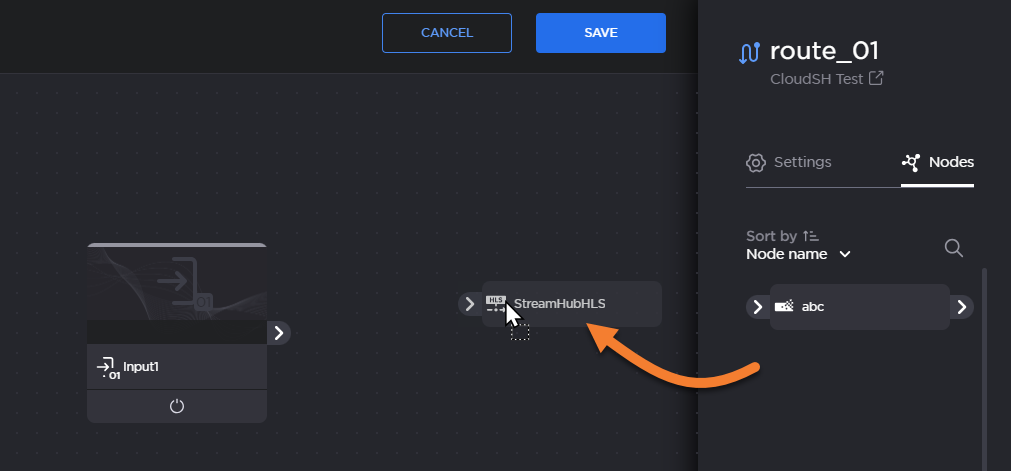
Click the Nodes tab.
Drag-and-drop the output profile and, if created, the encoder profile onto the route canvas:
Connect the input → encoder (if added) → output blocks by dragging-and-dropping from one block’s output to another’s input:
Click the Save button. You are returned to the Master Control screen.
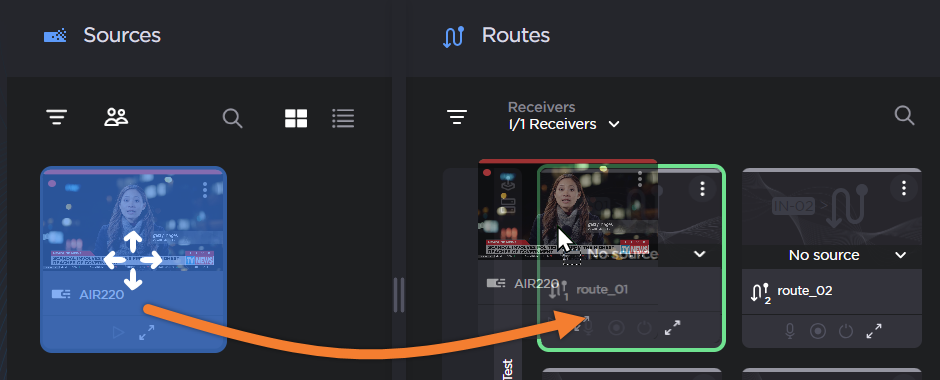
Create the Video Route
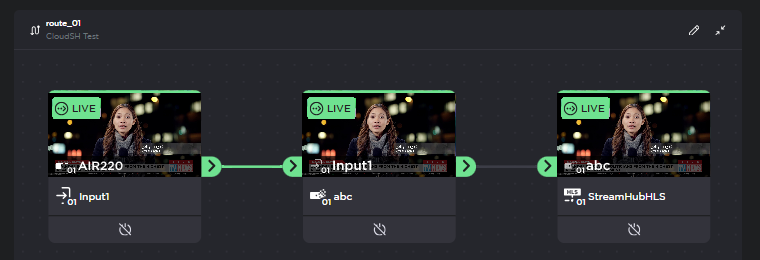
Drag the source transmitter to the route you edited in the previous step:
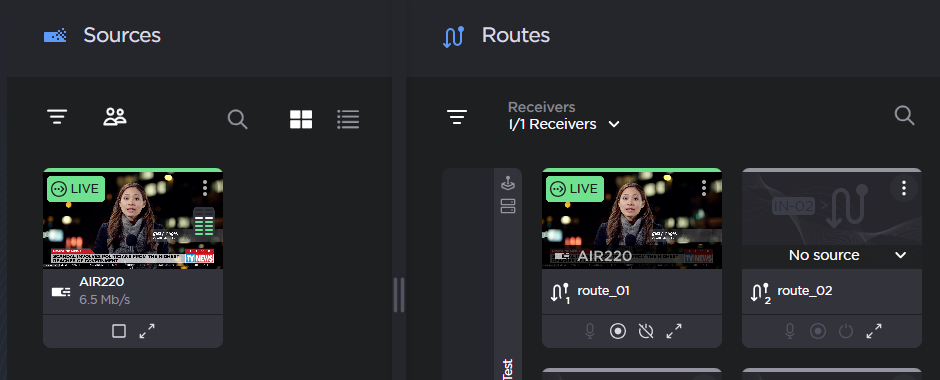
After a few seconds the Live transmission starts. This is indicated by the LIVE status appearing on the Source and Route thumbnails:
Monitor the Transmission
The output generated from your Cloud StreamHub can now be seen. For this example, an HLS web player is used to see the HLS output:
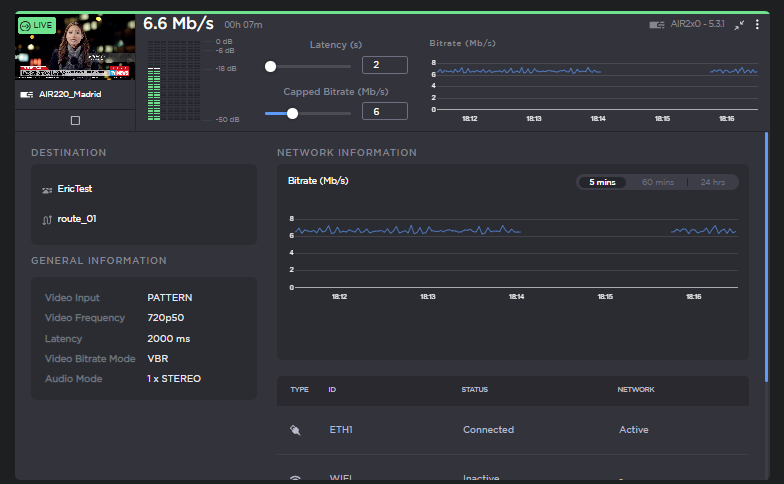
You can monitor the source transmitter by clicking the icon on the source. Available information includes a bitrate graph and options to adjust the latency and capped bitrate. See Viewing Source Status for more details.
Likewise, clicking the button on the StreamHub route shows the flow of the transmission within the Cloud StreamHub:
Congratulations! You have successfully created your first video transmission.
Stop the Cloud StreamHub when the transmission completes, so as not to accumulate unexpected charges to your account.
JavaScript errors detected
Please note, these errors can depend on your browser setup.
If this problem persists, please contact our support.