Your appliances must meet certain network requirements to connect and be controlled by Hub 360. Please see the Haivision Product Security Guide that is available in the Support Portal for these specific requirements for your appliances.
From the Appliances screen you can pair your Haivision devices to Hub 360, as well as provision a new Cloud StreamHub.
Click Appliances in the sidebar.
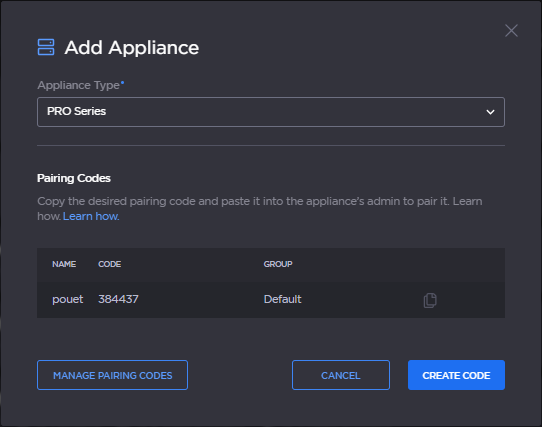
Click the Add Appliance button.
In the Appliance Type dropdown select the type of Haivision device you want to add.
The rest of the adding appliance instructions differ depending on the appliance type you choose:
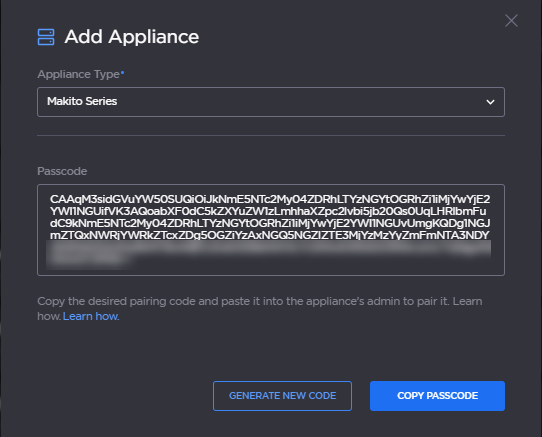
Makito
For Makito devices, click the Copy Passcode button.
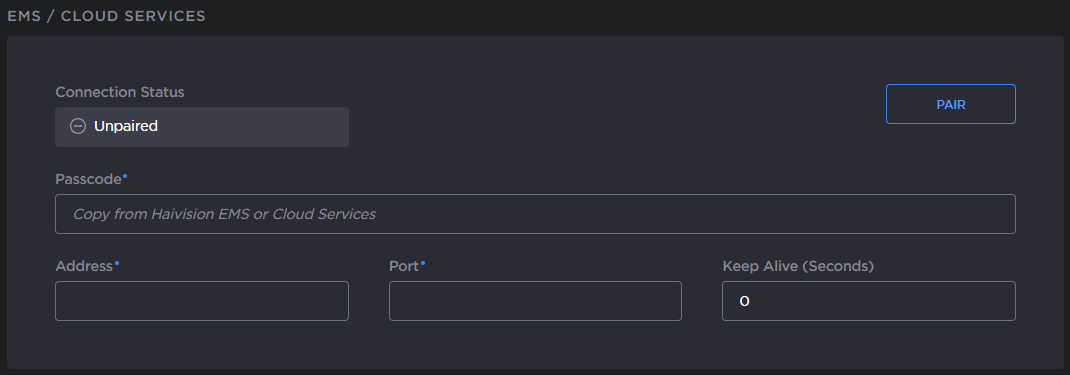
Sign in to the Makito web interface as administrator and navigate to Settings > Services. Ensure that EMS is enabled.
In the EMS/Cloud Services section, paste the passcode into the Passcode textbox.
The address and port fields are decoded from the Passcode. Therefore, just click the Pair button.
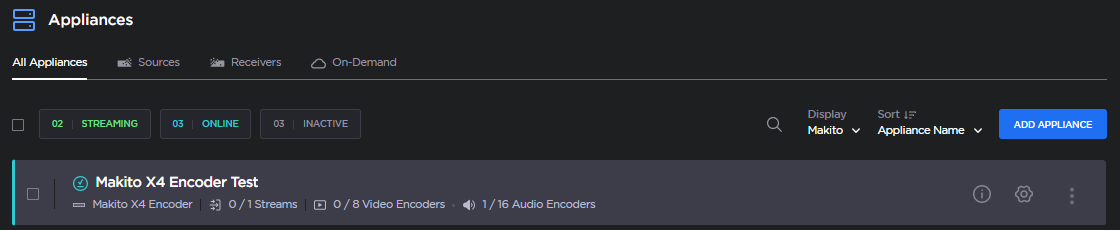
After a few seconds the pairing should succeed and the Makito appliance appears in the list of appliances in Hub 360.
The following Pro, Air, and Rack versions support Hub 360:
Air, Pro3, Rack200, and Rack300: Version 5.3.1 and later
Pro4 and Rack400: Version 3.0.1 and later
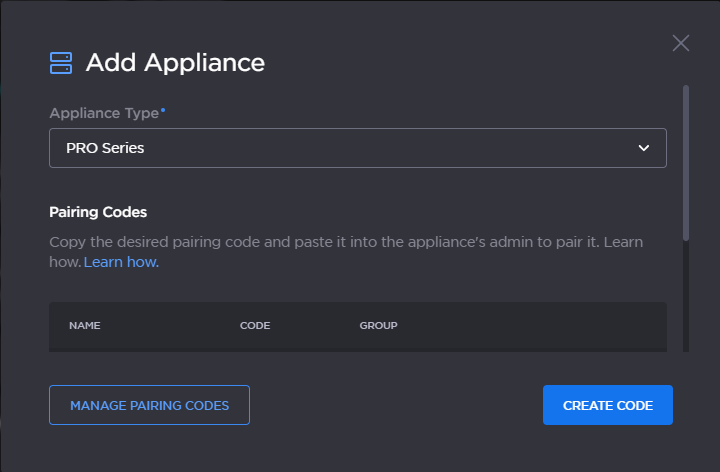
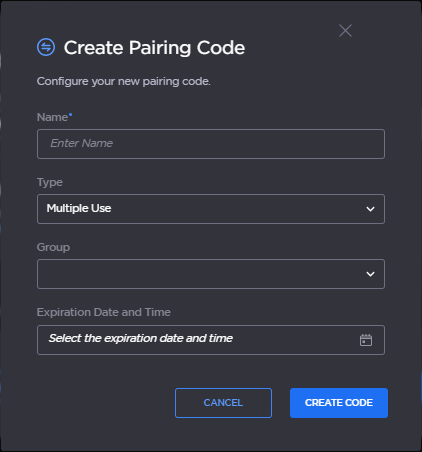
For Pro, Air, and Rack series devices, first a pairing code must be created on Hub360. If you want to reuse an existing pairing code, skip to step G. Click the Create Code button.
Enter a Name to identify the pairing code.
Select the Type: Multiple Use or Single Use.
Note
When you select Single Use, the pairing code is invalidated after the first appliance uses the pairing code.
Select the Group from the dropdown list. See Managing Groups for more details.
(Optional) Set the code Expiration Date and Time.
Click Create Code.
When complete, or if a pairing code already exists, click the icon to copy the code to your clipboard.
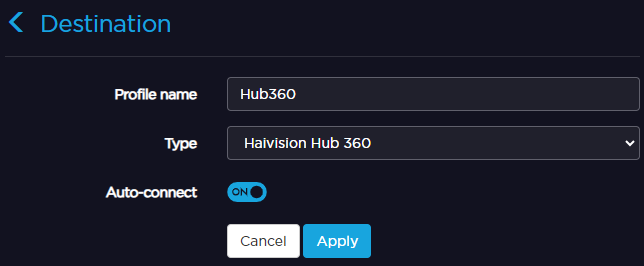
Sign in to the Pro, Rack, or Air web interface and navigate to Settings > Destination page. Click the +Add button.
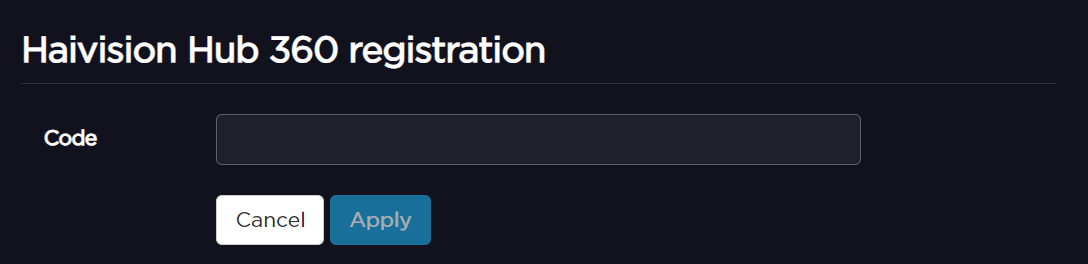
Enter a desired Profile name, select Haivision Hub 360 in the Type dropdown, and click the Apply button.
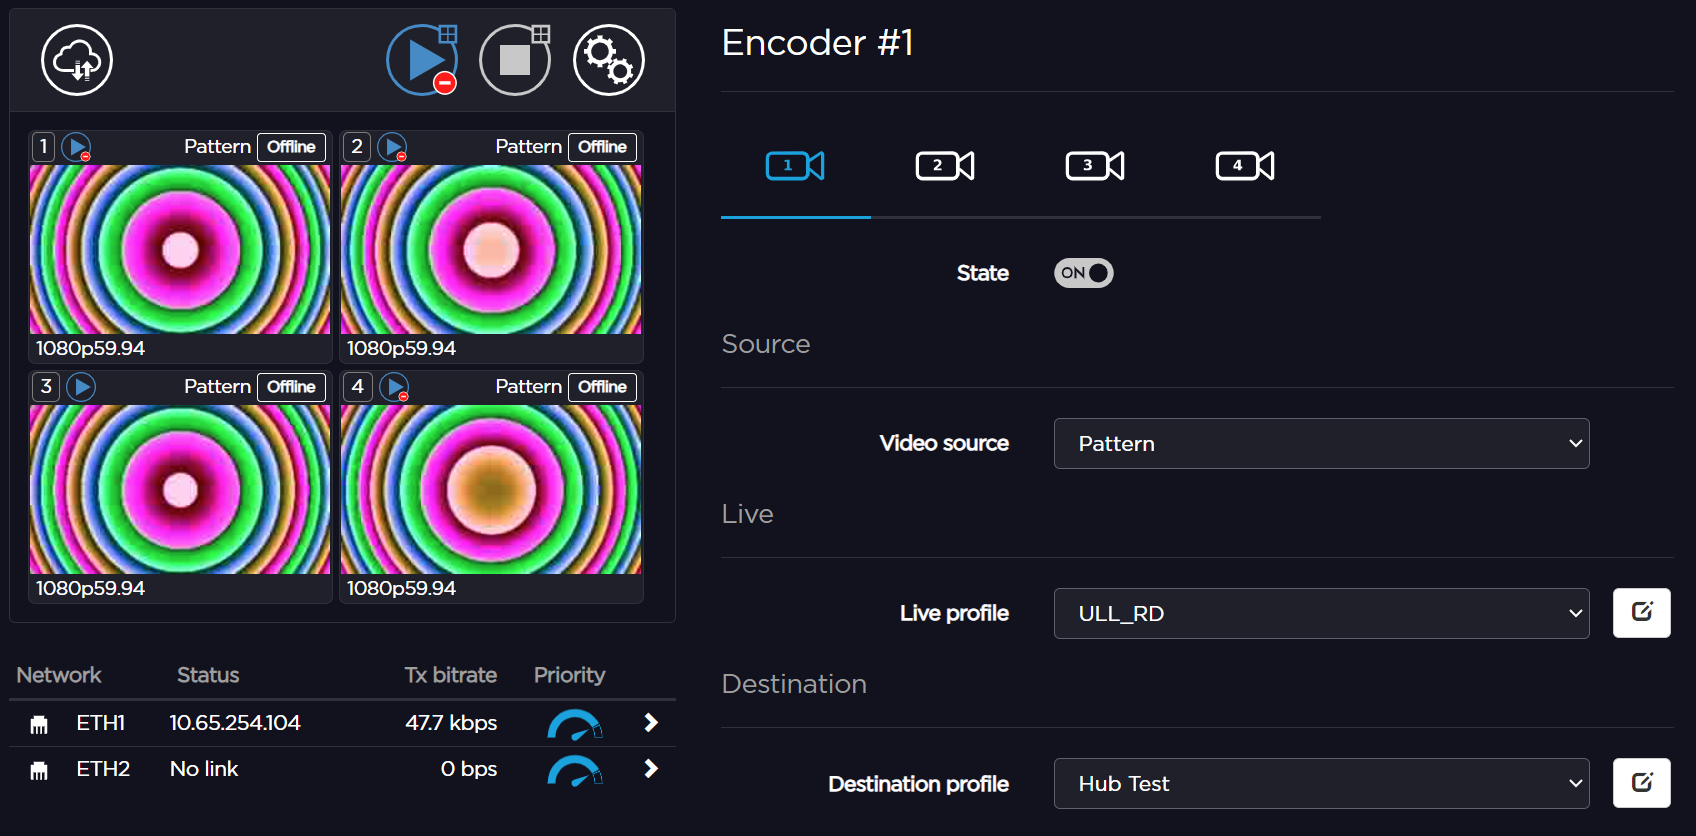
Click the icon and in the Destination Profile dropdown select the profile name you just created.
Paste the pairing code in the Code textbox that appears.
Click the Apply button.
After a few seconds the pairing should succeed and the transmitter appears in the list of appliances in Hub 360.
MoJoPro
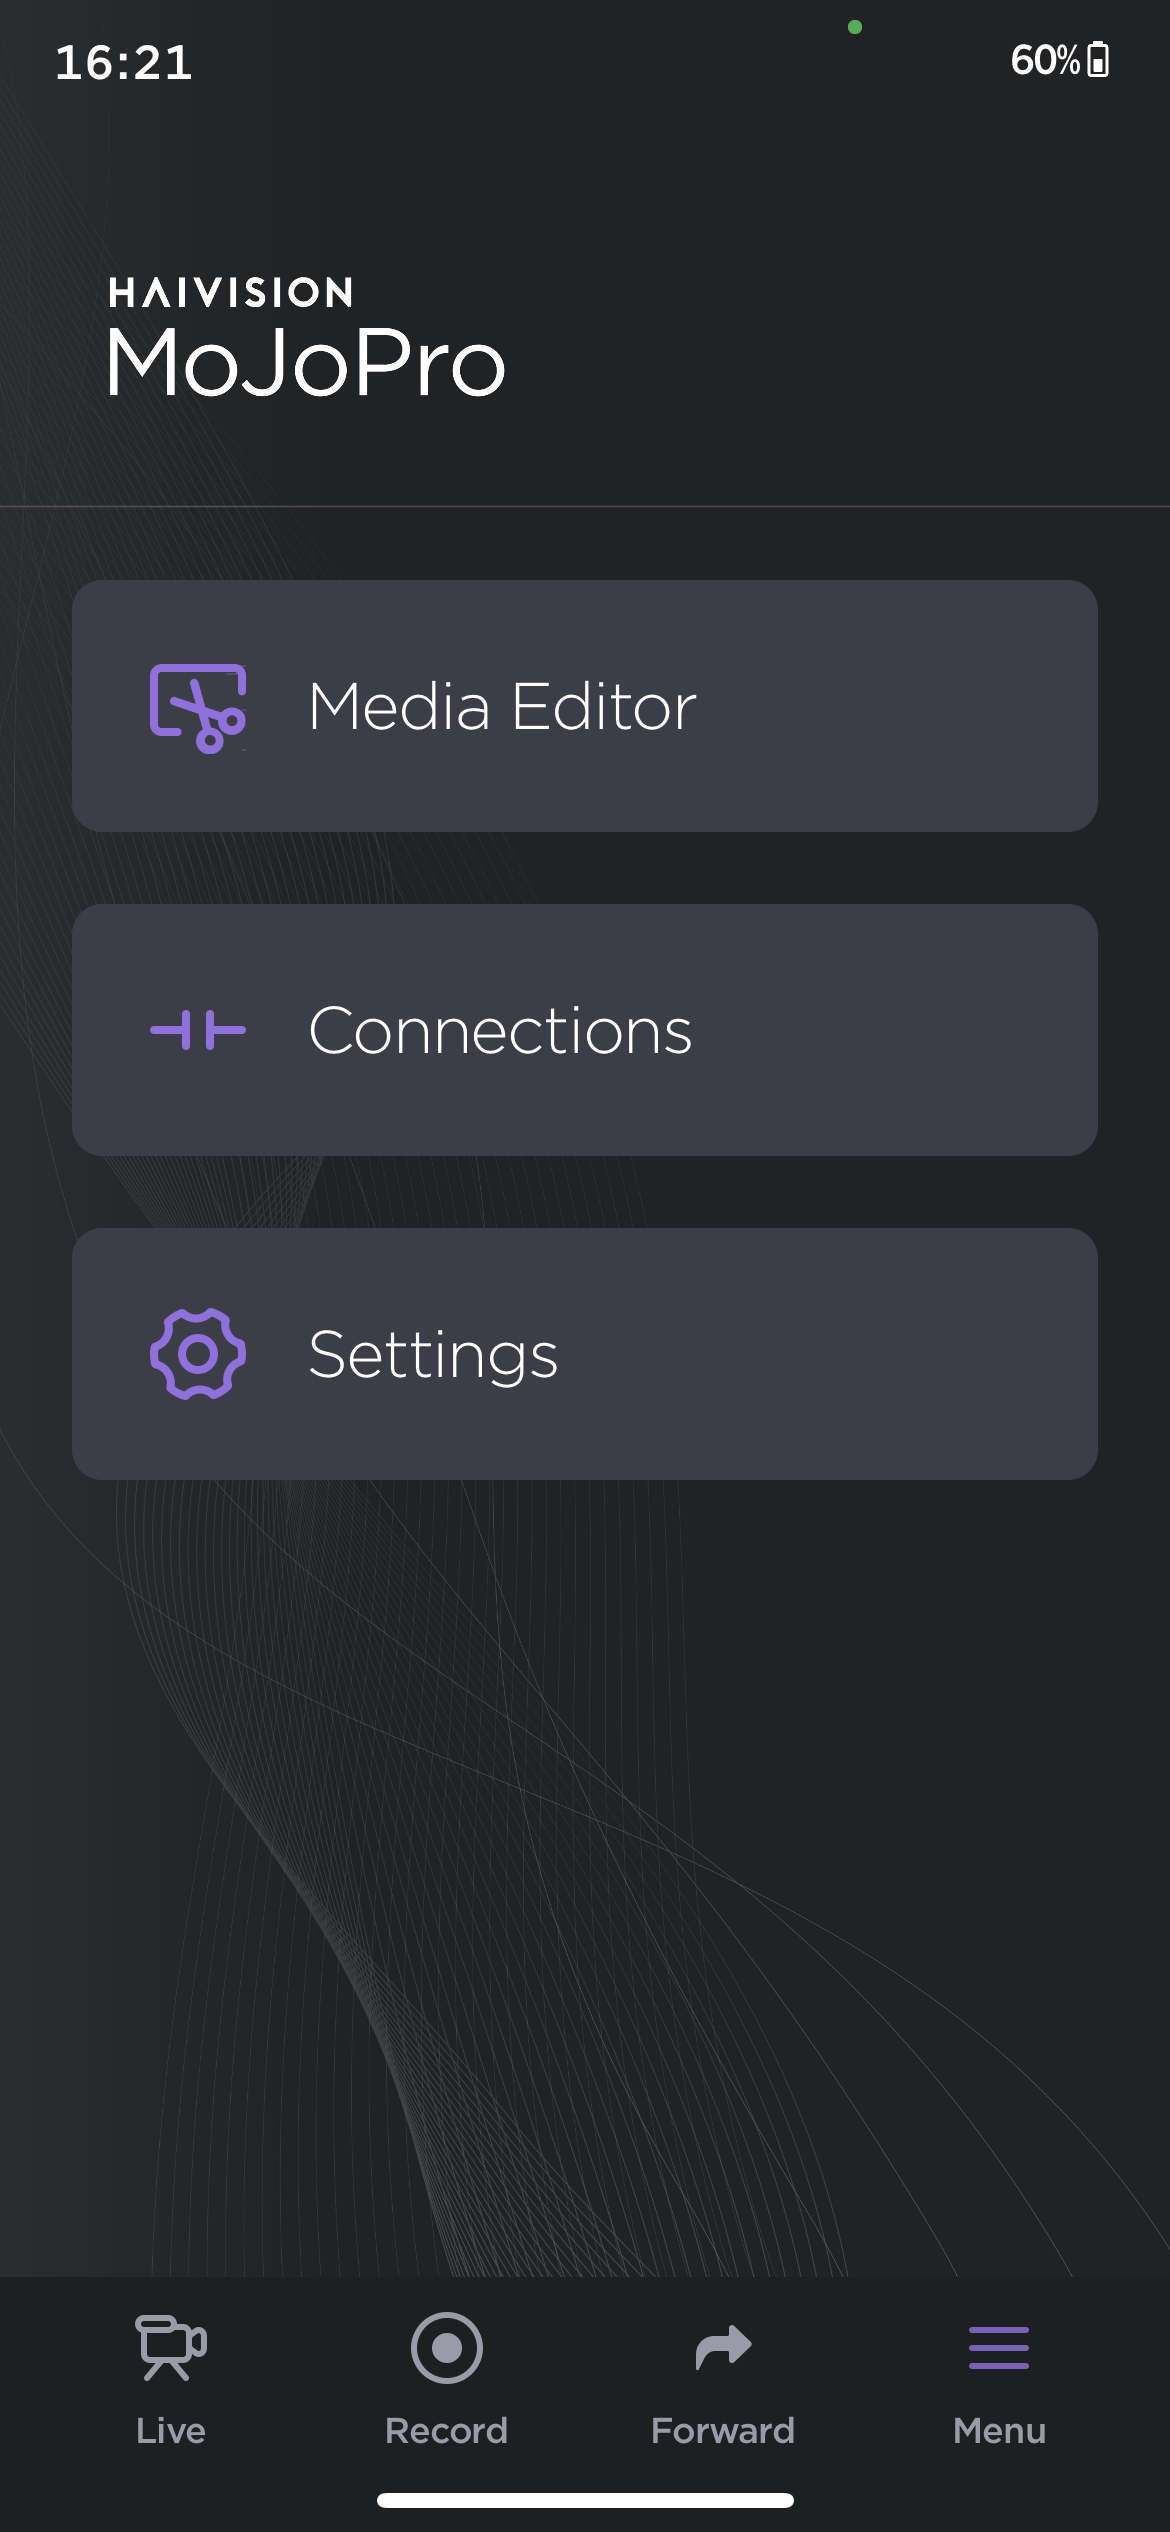
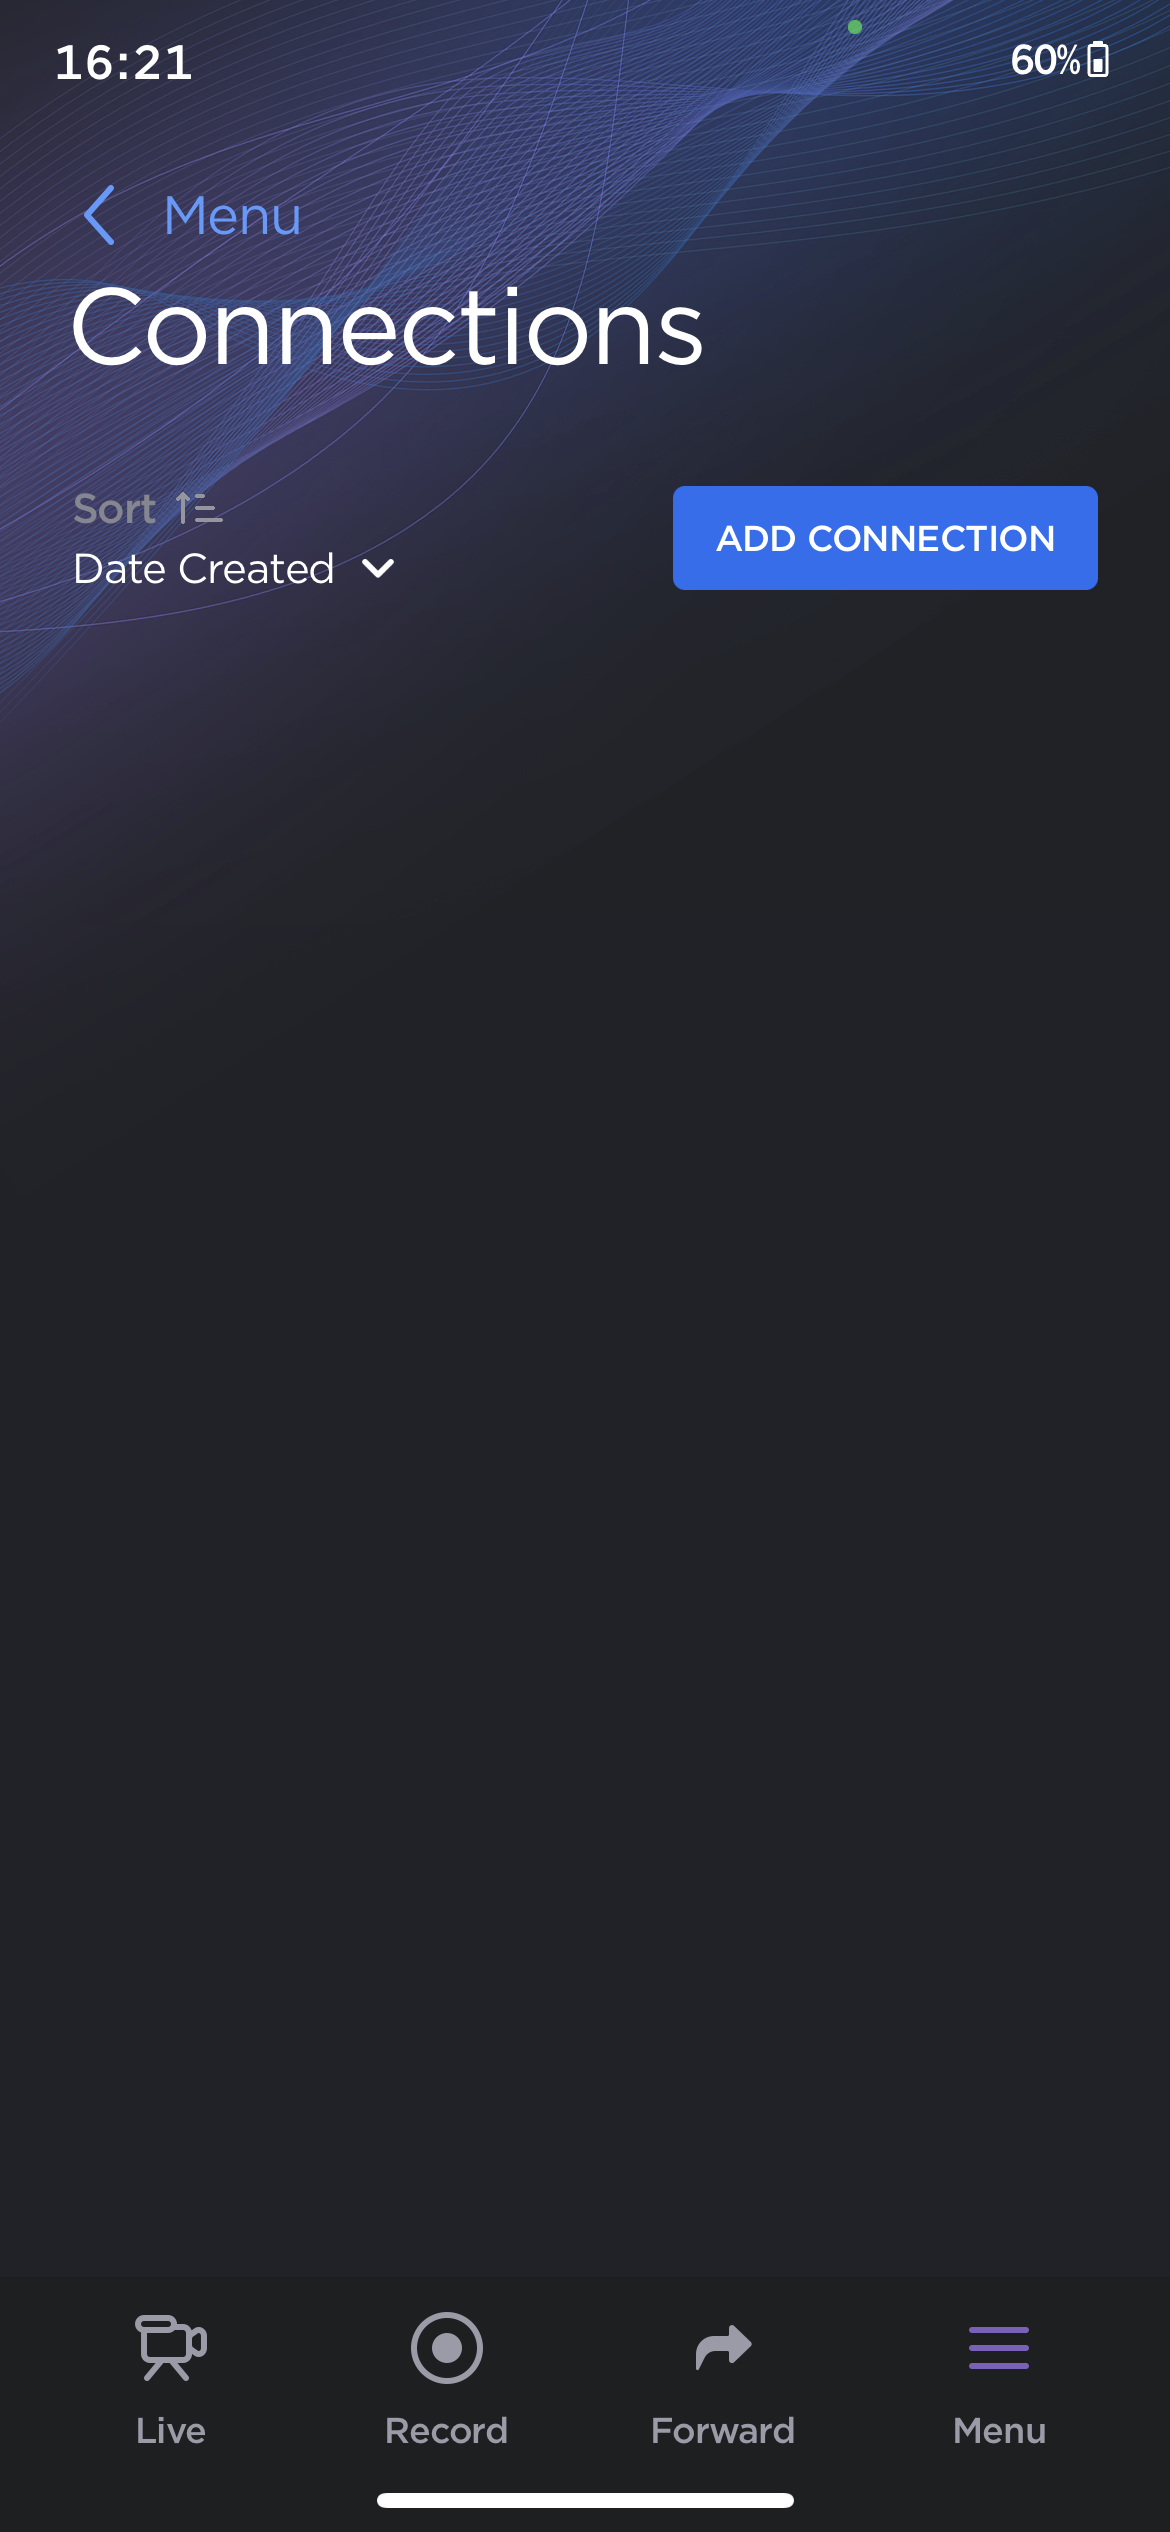
In the MoJoPro iOS application, go to Menu > Connections.
Tap Add Connection.
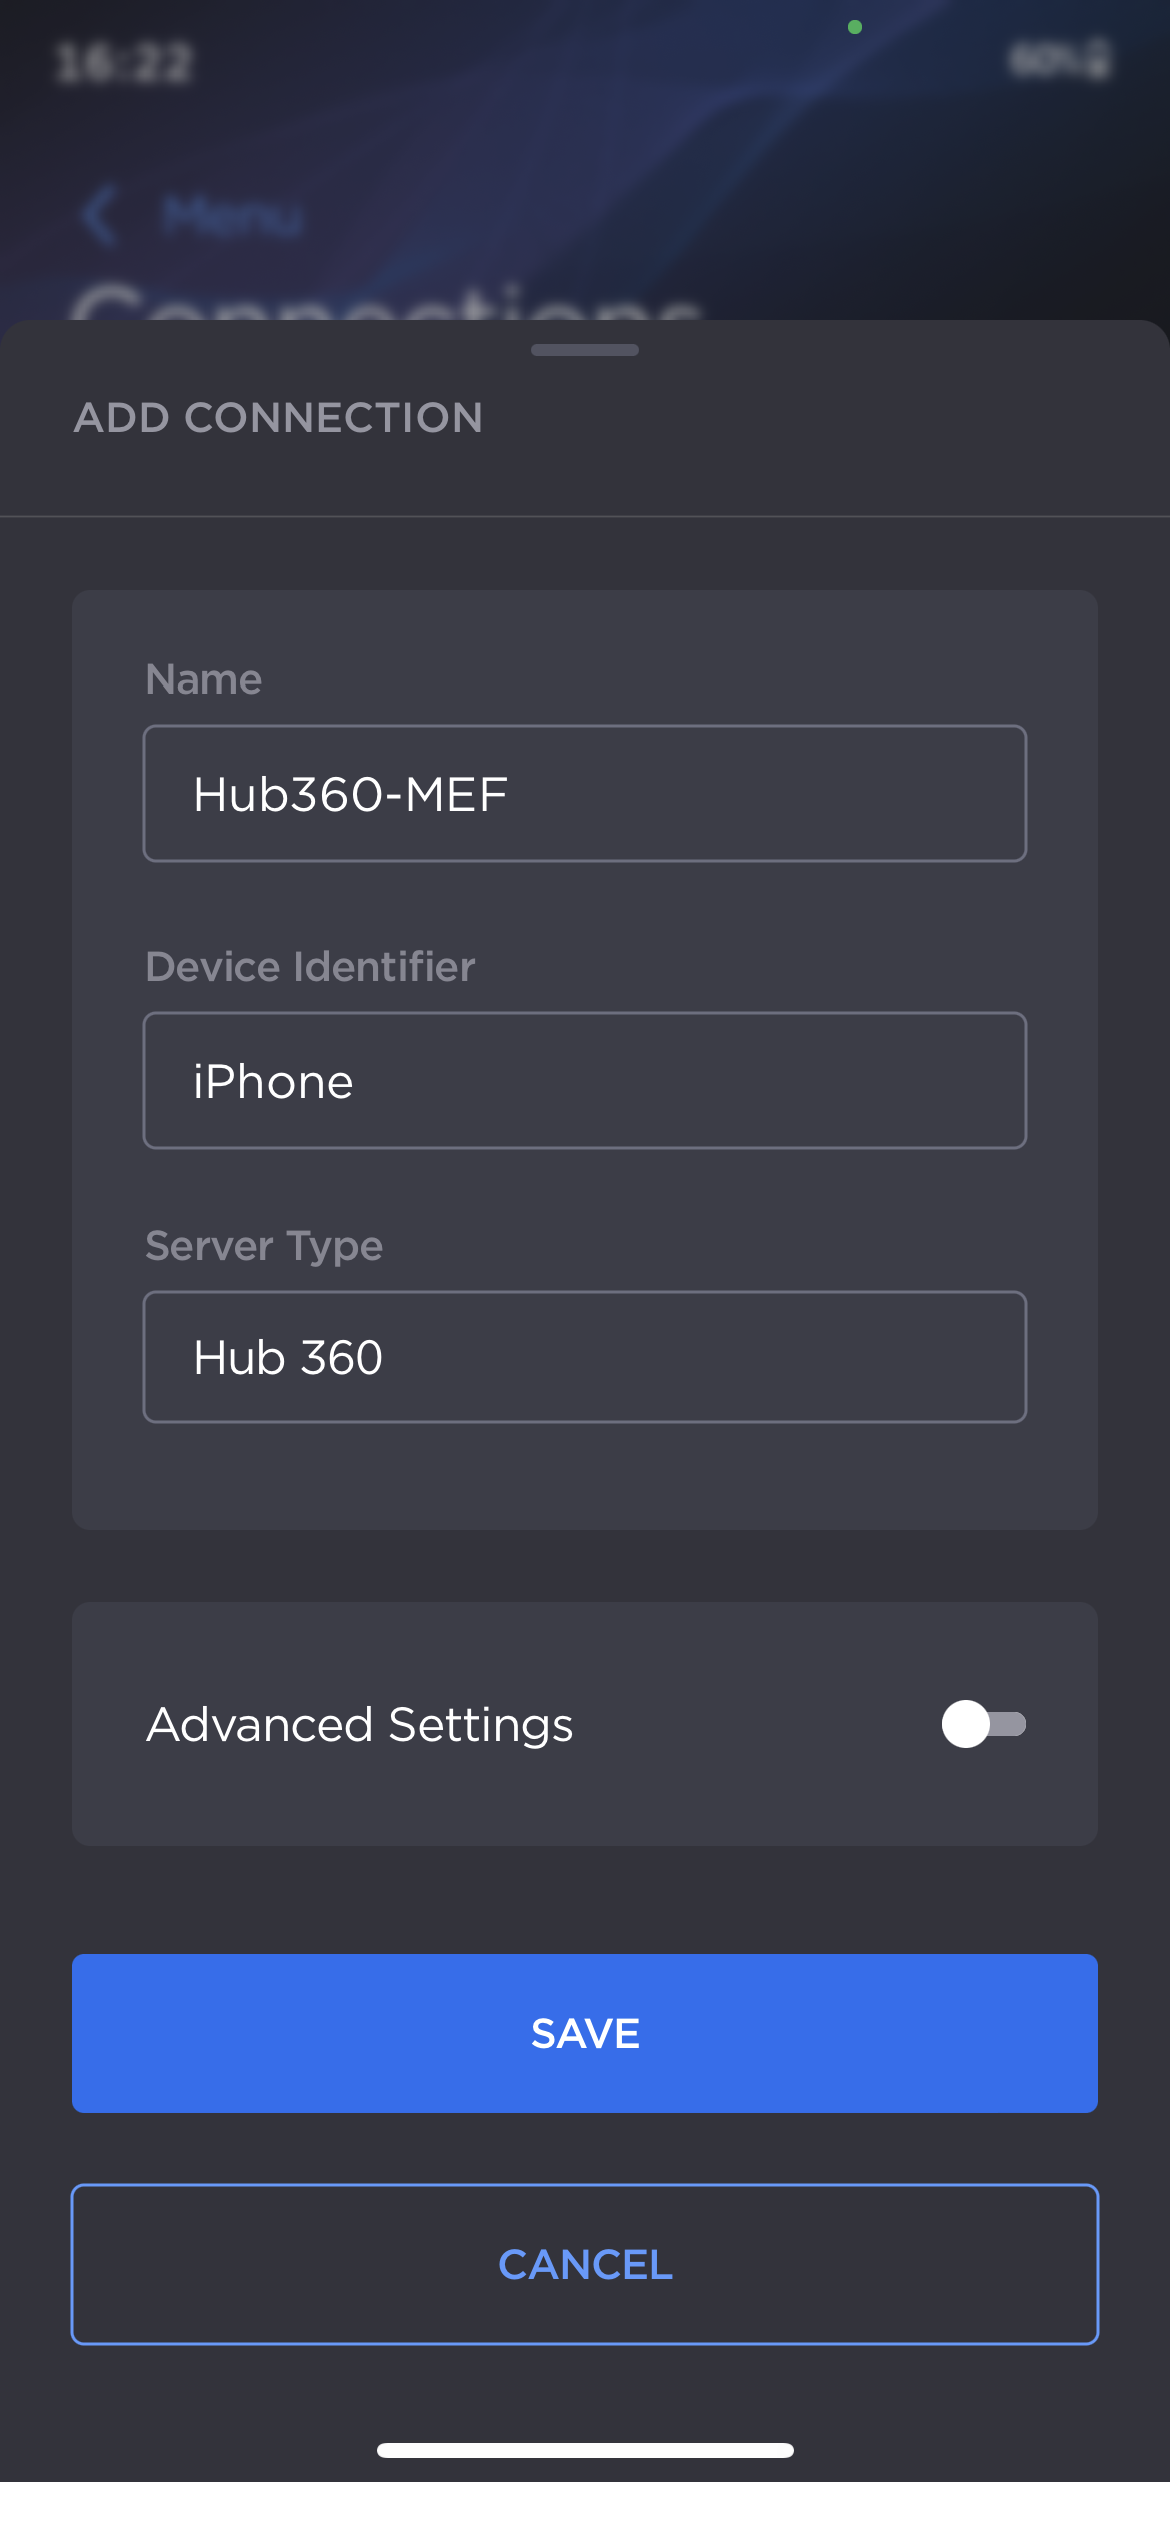
Enter a connection name and under Server Type select Hub 360.
Tap the Save button.
Activate the connection by tapping the toggle next to the connection profile.
After a few seconds your MoJoPro device appears in the list of appliances in Hub 360.
StreamHub
For StreamHub, simply upload a proper authentication key into your StreamHub's Account > License page. Contact Haivision Support to add your StreamHub to Hub 360.
Cloud StreamHub
Note
A maximum of 10 Cloud StreamHubs may be provisioned.
Stopped Cloud StreamHubs are deleted after 30 days.
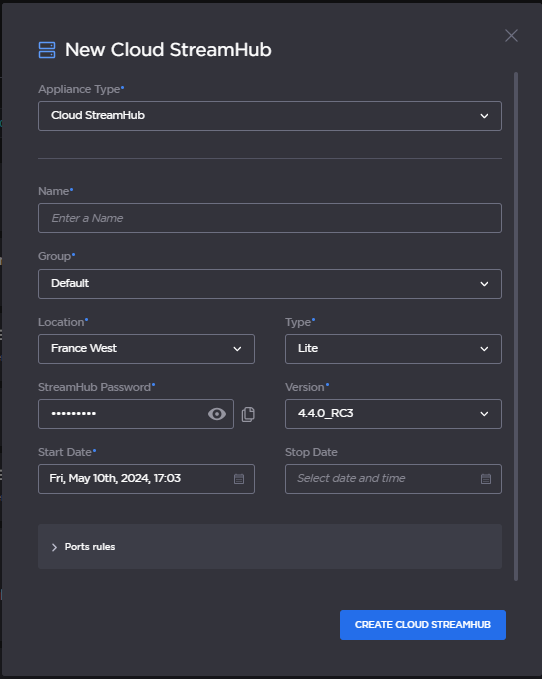
To provision a new Cloud StreamHub for your organization, enter the required information:
Group dropdown: Assign your Cloud StreamHub to a group. See Managing Groups for more details.
Location dropdown: Choose a region near the appliances that will be associated with the Cloud StreamHub.
Type dropdown: Select the type of usage you need:
Lite: 4 HD decodes or 1 HD transcode
Standard: 8 HD decodes or 2 HD transcodes
Ultra: 16 HD decodes or 4 HD transcodes
Version dropdown: We recommend selecting the latest version.
Optionally, set a Stop Date and Time for the provisioning, and configure network port rules.
Tip
We recommend setting a stop date to avoid unnecessary charges to your account.
To add port rules:
Click Port Rules to expand the section.
Click Add New Rule.
Enter a name for the rule and the port number, and select TCP or UDP from the Protocol dropdown.
Multiple Custom Rules may be added by clicking Add New Rule, and rules may be deleted by clicking the icon.
Click the Create Cloud StreamHub button.
The Cloud StreamHub is added to the list of appliances in Hub 360. It takes a few moments for the Cloud StreamHub to be provisioned and started, which you can monitor in the Appliances list.
JavaScript errors detected
Please note, these errors can depend on your browser setup.
If this problem persists, please contact our support.