Signing in to Your Server
Accessing the Web Interface
Note
Internet Explorer is no longer supported. We recommend using Microsoft Edge or Google Chrome.
Open a Web browser, and enter the public IP Address of the virtual server. See Step #17 in Creating a Virtual Server to find the assigned IP address. A message may appear warning that the connection to the server is untrusted. This is normal, and you can safely continue.
Sign in to the Web Interface, using the
haiadminusername and password (the default password is provided on the Important Notice, available from the Haivision Support Portal).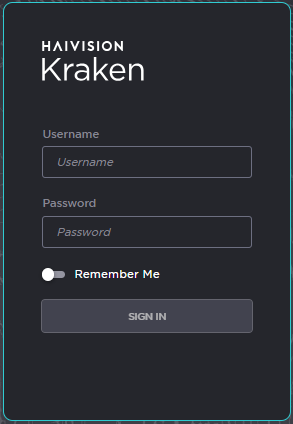
Click the Sign In button.For BYOL instances, a License Required modal appears. See Licensing Your Server to obtain a license.
For more details, refer to Signing into the Web Interface in the User's Guide.
Accessing the Console UI
You can log in to virtual server's Console UI via a Secure Shell (SSH) client (e.g., Terminal on macOS, or PuTTY on Windows).
Note
You must have a private RSA key corresponding to the public key with which the virtual server was configured. See Step #13 in Creating a Virtual Server.
In a terminal window, enter the following command:
ssh -i ~/.ssh/<private-key_rsa> hvroot@<public-ip-address>
The Console UI appears. Note that the Root user is disabled; however, Root commands can be run withsudo.In the navigation sidebar, use the ↑↓ (up and down arrow) keys to highlight menu items, and then press the Enter key.
Change settings as necessary.
Important
Network configuration settings are controlled by Amazon AWS. Do not change them using the Haivision Console UI.
Press the Enter key to save your changes and return to the main screen.
Select Log Out and then press the Enter key to exit the Console UI.
For more details, refer to Using the Console UI with Haivision Hardware.