Creating a Virtual Instance
Click the
 icon and click Elastic Compute Service.
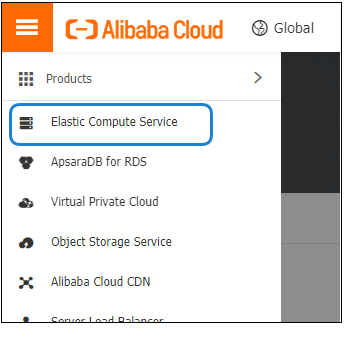
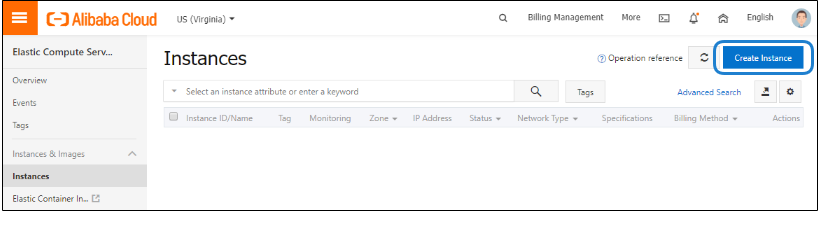
On the ECS Console, click Instances.
Click Create Instance.
Specify the details of your ECS purchase as follows:
In Billing Model, click Pay as You Go.
In Region, select the same Region used when you created the Virtual Private Cloud in Creating the VPC and Network Subnets .
In Instance Type, select the instance type per your workflow requirements.
Note
We do not recommend using instances with low CPU resources, because the resulting performance of your server will be inadequate.
Important
For high bandwidth streams or critical viewing requirements, we recommend using Compute Optimized C7 Instances (e.g. ecs.c7.xlarge, ecs.c7.2xlarge, etc.) tiers, as they are optimized for compute-intensive workloads and have high-performance network I/O.
In Image, click Marketplace Image, click Select from Alibaba Cloud Marketplace, and select Haivision Media Gateway or Haivision SRT Gateway in the list of images. Use the search textbox to quickly find the image.
In Storage, add disks and specify their sizes as required by your workflow.
Note
The default storage is sufficient for most operations. However, if you intend to use your server in conjunction with a video server (such as Media Gateway with Haivision Media Platform), having additional storage will allow you to benefit from local caching on the virtual server.
Click Next: Networking.
In Network Type, ensure the VPC and VSwitch that was created in Creating the VPC and Network Subnets is selected.
In Public IP Address, check Assign Public IP Address and select the appropriate network bandwidth limit. The value is the peak value, not the dedicated fixed bandwidth.
Note
Optionally, purchase an Elastic IP as described in Purchase an Elastic IP Address. An elastic IP address allows you to move the IP address between instances.
In Security Group, select the checkboxes next to Port 80 and Port 443, and deselect Port 3389.
Click Next: System Configurations.
For SSH access to the Console UI:
Ensure Key Pair and root are selected in Logon Credentials and Logon Username, and in Key Pair click Create Key Pair.

A new browser tab opens to the Create SSH Key Pair page. Enter a name and click OK. A
.pemprivate key file is downloaded in your browser. Close the Key Pair browser tab.Back in the Create ECS browser tab, click the Key Pair
 refresh button and select the key pair you just created in the dropdown. You will use the
 .pemprivate key file later after the instance is running. See Signing in to Your Server after finishing this procedure.
In Instance Name, specify an instance name for easy management. You may choose to launch multiple ECS instances simultaneously, all with the same server specifications.
Click Next: Grouping.
Optionally, set any tags or deployment set.
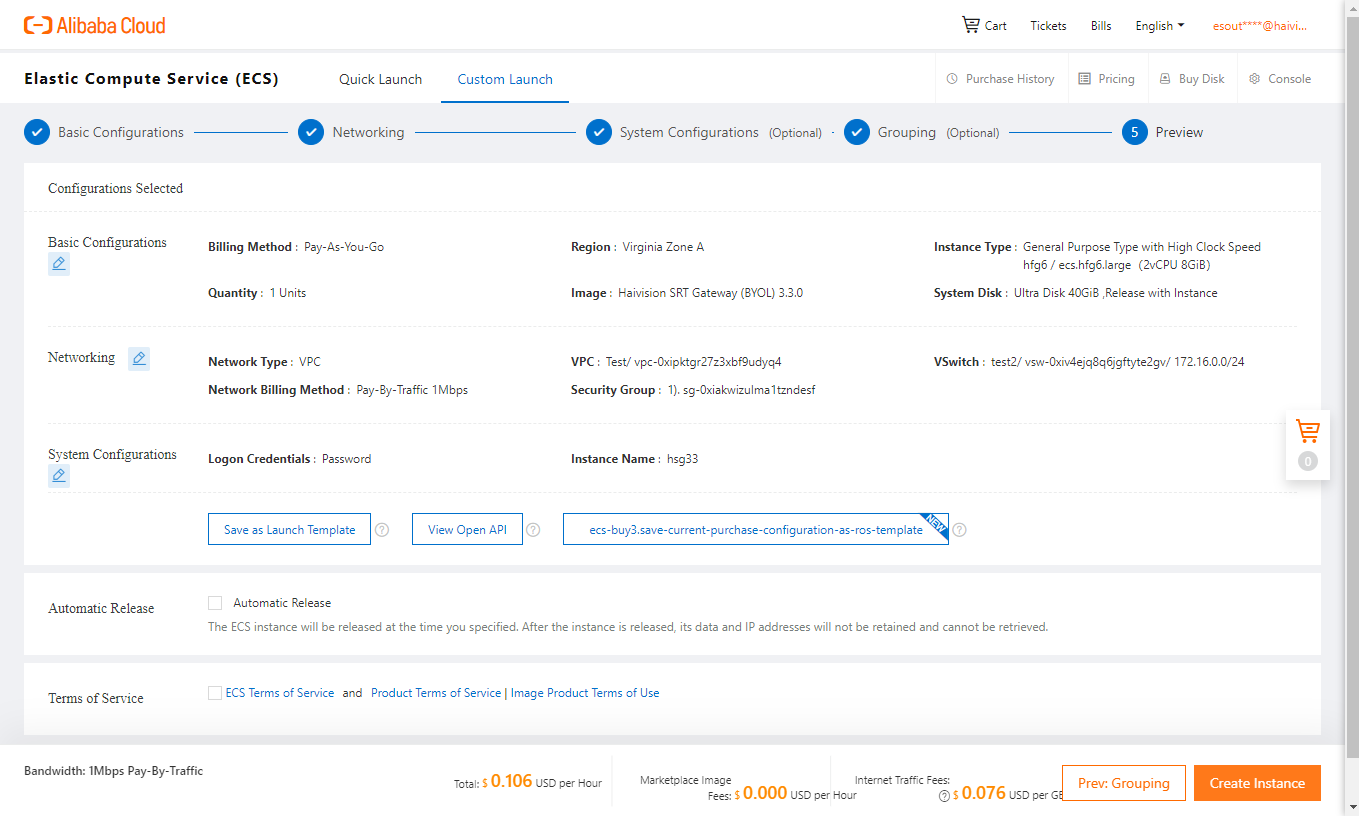
Click Next: Preview.
A summary is shown at the bottom of the ECS purchase page, as well as its associated cost.
When satisfied with your selection, click Create Order.
Buy Now
You should see a successful confirmation message. Return to the ECS web console by clicking Console.
In the ECS console, within a few minutes the ECS instance status changes to Running. Note that the ECS instance only has a private IP address for now, as shown in the following figure. To connect to this instance, continue to Purchase an Elastic IP Address to purchase a public Elastic IP address.
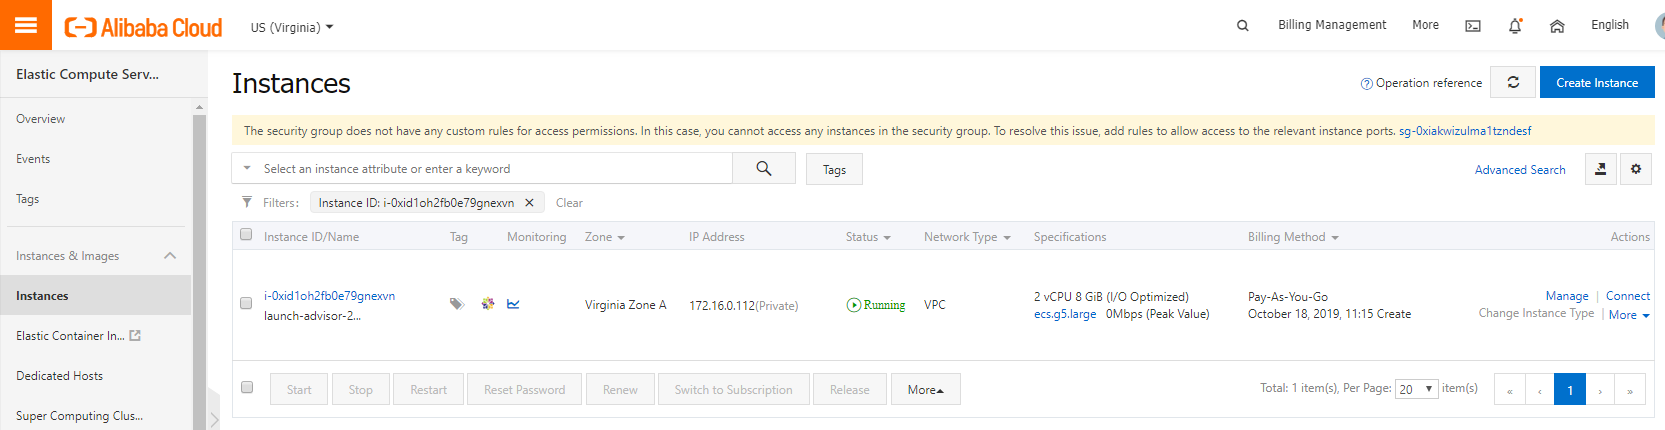
ECS Console