Adding a Landscape-Oriented Display
To set up a landscape-oriented display:
- Click the user icon in the top right and click Admin > Resources.
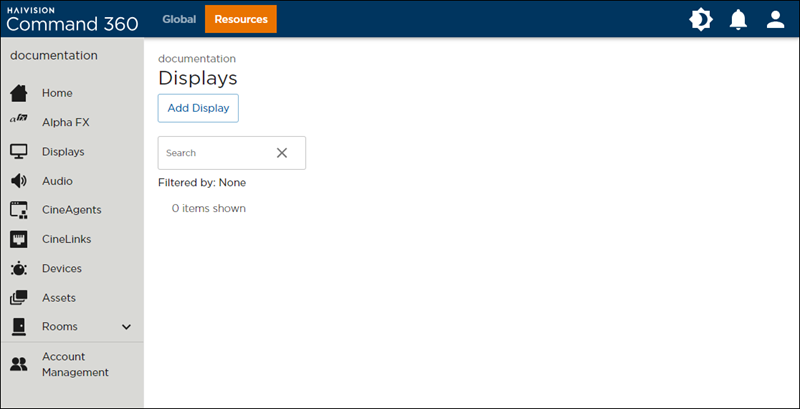
- Click the Displays option on the left navigation column.
- Click the Add Display button.
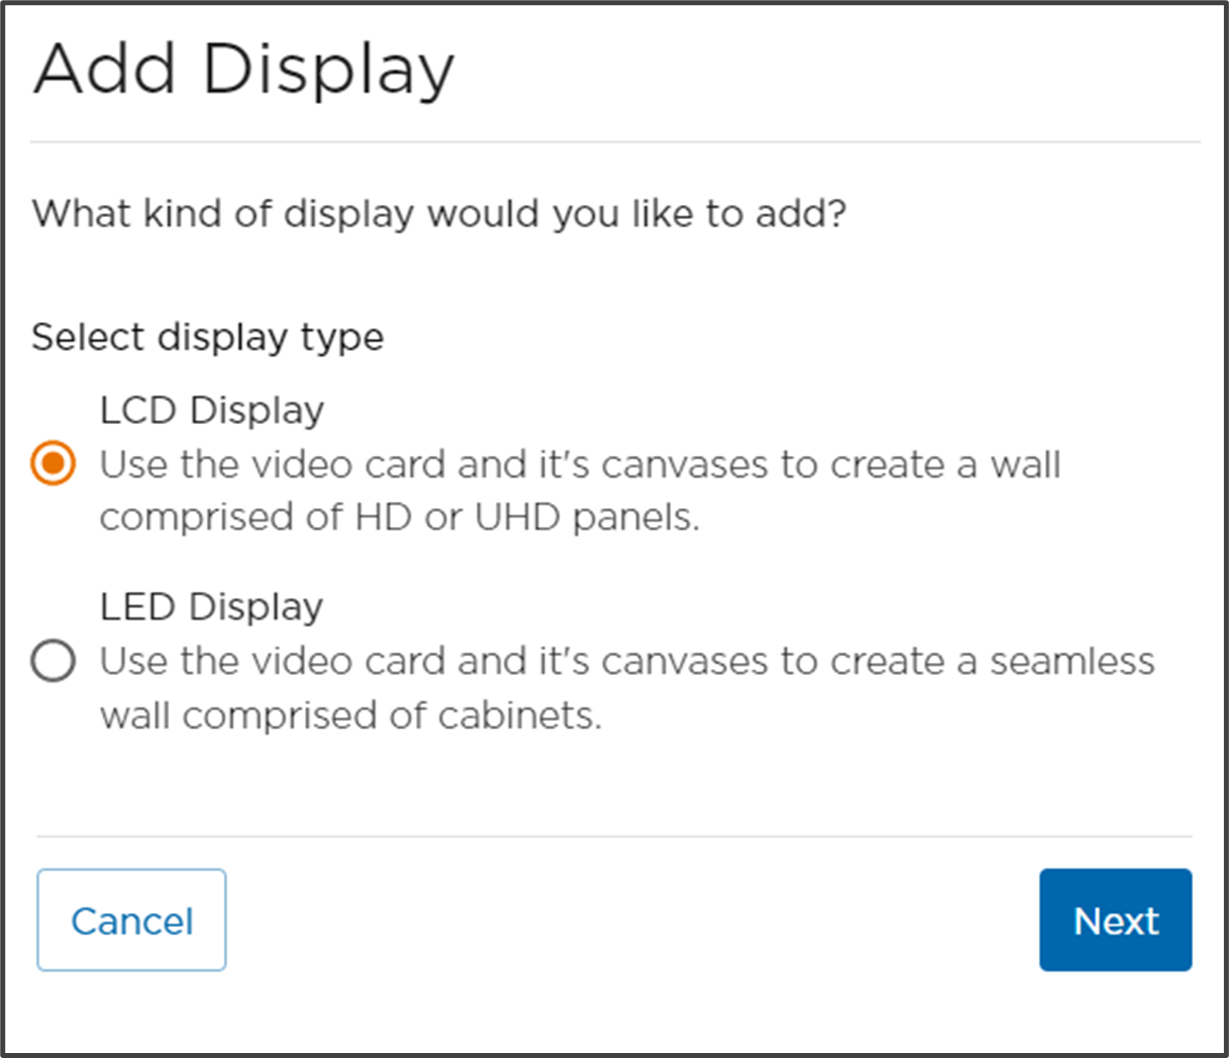
- Choose the Display type (LCD or LED) and click Next.
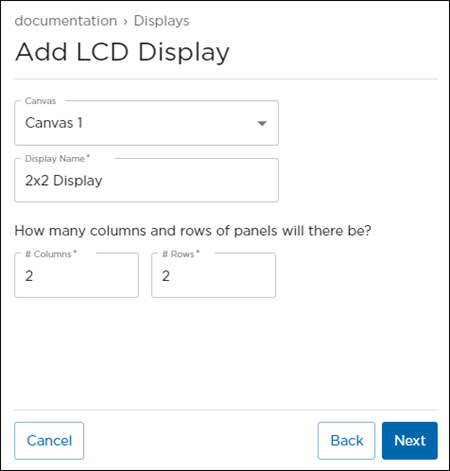
Select a Canvas on which to add the Display.
Note
The Canvas was created during video card set up. The number of canvases available corresponds to the number of video cards configured. If during setup the user indicates the video card has no splitter, then the rows and columns designation below assumes each panel has 4k resolution. If the video card does have a splitter, additional options appear for panel resolution.
- Enter a unique Display Name.
- Designate the number of Columns and Rows.
- Select the Panel/Cabinet Resolution and click Next.
Click on the named Display in the lower left corner and drag it onto the Canvas. Note the Add Display button is unavailable until the newly created Display is added to the Canvas.
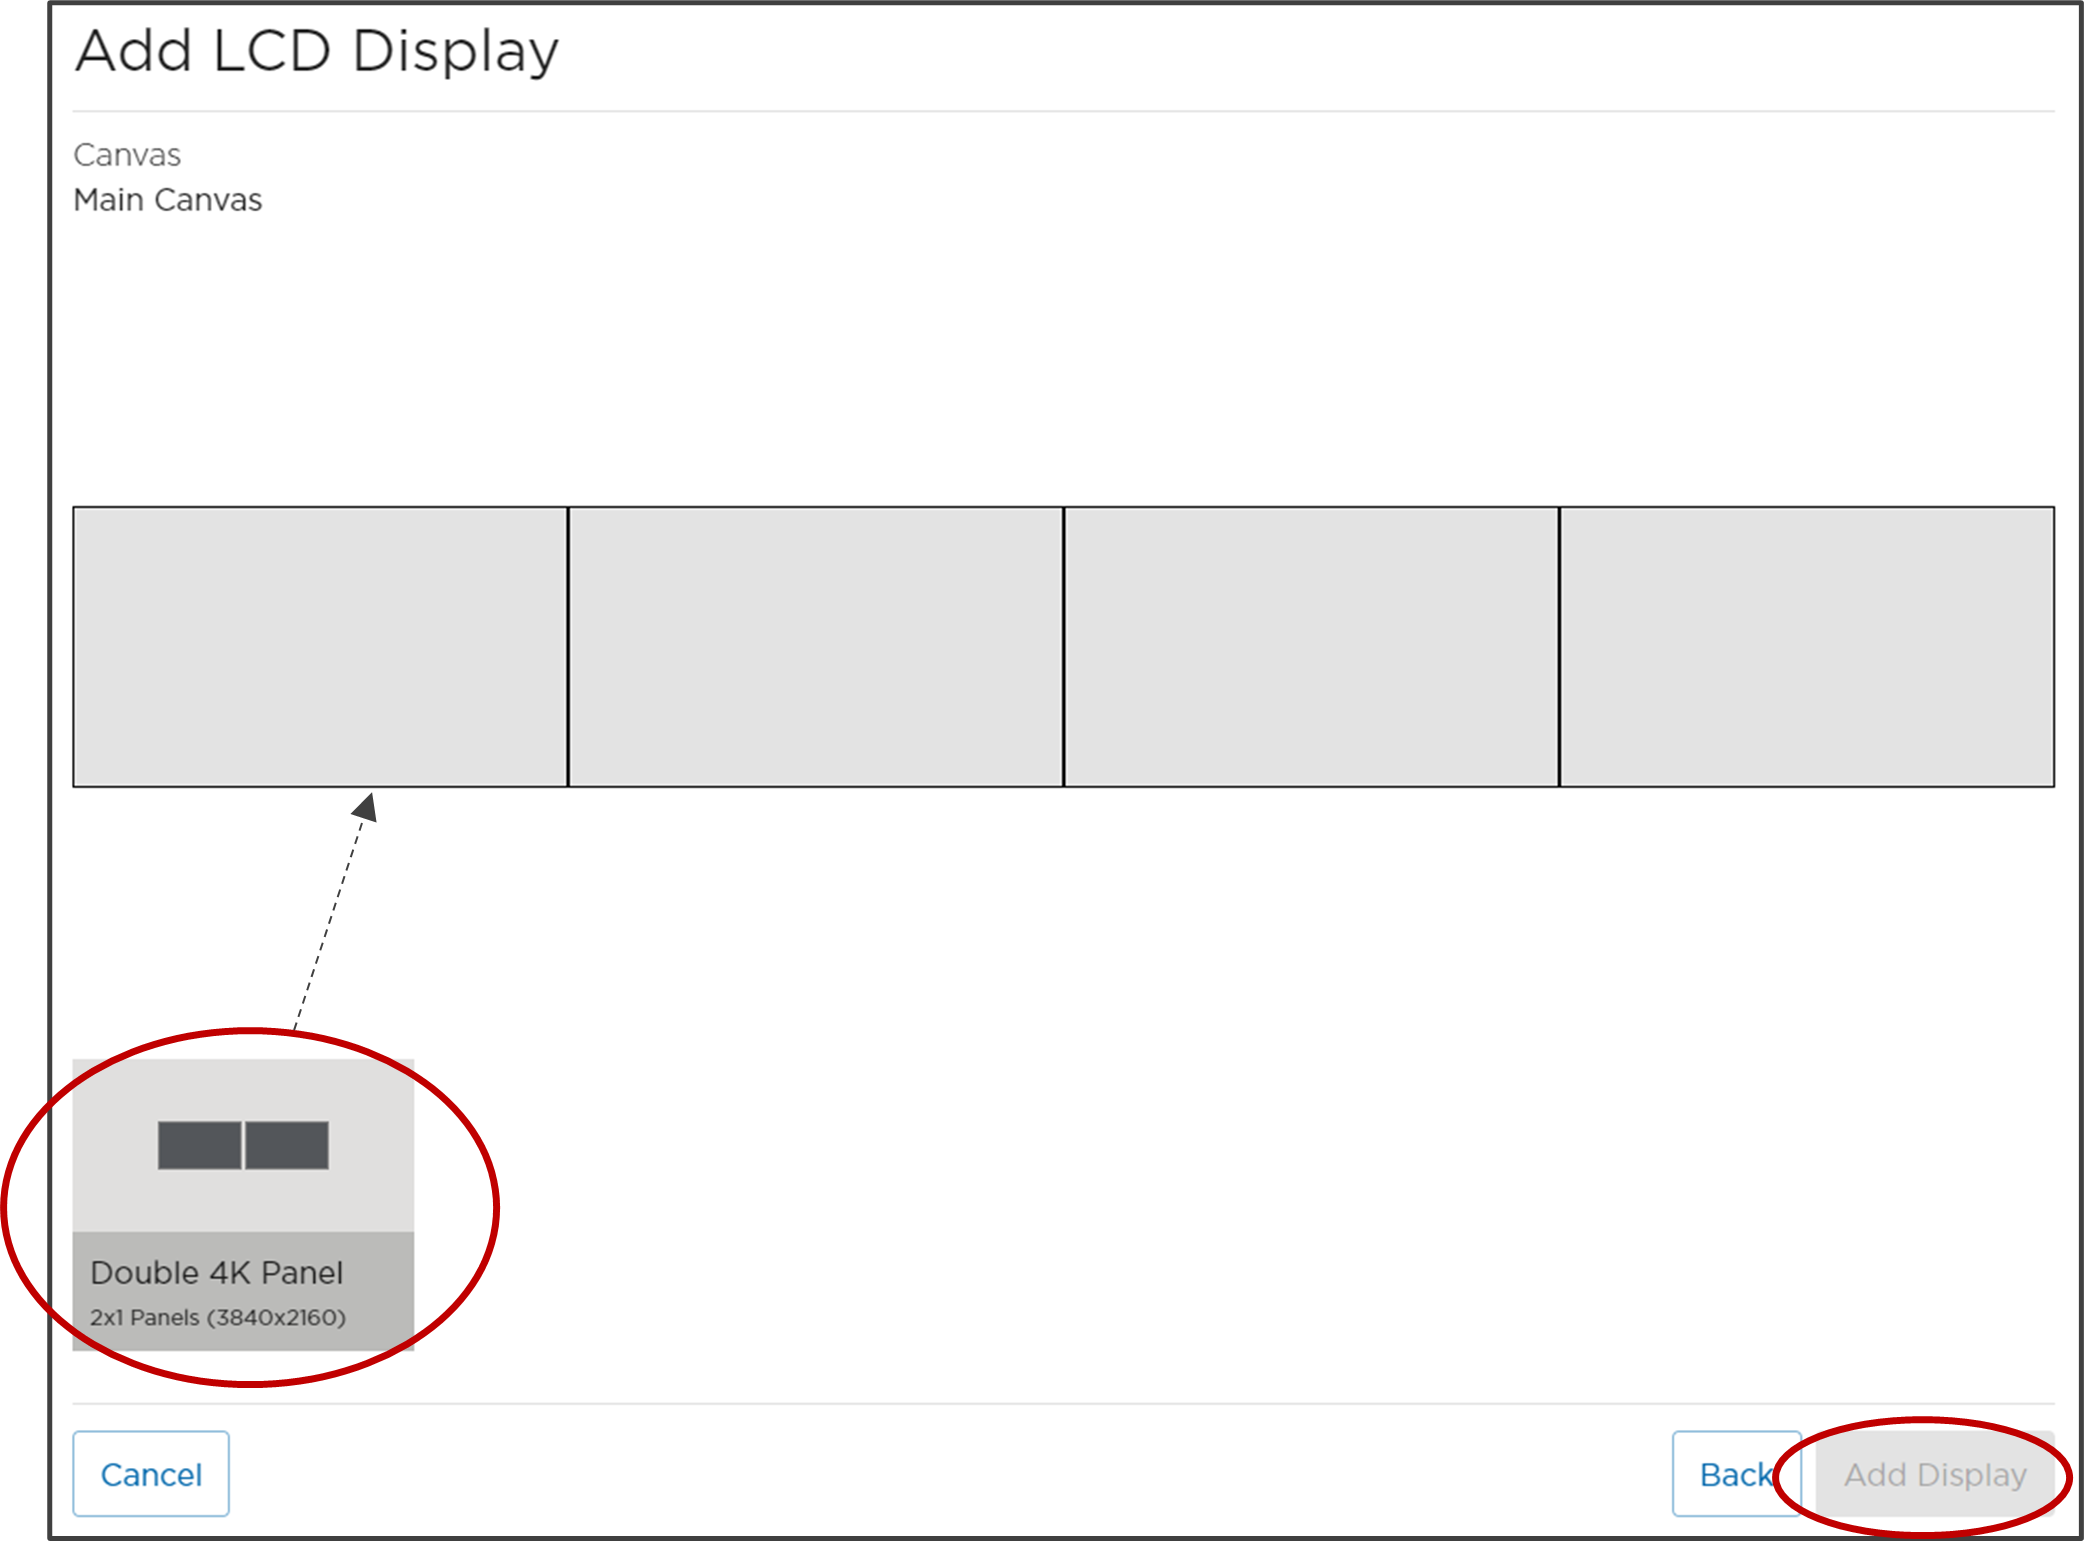
Once the Display is added to the Canvas, it appears in orange as allocated space. The Add Display button is now enabled, and the named Display in the bottom left corner is no longer available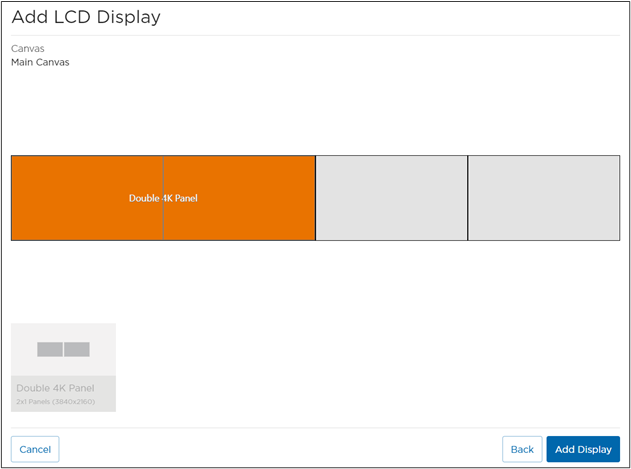
Tip
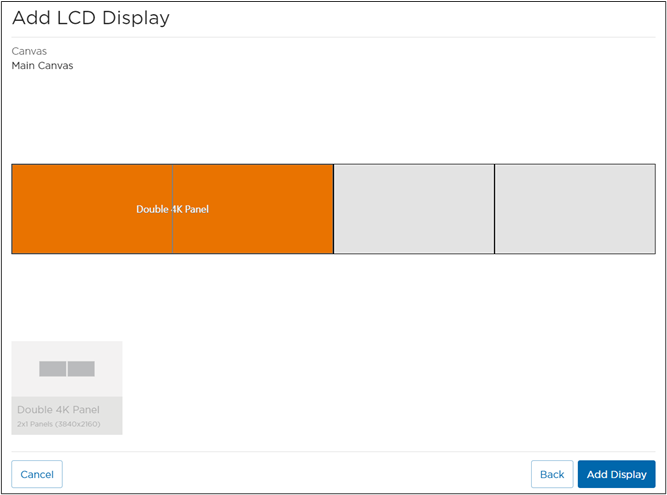
To maximize continuous unallocated space during initial setup, place the Display to the far left or right of the Canvas as in the screenshot above, or the first below. If the Display is placed in the center (see bottom), the amount of available Canvas is the same, but future Display range is more constrained.


- Once satisfied with the new Display placement, click Add Display.
A summary of Display Properties appears once the Display is added. Click the Actions button to Edit, Add to Room/Activities, or Delete the Display.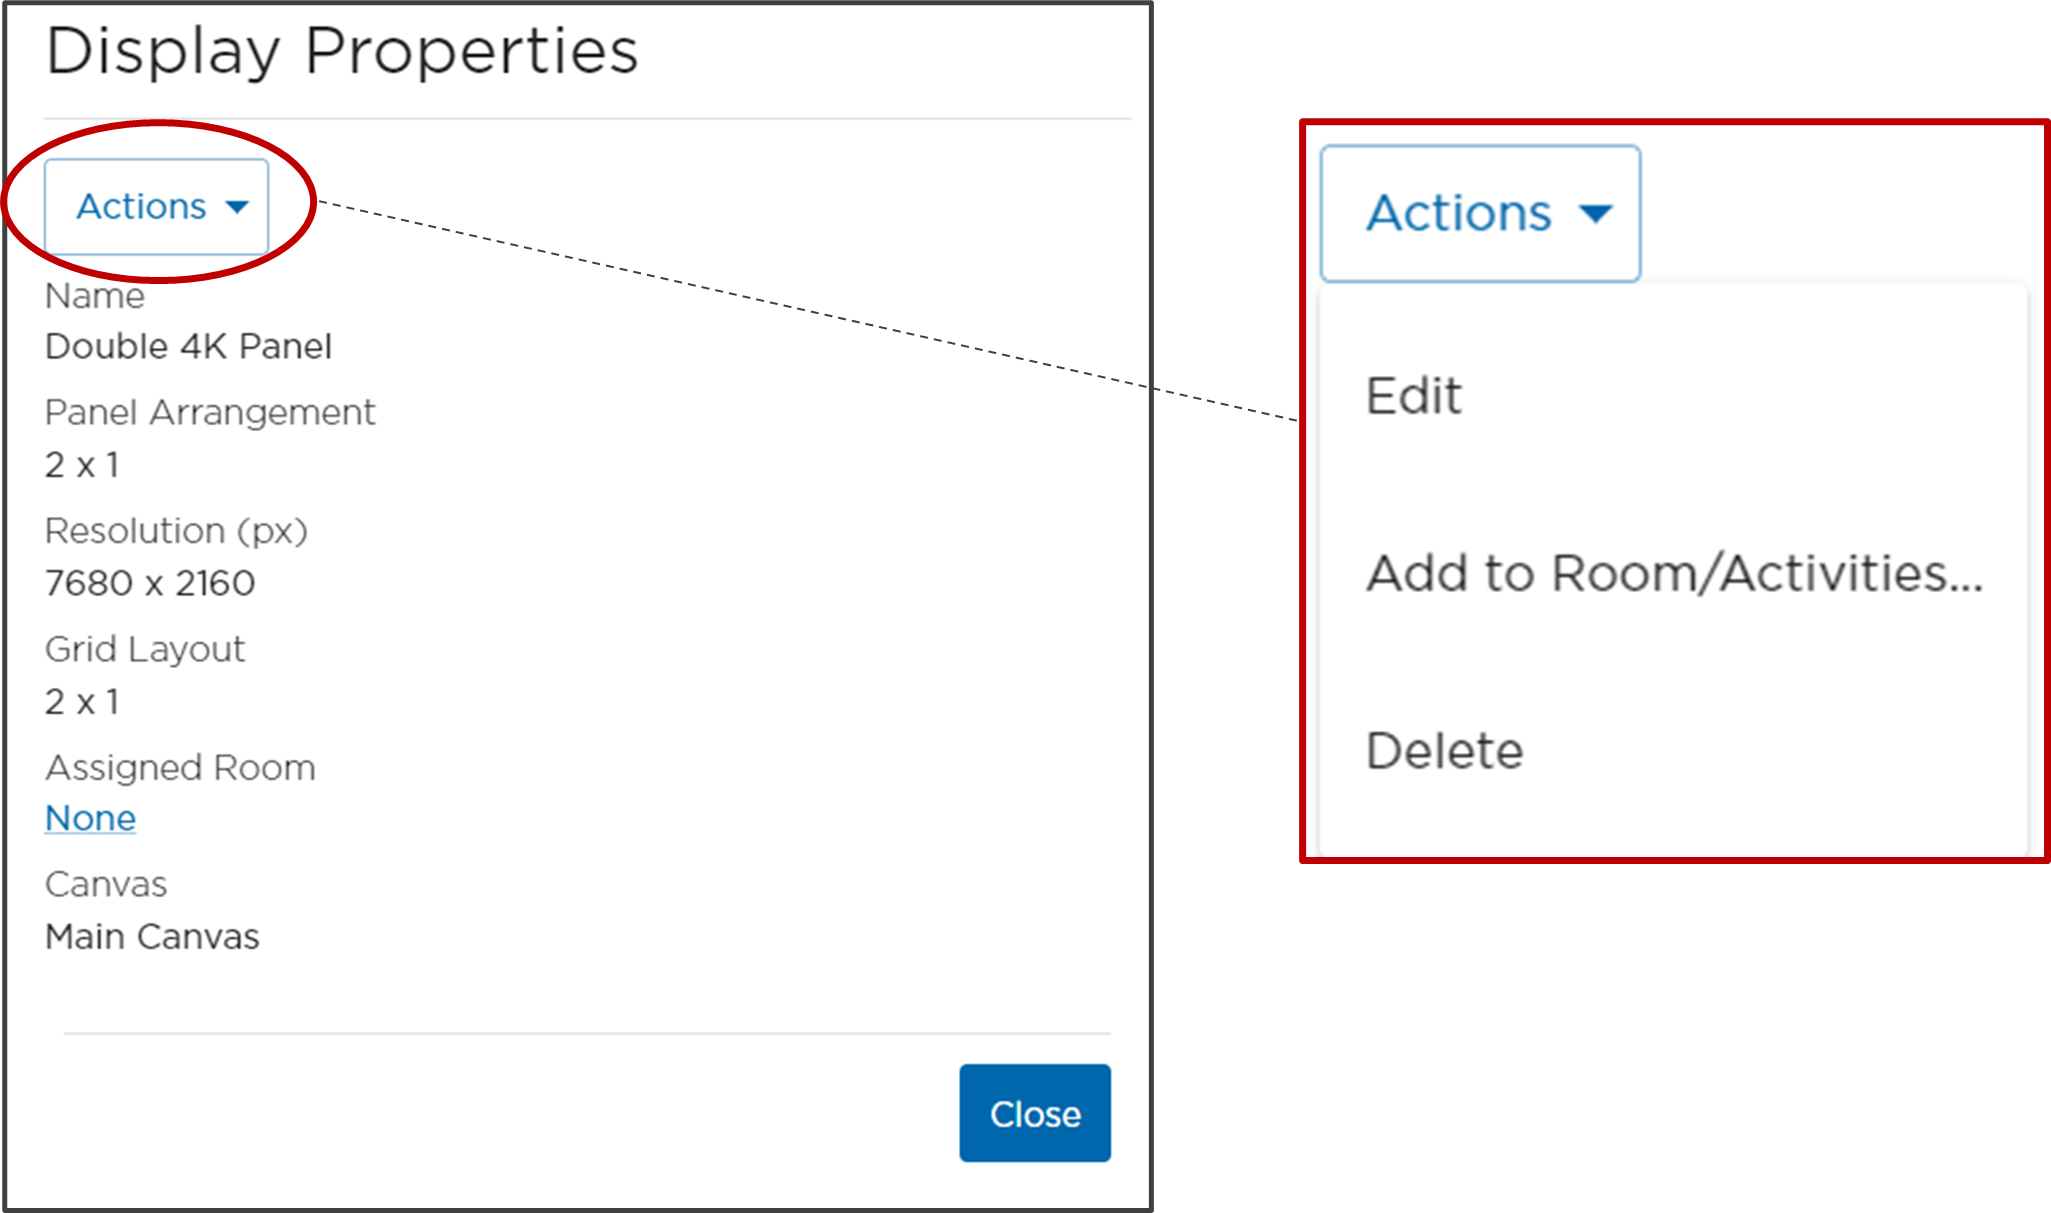
- If no further action is needed, click Close to return to the Resources interface and the Display table.
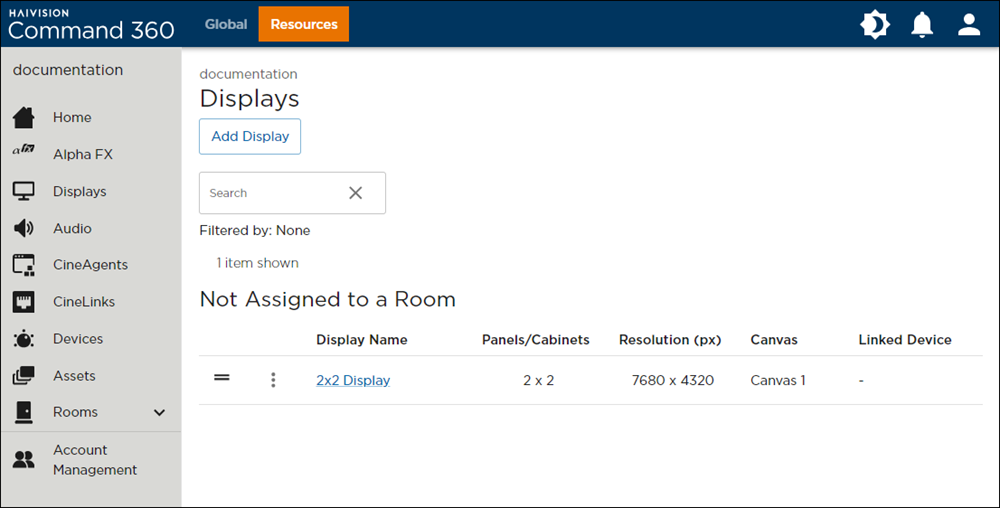
The new Display now appears as a Resource for use in Rooms and Activities.
