Step 1: Configure NTP Settings
Note
This tutorial recommends that you configure the encoders to use “System” timecodes. This requires that the encoders be “NTP locked” in order to insert timecodes into the encoded stream based on the System Time (as explained in the tutorial step below) .
Also , where selectable (i.e., on the Makito X4 encoder), set the Counting Mode to "UTC Conversion".
Configure the encoder and the decoder to use NTP:
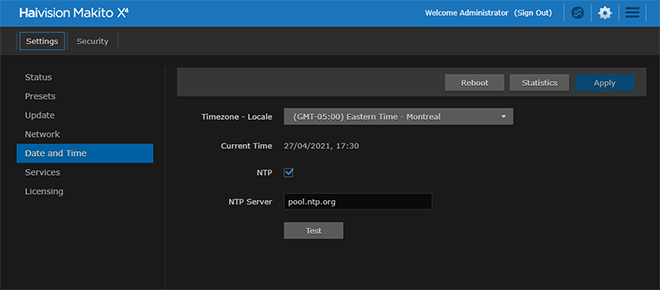
Configure the encoder to use NTP on the (Web interface) Administration> Settings > Date and Time page (as shown in the following Makito X4 encoder example).
Likewise, configure the decoder to use NTP on the (Web interface) Settings > Date and Time page (as shown in the following Makito X4 decoder example).
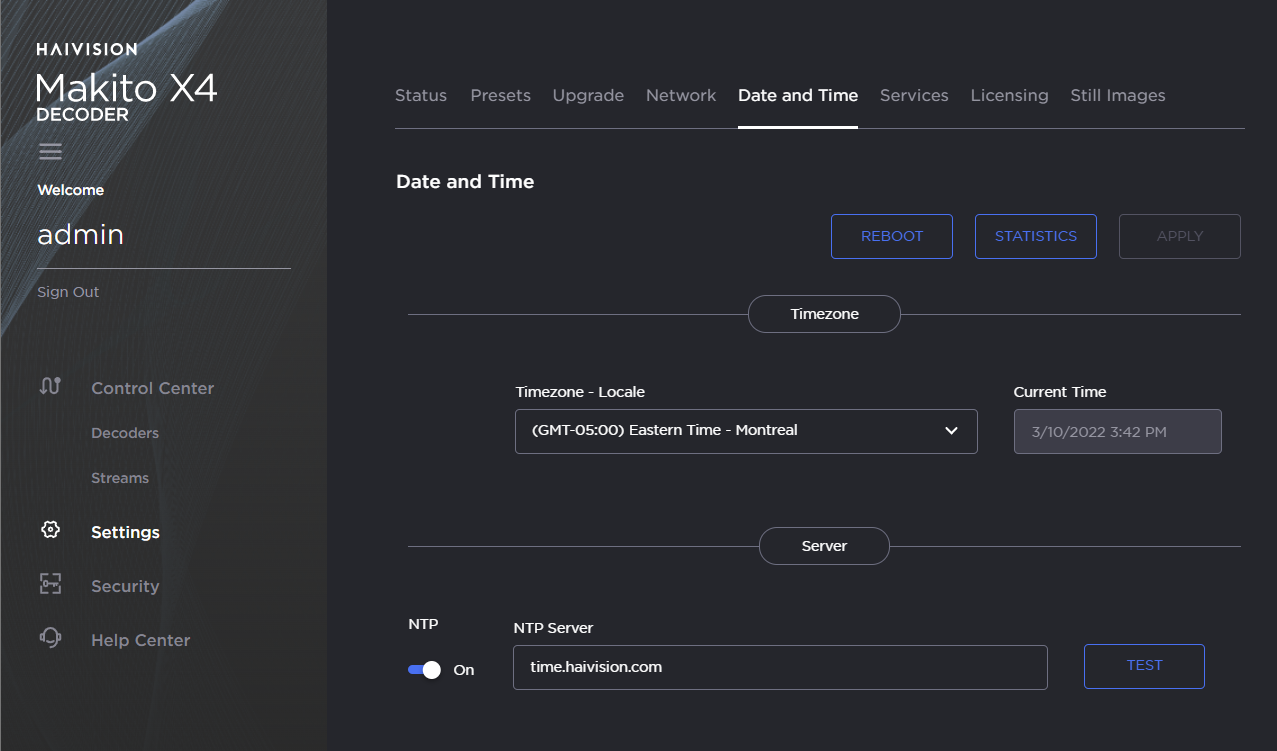
To validate that the NTP server is reachable, be sure to click Test (below or next to the NTP server field).
If you do not see a green checkmark (indicating that the connection is successful), it is a good idea take a system snapshot and contact Haivision Technical Support.
Tip
We recommend an offset – i.e., the difference between the local clock (on the Makito/camera) and remote clock (on the NTP server) – of around 5 ms.