Configuring an Ethernet Interface
From the server's Settings menu, you can configure the IP settings of the Ethernet interfaces.
Important
Make sure not to modify the configuration of the Ethernet interface used for the ssh connection.
To configure an Ethernet interface:
Plug an Ethernet cable in the Ethernet interface 1 or 2 of the server, according to your needs, and connect it to a router.
Access the server's Settings menu (see Accessing the Settings Menu).
Press the number corresponding to IP Settings menu.
Press the key corresponding to the Ethernet interface that you want to configure.
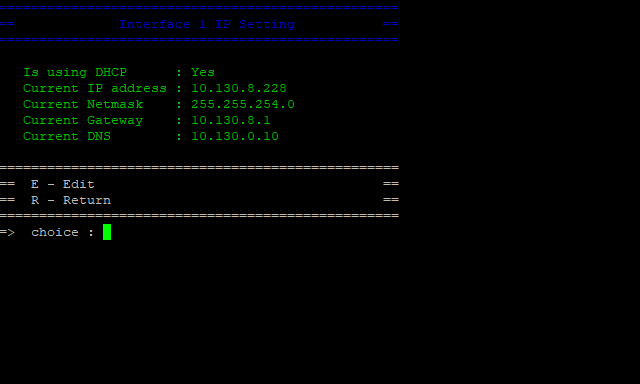
The command prompt shows the current configuration of the selected Ethernet interface.
Default configuration is DHCP.
Select the configuration mode according to your needs:
If you want to use a DHCP server, simply press the backspace key.
If you want to configure a static IP address, press E, press N and Enter. You can then perform the following steps.
Type the local IP address and press Enter.
Type the Netmask and press Enter.
Type the Gateway.
Note
If a gateway is already configured on one of the Ethernet interfaces of the server, it is mentioned. If you don't need to use a gateway, skip this step.
Type the DNS. The default DNS is 8.8.8.8.
Press Enter on your keyboard.
When prompted to confirm your changes, press Y to confirm (or N to cancel) and then press Enter on your keyboard.
Restart the server services (see Restarting the Server Services).
Once the server has an IP address, you can connect it to a router or firewall and configure the network settings. See Network Port Requirements.
