Connecting the Makito XH to the Network and A/V Sources or Displays
Connect video, audio, network and serial cables, referring to the figures below:
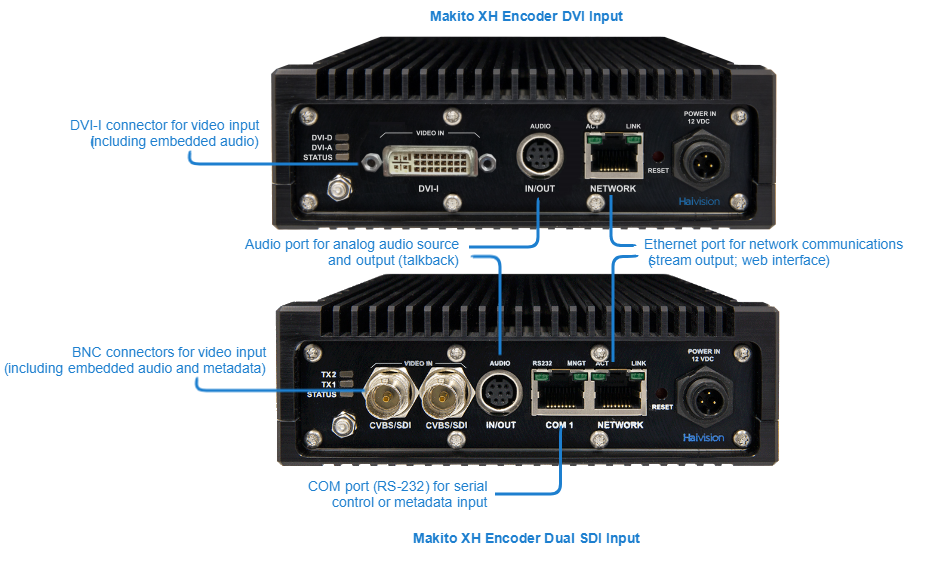
Network: Connect the Makito XH’s Ethernet port to the IP network using a Type Cat 5E cable.
Caution
(SDI Encoder only) Take care not to plug the Ethernet cable from an Ethernet switch (especially a Power over Ethernet (PoE) switch) directly into the COM1 serial port as it may damage the encoder.
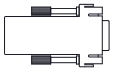
(Optional for SDI Encoder) Serial Input: Connect the Makito XH’s COM1 port to a metadata source or to the serial port of a computer using a standard straight Ethernet cable (TIA-EIA 561). You may need to use the RS-232 DB9-to-RJ45 serial management adapter provided with the encoder.
Note
The Reset button provides two options:
If you press and hold the button for less than 4 seconds, the system resets and loads the last saved configuration. If no configuration was previously saved, the default settings prevail.
If you press and hold the button for more than 4 seconds, the module performs a complete factory reset. It clears all of the previously configured settings, including IP, streams and encoder configurations.
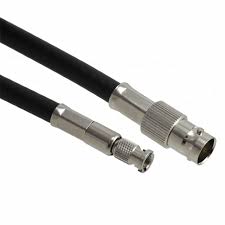
SDI Encoder Input: Connect the Makito XH’s SDI Video/Embedded Audio Input to your audio/video source(s) using the BNC connector(s) and coaxial cable(s).
or
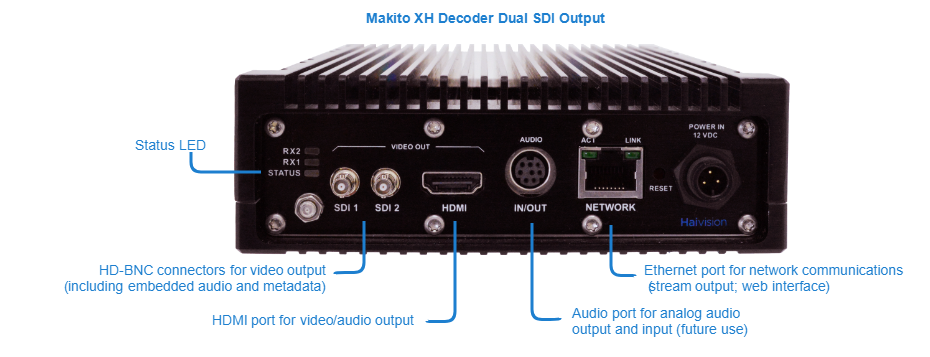
DVI Encoder Input: Connect the Makito XH’s DVI-I Video/Embedded Audio Input to your audio/video source(s) using a DVI-to-DVI or an HDMI-to-DVI cable.3G-SDI Decoder Video Output with Embedded Audio: Connect one or both of the decoder’s SDI outputs to TV or display monitors, using the HD-BNC to BNC Adapter Cable(s) (included in the package for appliances).
or
HDMI Decoder Video Output with Embedded Audio: Connect the decoder’s HDMI output to a TV or display monitor, using an HDMI connector (refer to the Makito X Decoder User's Guide for the HDMI connector pinouts).
Note
(Decoder only) By default, HDMI displays the SDI1 content. To monitor the SDI2 channel, see “Configuring the HDMI Video Display” (in the Makito X Decoder User's Guide).
Analog Audio Input/Output: Connect the Makito XH’s mini-DIN-8 audio connector to your audio source or sound system/speakers, using the audio 8-pin Mini-DIN connector/ Audio cable/adapter provided with the Makito XH.
On the Makito XH Encoder, for unbalanced audio, use the 8-pin audio to 3-RCA female cable adapter (included in the package).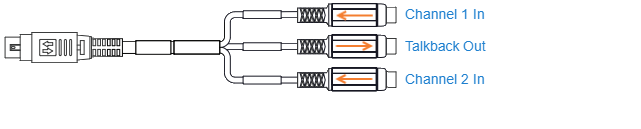
On the Makito XH Decoder, for unbalanced audio, use the 8-pin audio to 3-RCA female cable adapter (included in the package).

A balanced audio cable adapter is available from Haivision upon request.
Refer to the Makito X Encoder or Decoder User’s Guide for the balanced/unbalanced audio pinouts.
Note
(Encoder only) The Makito XH supports Composite video as well as Analog audio formats. Selection between Analog (the default) and SDI audio can be done via the Web Interface. See Configuring Audio Encoders (in the Makito X Encoder User's Guide ).
Tip
On the Encoder, the Talkback channel may be used to provide loudspeaker voice alerts to ground personnel near surveillance towers, or for back-channel communications to pilots or drivers.
(Optional) Add a sealant gel around the Makito XH connectors in order to further protect them from water, humidity, sand and dust.