Configuring Recording Outputs
From the Outputs pages, you can set up either streaming only, recording only, or both streaming with recording. This section covers setting up recording outputs.
Note
Recording is only available on the Makito X with Storage dual-height model (either fixed or removable SSD). For details, see Storage Options.
Setting Up Recording
On the Makito X with Storage, you can create recording sessions in order to save selected encoded content (Audio/Video/Metadata) on the installed storage media (SATA or mSATA SSD).
Note
The Makito X with Storage can record two streams simultaneously.
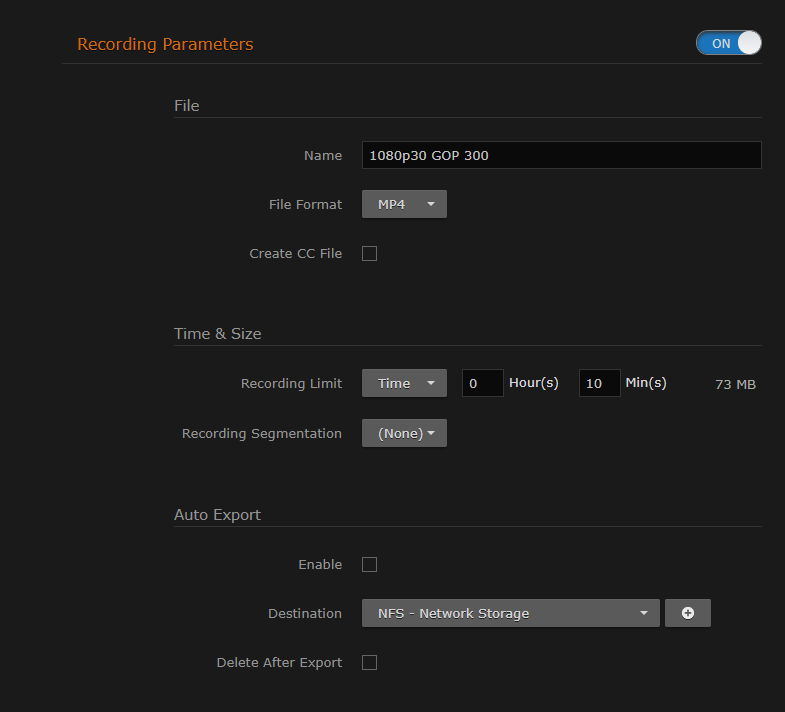
When setting up a recording session, you select the file format (either .TS or .MP4) and then can optionally configure a recording limit and segmentation.
Recording segmentation subdivides the recording into segments. Segmented file creation is useful for long duration or continuous recording. You can specify either a size limit or a time limit for segments of the content recording. As each completed segment is saved, a new segment is created and any newly created content is stored in the new segment.
Auto Export automatically exports completed segments to either HVC or an FTP server. Auto Export becomes available once you either set a recording limit or enable segmentation.
Segmentation Roll-Over deletes old segments beyond the configured recording limit. As such, it is only available when a recording limit is set and segmentation is enabled.
You can play back .MP4 assets directly in the Makito X Web Interface once a segment of the recording has completed. See Managing Recordings.
Makito X recordings can be used by either HVC or Haivision Media Platform. These videos can be downloaded from the Makito X Web Interface, exported to a USB, or sent automatically to an FTP location.
To set up a Recording session:
On the Streaming page, click General Settings on the navigation bar and Outputs on the sidebar.
From the Outputs List View, click a link in the table for an existing stream, or click the
 Add button to add a stream.
On the Outputs Detail View, if necessary, scroll down the page and toggle the Recording Parameters button to On.
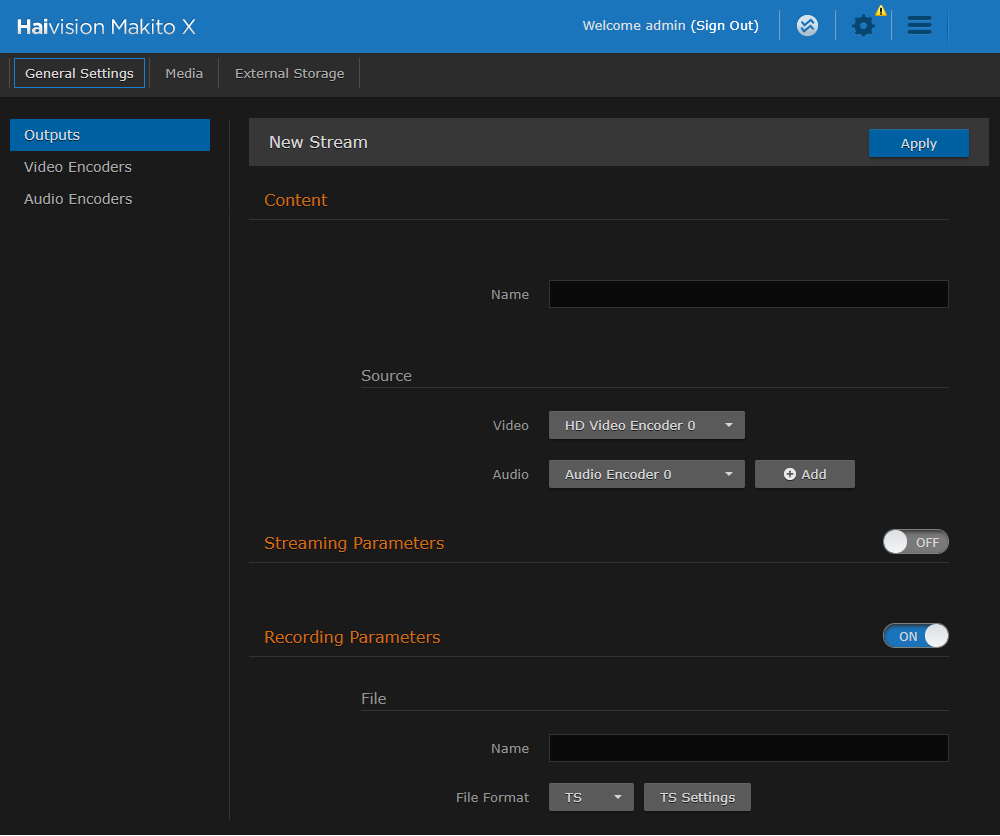
Under File, enter the name and select the File Format.
(Optional) Under Time & Size, specify a Recording Limit and/or Recording Segmentation.
Click Apply to start recording (as well as streaming, if configured).
To return to List View, click Outputs on the sidebar.