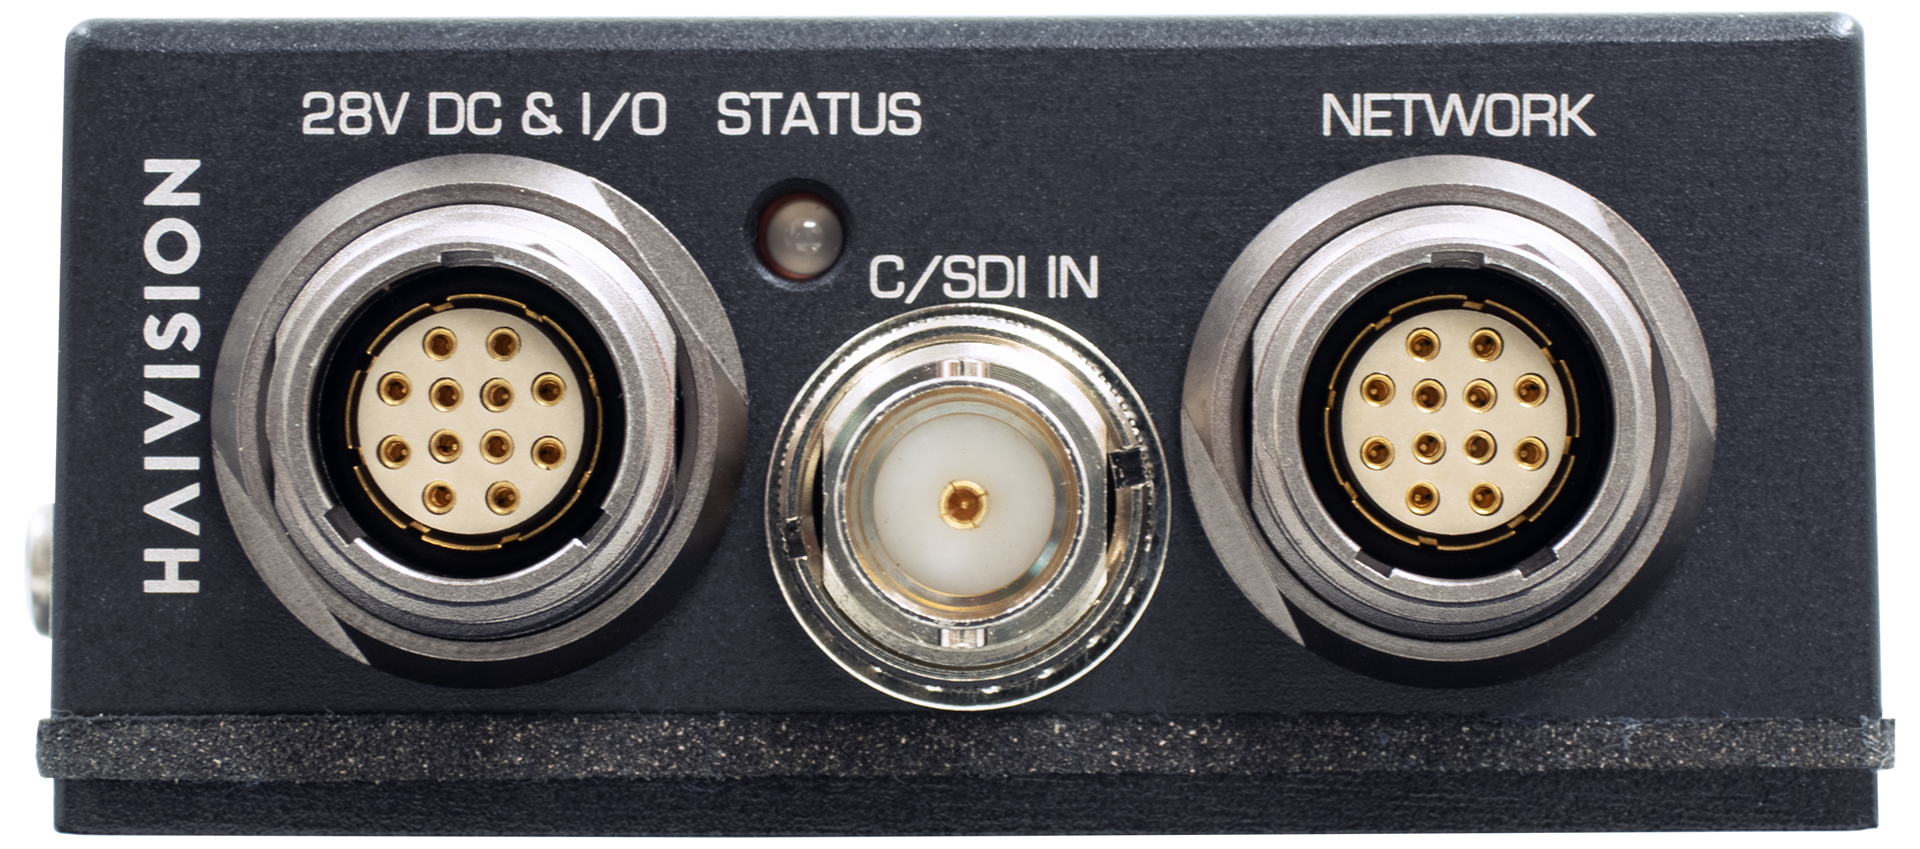
(28V) Power up the Makito X1 Encoder
MX1 Rugged 28 Volt (#S-MX1E-R-V2-28V-SDI1-ISR)

There is no power switch on the encoder. The power is automatically on when the unit is plugged in.
- (As shown under (28V) Connect to the Network and Audio/Video Sources) Insert the Power/Audio/Serial breakout cable connector into the encoder's the encoder's power input port (DC In & I/O). Both AC and DC power cables (shown following) are shipped as part of the Evaluation Kit (S-MX1E-R-V2-28V-SDI1-DK).
- Make sure the connector is properly inserted and locked to avoid intermittent power problems.
- Connect the power cable:
On a 5 volt unit (#S-MX1E-R-SDI1 or #S-MX1E-R-V2-SDI1) connect the power cable to a +5V power source. (The AC PSU can be used to convert from 120V AC to 5VDC ±0.25V.)
On a 28 volt unit (#S-MX1E-R-V2-28V-SDI1-ISR) connect the power cable to a +28V power source.
Note
The power connectors have different color bands (yellow indicates the 5V variant; green indicates the 28V variant) and a keying mechanism to prevent connecting a unit to the incorrect power source.
Wait until the Status LED stays solid green, indicating that the encoder is ready for operation.
Note
If the Status LED does not turn solid green after at least five minutes, you can attempt to connect to the network via:
- The Web User Interface, using the device's IP address, or,
- The CLI, through an SSH using the device's IP address.
If neither of these options work, perform a factory reset to re-configure the MX1 Rugged. For details, see Resetting the MX1 Rugged in the Makito X1 Rugged Encoder User's Guide.
Important
The LED status indicator can be shut off completely though the command line interface. In this case, there will be no indications of any kind from the LED. For details, see leds in the Makito X1 Rugged Encoder User's Guide.
Related Topics
- For pinout information, see (28V) DC IN and I/O Connector.
- To order the PSU, contact Haivision Sales at sales@haivision.com.


