Relying Party Trust
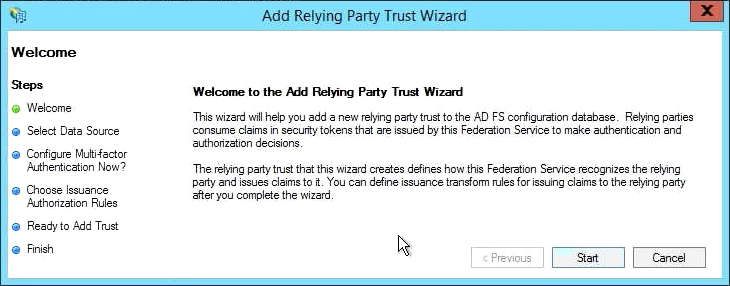
- In the Microsoft Management Console (MMC), open the AD FS Management snap-in and choose Add Relying Party Trust… to start that wizard.

- On the Welcome screen, click Start.
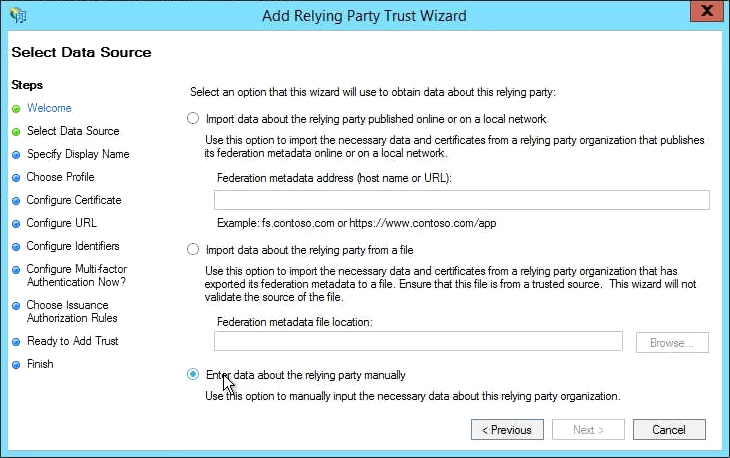
- Under Select Data Source, select "Enter data about the relying party manually", and then click Next.
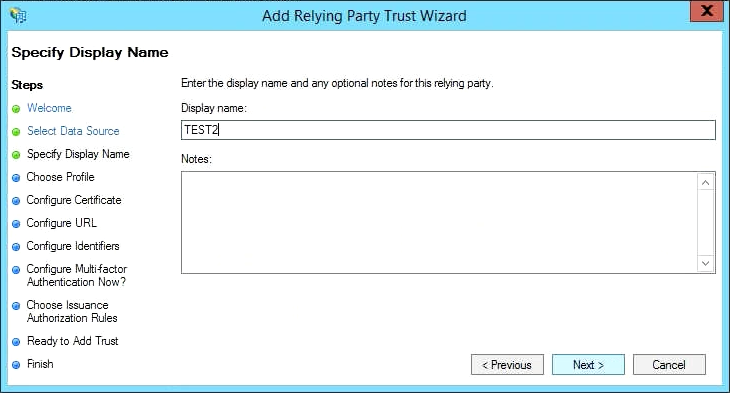
- Under Specify Display Name, enter a Display name for the Relying Party (the HMP server), along with some descriptive notes (optional), and then click Next.
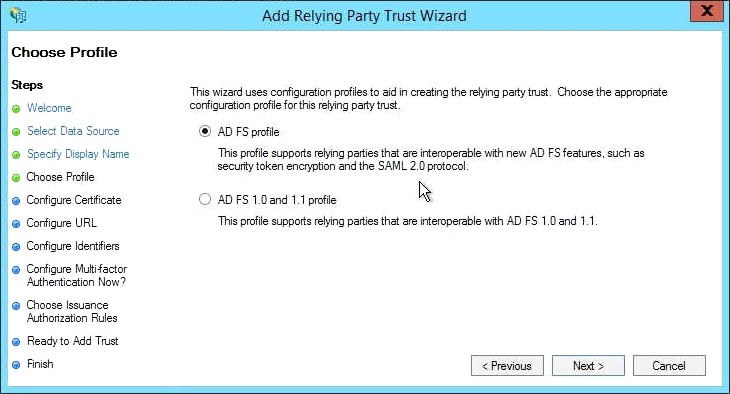
- Under Choose Profile, select AD FS profile, and then click Next. Note that in this example our AD FS server is providing SAML 2.0 services.
Under Configure Certificate you can add an encryption certificate if the servers will be communicating over the public Internet. This certificate is used to encrypt the information in the SAML token itself, making the assertion within the token unreadable until it is decrypted. If you choose to implement encryption, you will need to add the certificate's private key to the HMP server's SSO settings.
Note
SSL ensures the token exchange is safe on the network. However, as can be seen with SAML browser tools, plain text token data could be captured by the browser or a malicious plugin.
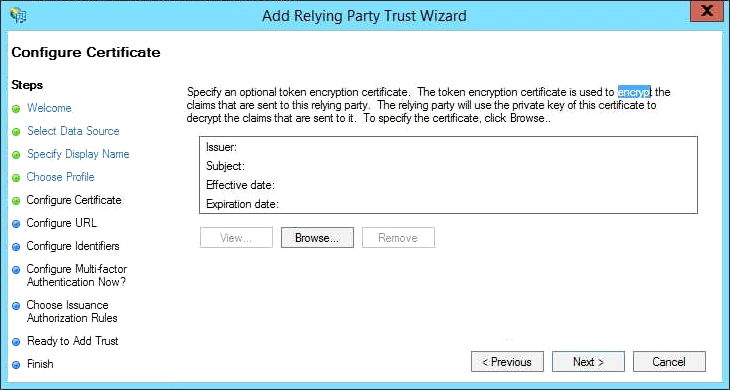
Click Next to continue.
Note
In setting up a Relying Party Trust on an AD FS server, a URL must be provided for the Relying Party SAML SSO Service, and a second URL for the Relying Party Trust Identifier. Both of these URLs refer to the same server (in our case this is the HMP). Specifically in the case of HMP, these URLs must be identical and of the form:
https://<FQDN of HMP>/sso/callback(e.g.https://myhmp.mycompany.com/sso/callback)- Under Configure URL, you can enable support for the WS-Federation Passive or SAML 2.0 WebSSO protocols. This will allow the relying party server (such as HMP) to talk to your organization's primary AD FS server. This URL consists of your HMP server's fully qualified host name (e.g.
myhmp.example.com) followed by/sso/callback.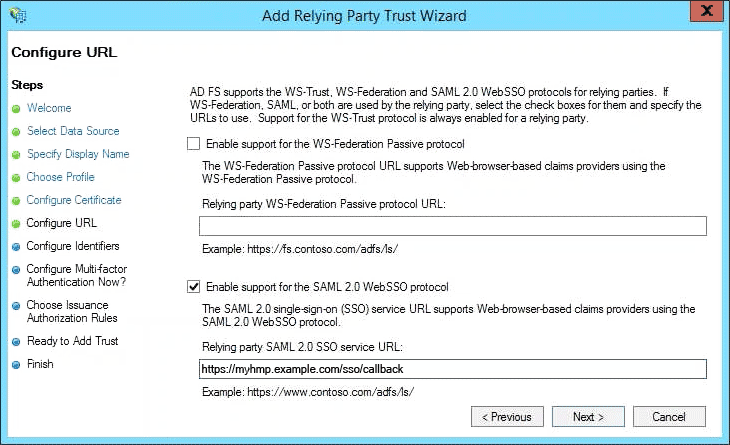
- Click Next to continue.
- Under Configure Identifiers, provide the callback URL for the HMP (service provider) in the Relying party trust identifier field, and then click Add. You can have multiple identifiers for a relying party trust when HMP is accessible via multiple hostnames (e.g.
https://myhmp/andhttps://myhmp.example.com/):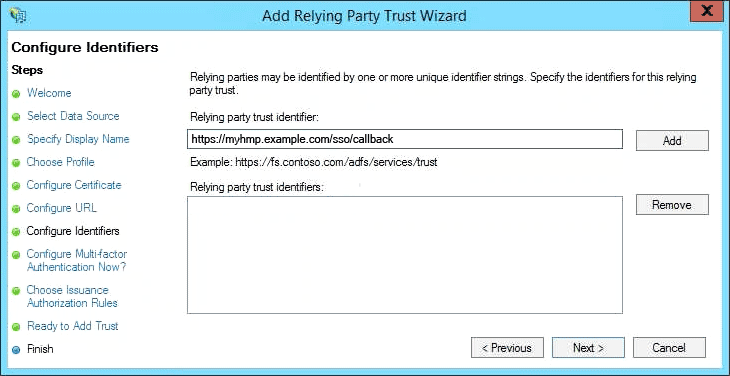
- Click Next to continue.
- Under Configure Multifactor Authentication Now?, leave the default setting ("I do not want to configure...") unless your requirements are otherwise (not available in AD FS v2):
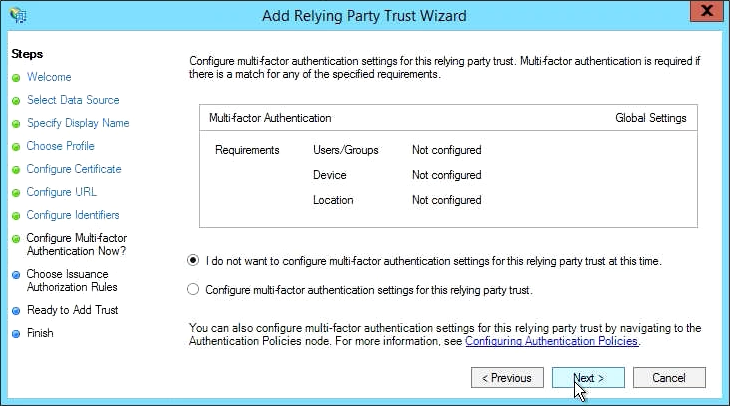
- >Click Next to continue.
- Under Choose Issuance Authorization Rules, you can permit or deny access when users are making requests through the AD FS. You can define custom rules later to allow certain groups or individuals access to the relying party trust (white or black list). In this example we permit all, with the understanding that we can later modify access as needed.
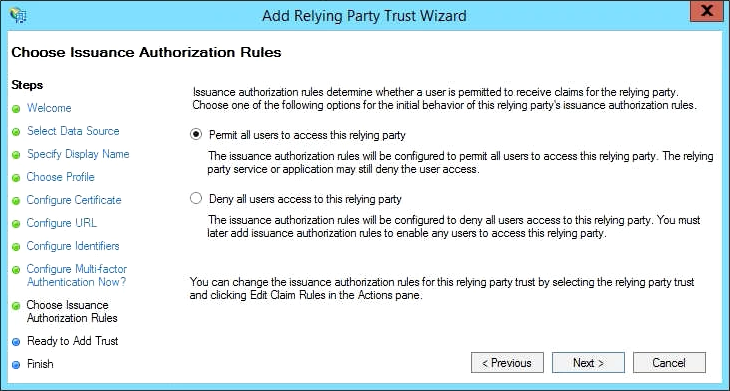
- Click Next to continue.
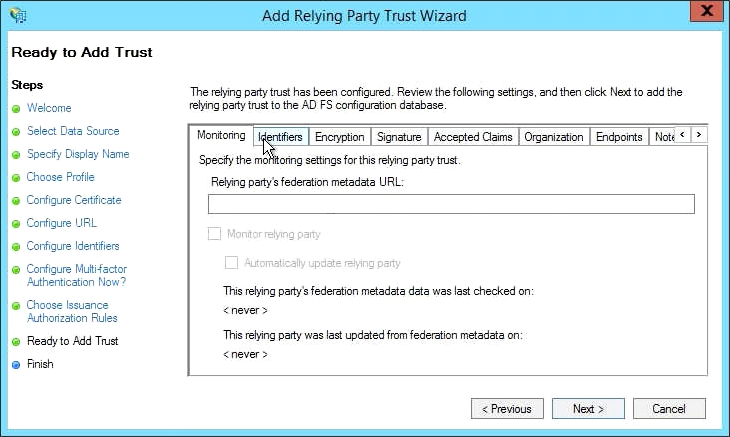
Under Ready to Add Trust, you can verify the settings:
- Click Next to continue.
- When the last screen (Finish) of the Add Relying Party Trust Wizard appears, note that the new relying party trust appears in the Actions sidebar on the right:
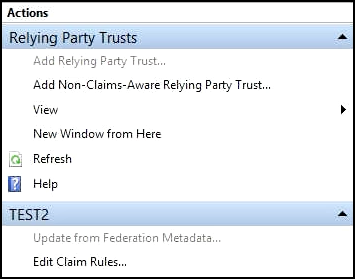
- In the Finish screen, check the box for "Open the Edit Claim Rules dialog...", then click Close.
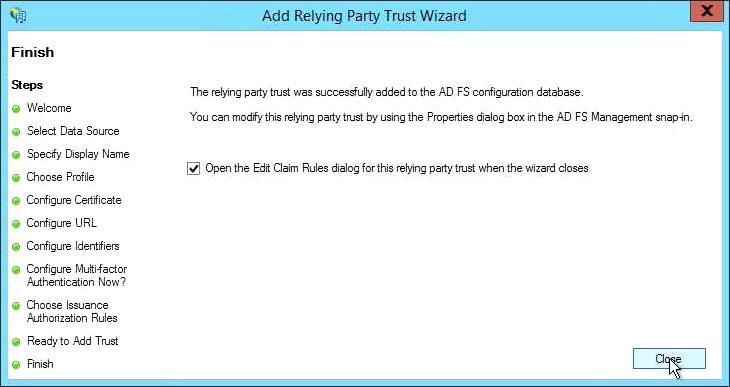
The Edit Claims Rules dialog appears. See the next section.
Note
The Edit Claim Rules wizard should open automatically. If not, you can edit claim rules from the AD FS Management snap-in by selecting the HMP relying party trust, and then choosing Edit Claim Rules in the right-hand panel.

