Creating a Virtual Server
Signing in to Google Cloud
Sign in to your account: https://cloud.google.com.
After you have successfully logged in to the Google Cloud portal, go to your console at https://console.cloud.google.com.
Creating a Virtual Instance
In the search toolbar, search for Haivision Gateway and select one of the gateway offerings.

Google Cloud marketplace
Click the Get Started button.
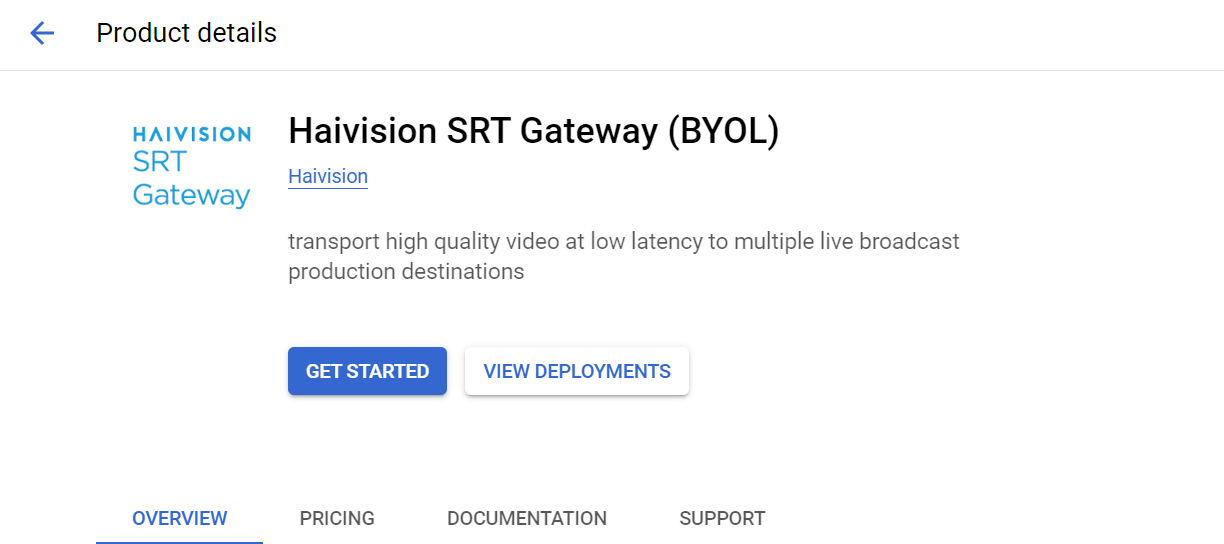
Gateway listing
After reviewing the terms and agreements, click the checkbox and click the Agree button.
Click the Deploy button in the success modal.

Deploy button
Click Enable to enable the required APIs.
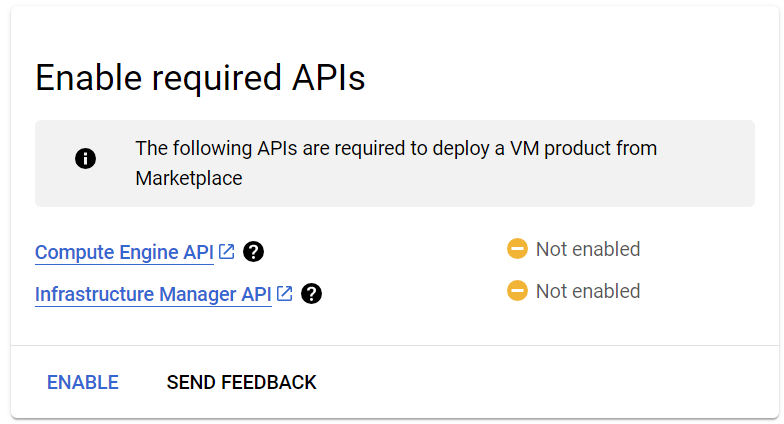
Enable APIs
After a few moments the APIs are enabled and the deployment options screen appears.
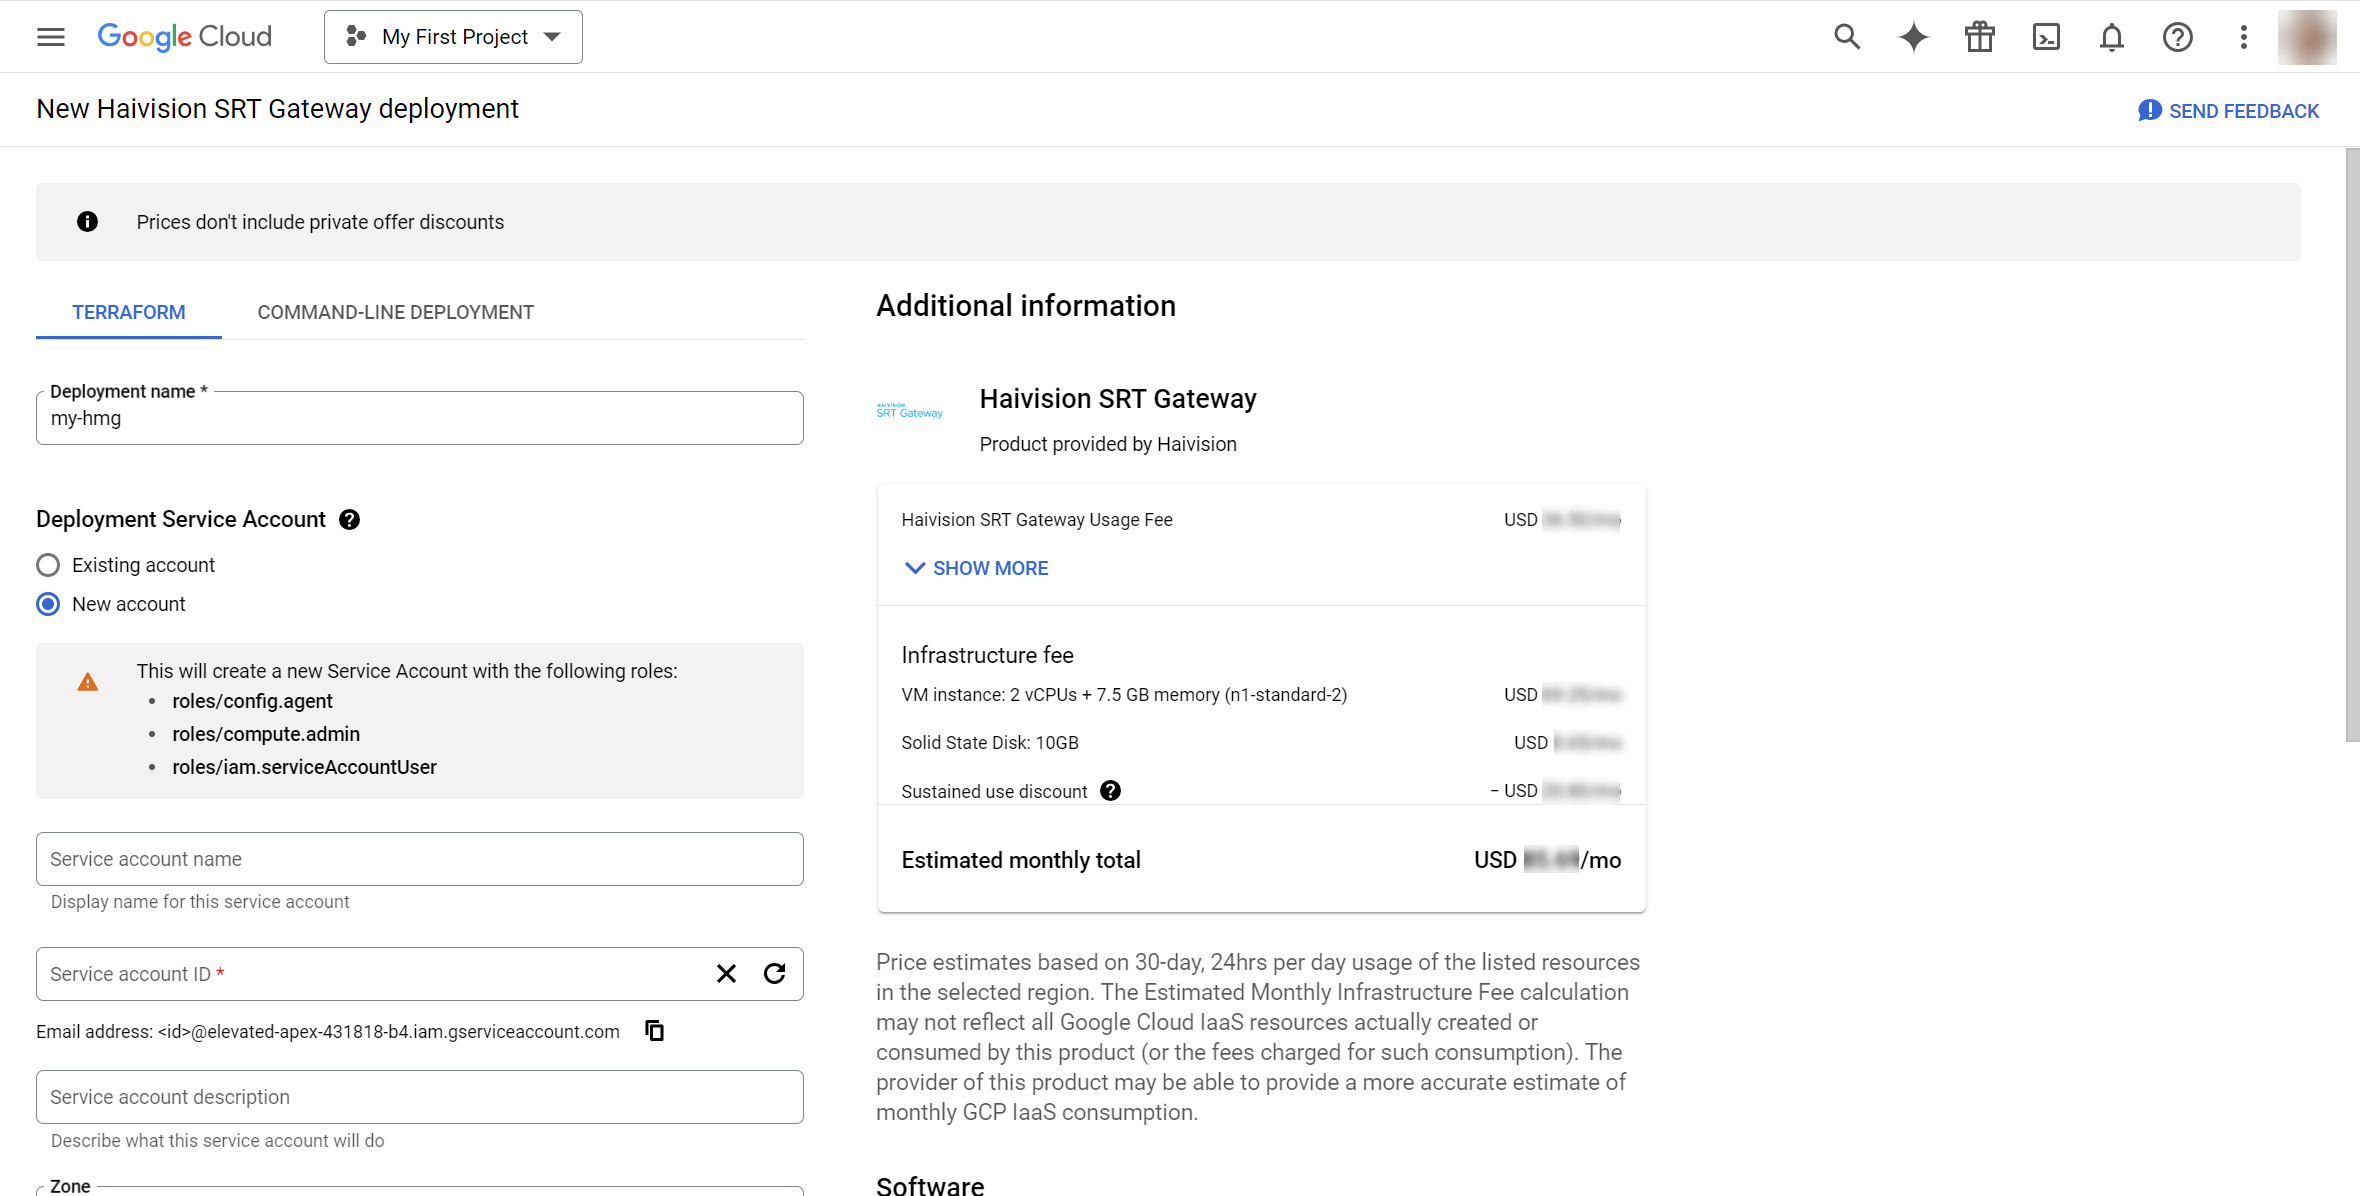
Deployment Options
Edit the settings as necessary, specifically:
Zone: Select the location of your Gateway.
Machine type: Select Compute Optimized and select the desired Series in the dropdown.
Note
For high bandwidth streams or critical viewing requirements, we recommend using Compute Optimized C2D Instances tiers, as they are optimized for compute-intensive workloads.
See the following table for the correlation between the BYOL SKUs and the recommended Google Cloud instance type.
HMG BYOL SKU | HSG BYOL SKU | AWS Instance | vCPUs | RAM | Suggested # of Routes/Destinations |
|---|---|---|---|---|---|
— | MI-SG10-GCP-BYOL | c2d-standard-2 | 2 | 4 GB |
|
MI-MG200-GCP-BYOL | MI-SG20-GCP-BYOL | c2d-standard-4 | 4 | 16 GB |
|
MI-MG500-GCP-BYOL | MI-SG50-GCP-BYOL | c2d-standard-8 | 8 | 32 GB |
|
— | MI-SGUL-GCP-BYOL | c2d-standard-16+ | 16 | 64 GB |
|
Boot Disk: Set the amount of storage space you wish to make available to the server.
Tip
The default storage is sufficient for most Media Gateway/SRT Gateway operations. However, if you intend to use Media Gateway/SRT Gateway in conjunction with a video server (such as using Media Gateway with Haivision Media Platform), having additional storage allows you to benefit from local caching on the virtual server.
Network Interfaces: Ensure you have the following ports open:
Port 80 and 443 for HTTP/HTTPS access to the web interface
Port 22 for SSH access to the Console UI interface
Custom ports to allow incoming UDP traffic, such as SRT streams (use Custom UDP Rule).
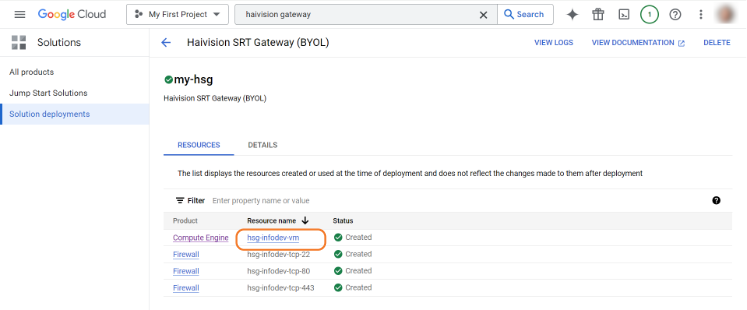
Click the Deploy button. The deployment starts and you can monitor the status on the resulting page:

After deployment completes, click the Compute Engine's Resource name to access the details.
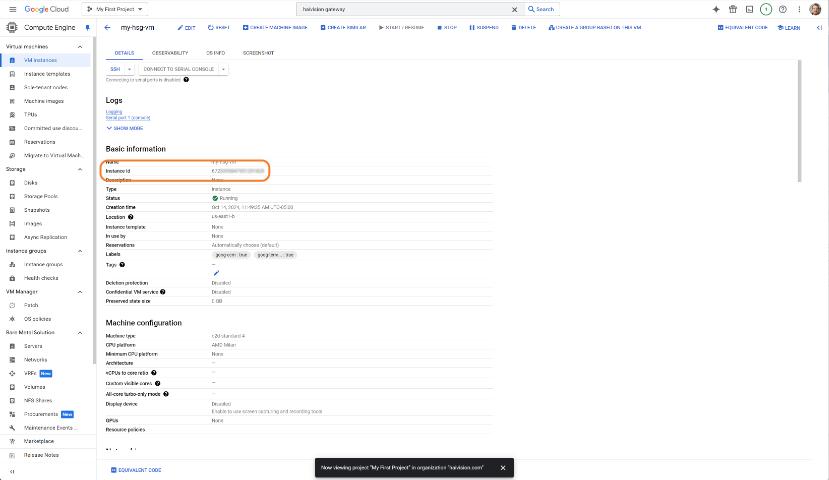
Make note of the Instance ID as this is the default password to sign in to the web interface.
At this point, your virtual server is up and running! You are ready to sign in and begin using your server. See Signing in to Your Gateway.

