Configuring Network Settings
To configure the network settings:
In the side menu, click System Settings.
Click Network in the navigation toolbar.
The available network configuration settings are listed in the view pane along with Interfaces and Static Routes.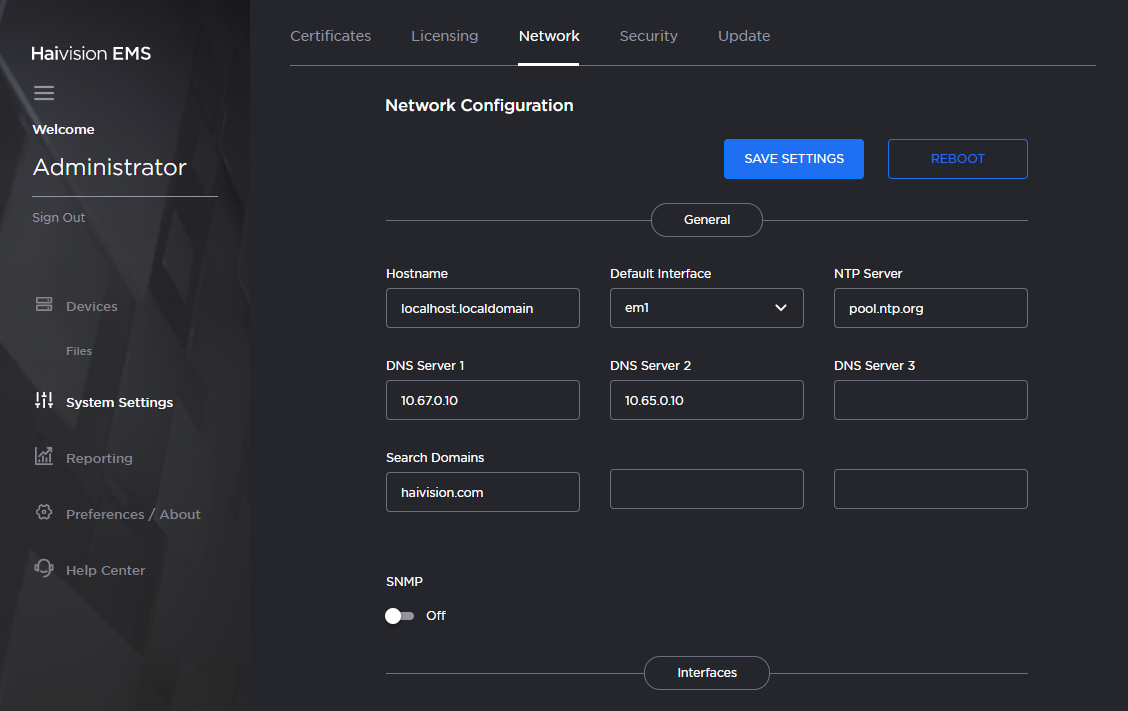
Network Pane
Fill in the fields as appropriate. See Network Settings for more information.
Tip
If DHCP is selected, the auto-assigned values appear in the IP address, Subnet Mask, and Gateway textboxes.
To configure multiple network interfaces, after you complete em1, select the next interface (for example, em2) and repeat the configuration.
Note
Depending upon your device, the network interface prefixes may differ.
To add a bond interface, see Creating a Bonded Interface for more information.
To add a static route, under Static Routes click the Add button and provide the necessary data in the Add Static Route dialog.
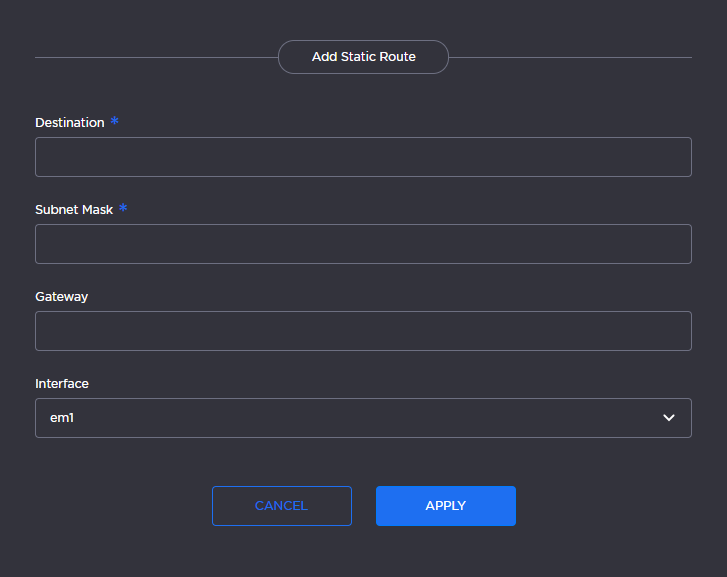
Add Static Route Dialog
Click Apply. The route is added to the Static Routes listing on the Network Configuration screen.
Click the Save Settings button.
Click the Reboot button to have your network configuration changes take effect.
Topics Discussed