Custom Certificates
Manage custom certificates to align with organizational IT security requirements.
To manage custom certificates in Windows:
From the desktop, begin typing Certificate in the Windows search bar, then click Manage Computer Certificates option from the pop-up menu.
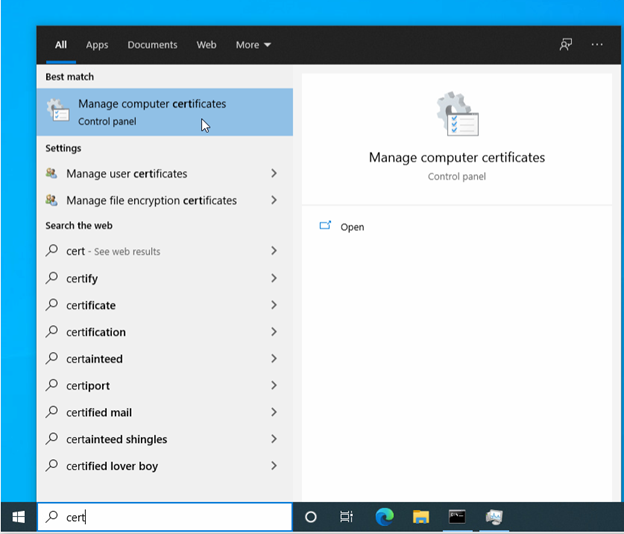
Note
If you receive a User Account Control prompt, click Yes to allow the application to make changes to your device.
- In the far-left pane, click the Personal folder.
In the far-right pane titled Actions, click More Actions > All Tasks > Advanced Operations > Create Custom Request.
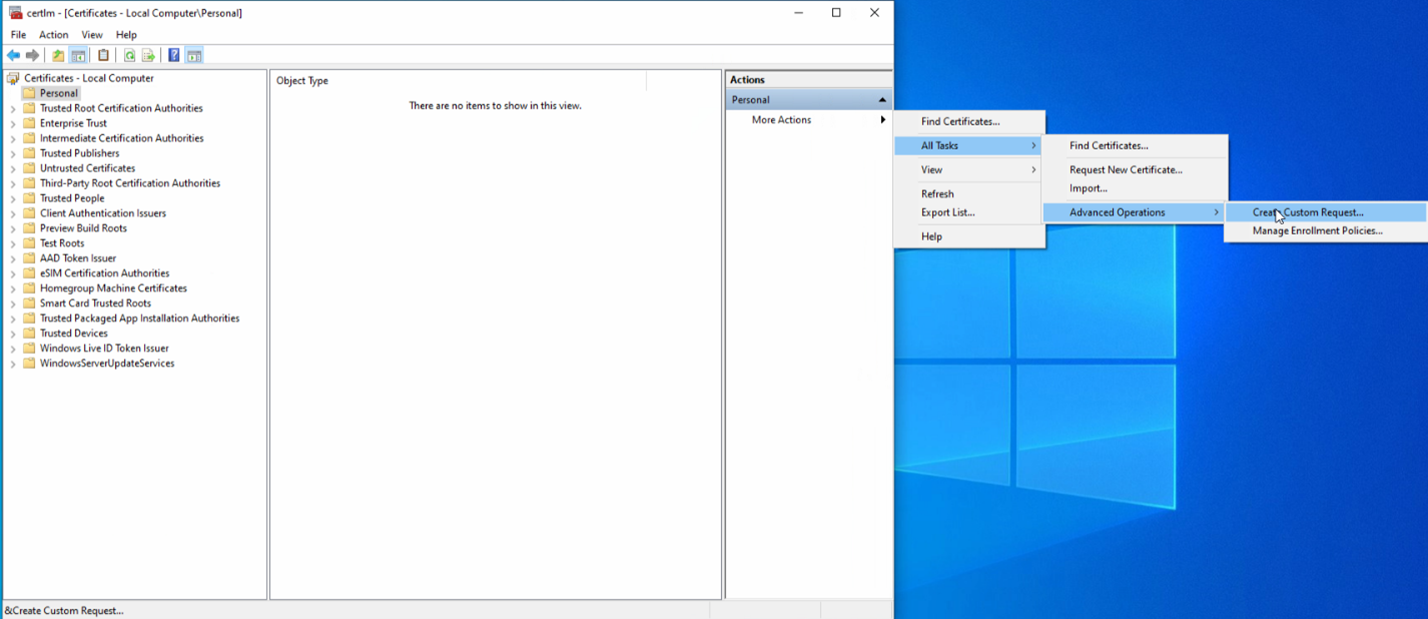
Note
If the Actions pane is not displayed by default, click the icon on the far right of the toolbar.

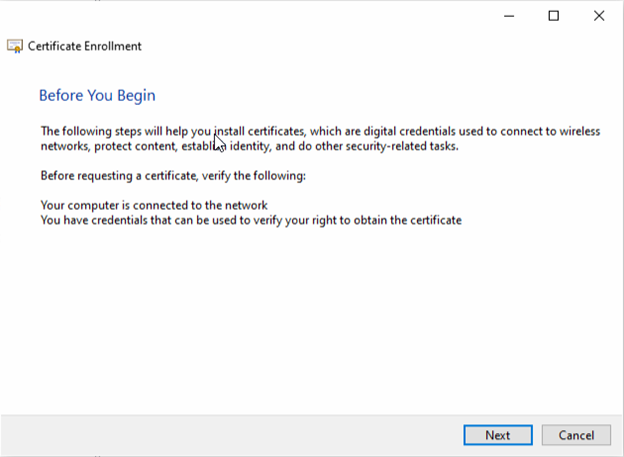
- Follow instructions on the Before You Begin window, then click Next.
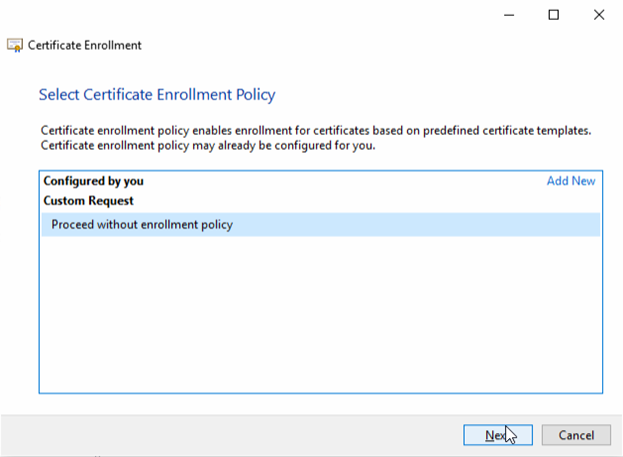
- Click Proceed without enrollment policy under Custom Request, then Next.
- In the Custom Request window:
* Select (no template) CNG key from the Template drop-down menu.
* Choose PKCS #10 as the Request Format.
* Click Next.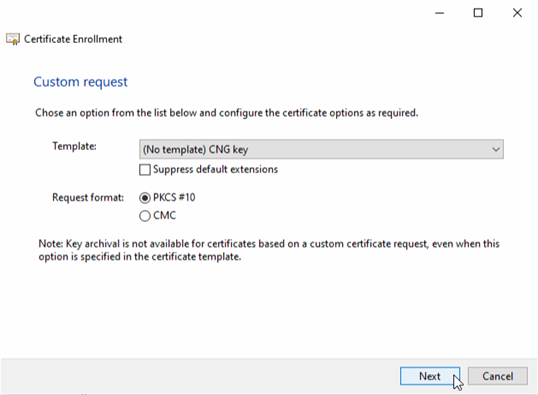
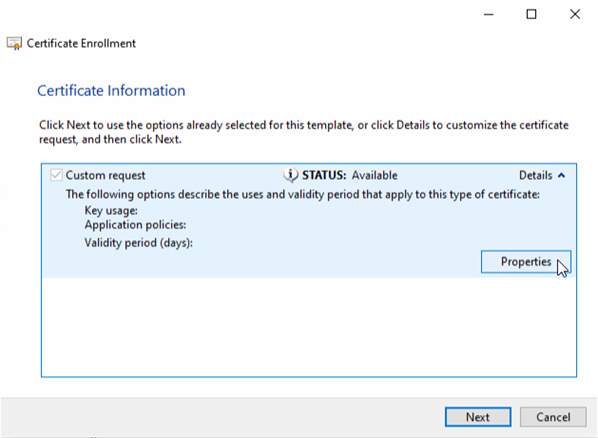
- On the Certificate Information page, click the Details caret in the top right corner to reveal and click on the Properties button
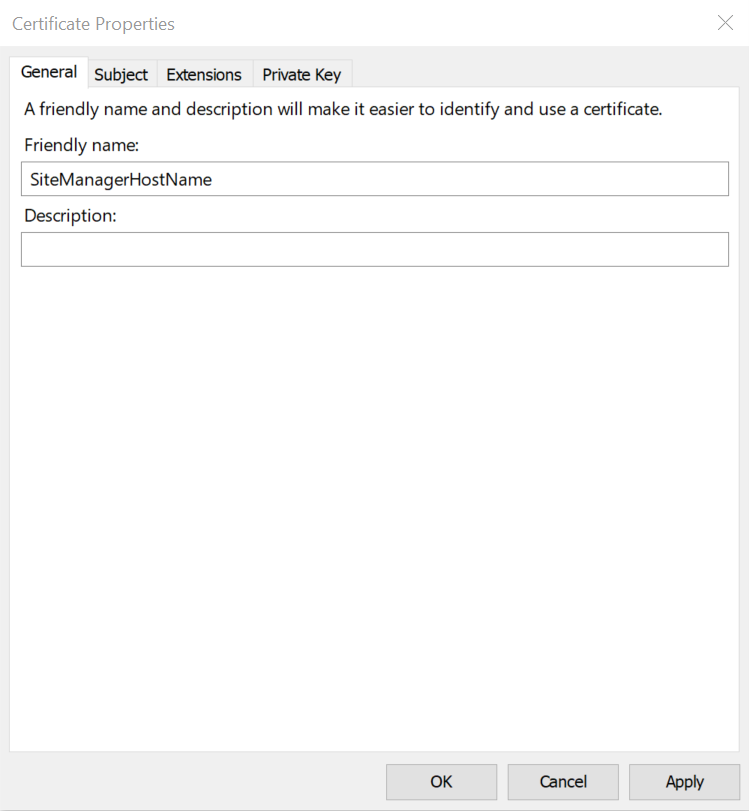
- In the Certificate Properties > General tab that follows, enter the Command 360 Site Manager name in the Friendly Name field.
- In the Certificate Properties > Subject tab, populate the following fields accordingly:
* Subject Name > Type: Choose Common Name from the drop-down menu.
* Value: Enter the fully qualified domain name of the Site Manager, then click Add to move the value to the right side column.
* Alternative Name > Type: DNS
* Value: Enter the name of all Command 360 systems, clicking Add each time to move the values to the right side column as shown below.
* Click Apply when finished.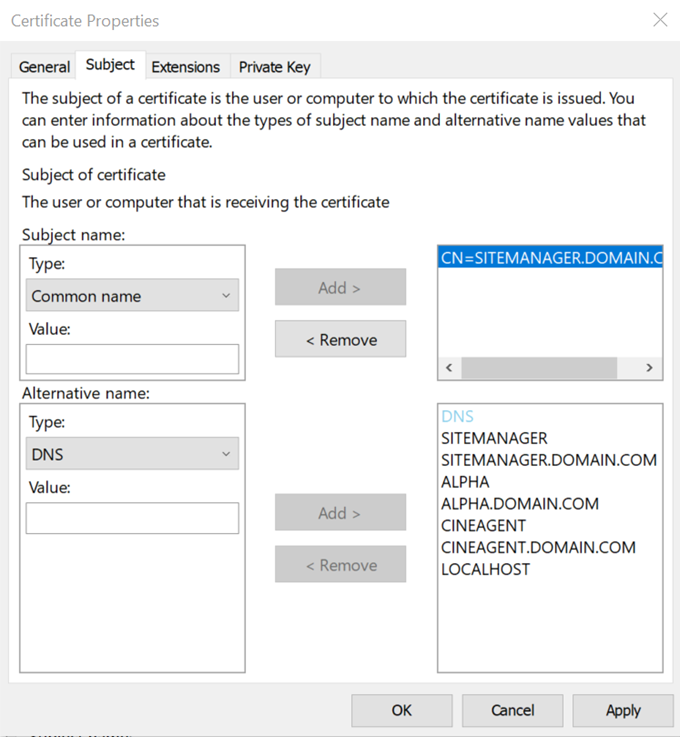
- In the Certificate Properties > Extensions tab, click the Key Usage caret to view available options.
* Choose Digital Signature, then Add to move the item to the Selected Options column.
* Choose Key Encipherment, then Add to move the item to the Selected Options column.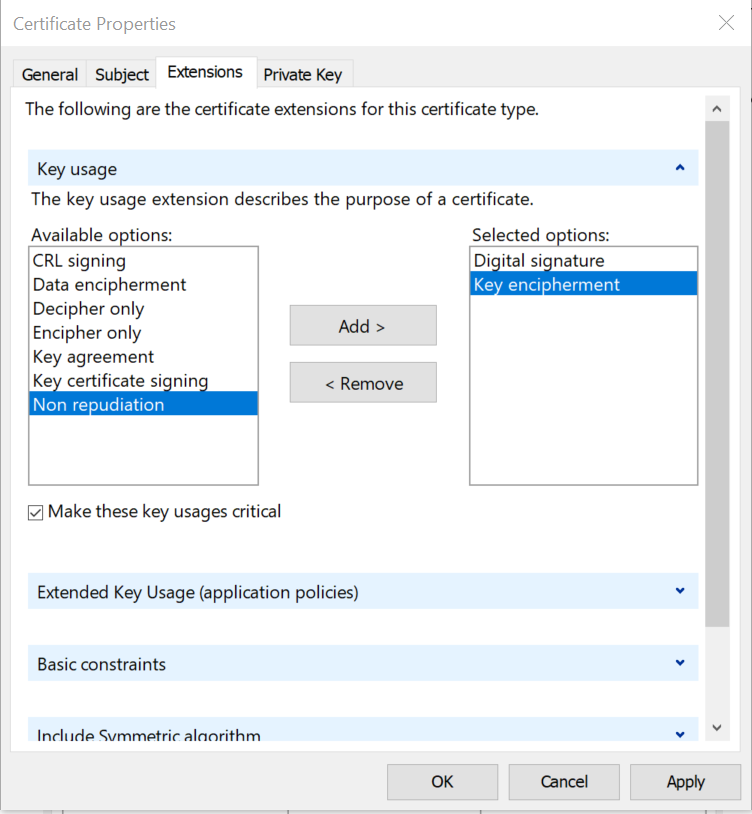
- In the Certificate Properties > Extensions tab, click the Extended Key Usage (application policies) caret to view available options.
* Choose Server Authentication, then Add to move the item to the Selected Options column.
* Choose Client Authentication, then Add to move the item to the Selected Options column.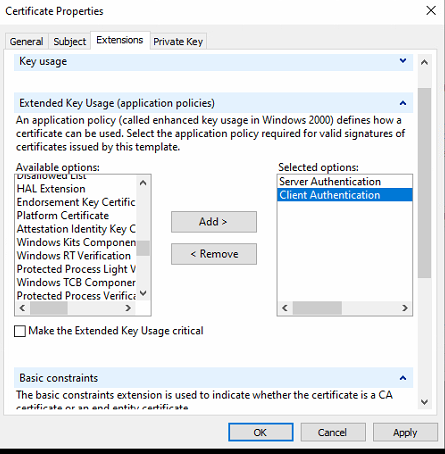
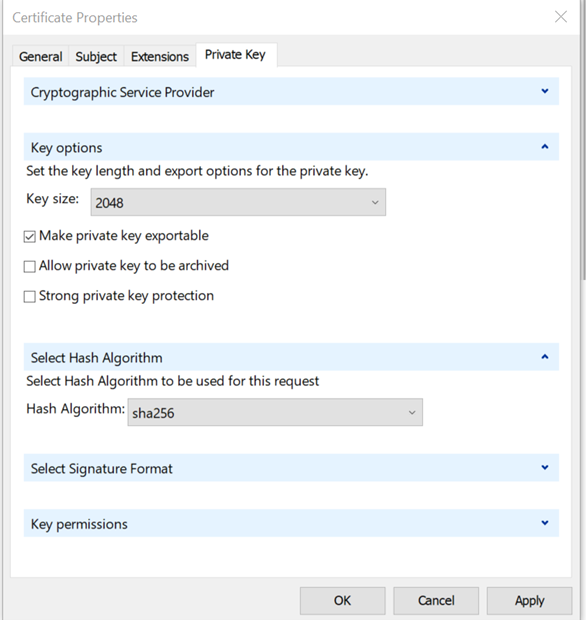
- In the Certificate Properties > Private Key tab, click the Key Options caret to view selection choices.
* Choose 2048 in the Key Size drop-down menu.
* Check the box to enable option Make Private Key Exportable.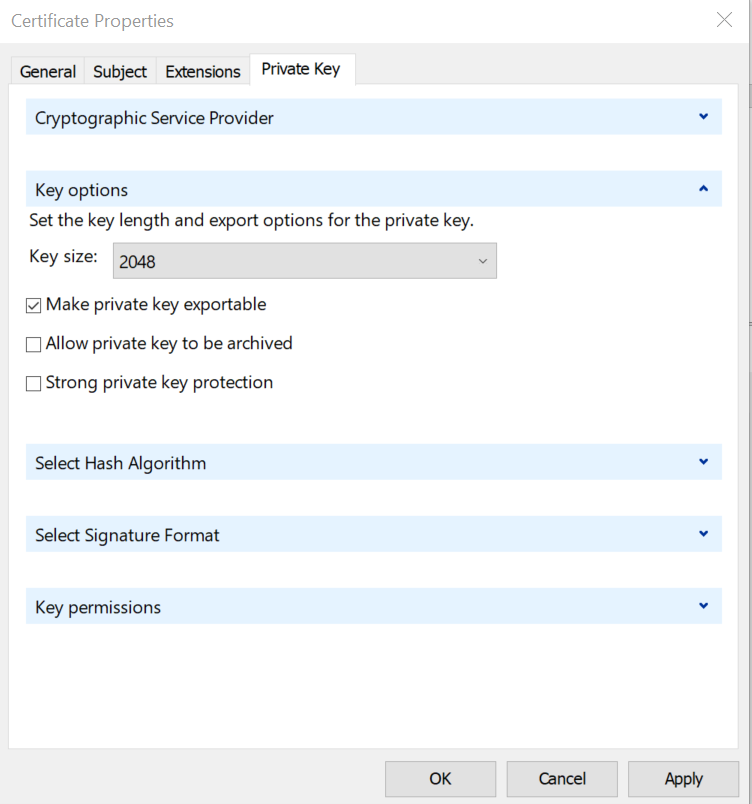
- In the Certificate Properties > Private Key tab, click the Select Hash Algorithm caret to reveal and select sha256 from the Hash Algorithm drop-down menu.
- Click OK, then Apply.
- Click Next.
- Enter a File Name and click Browse to select the location in which to store the certificate.
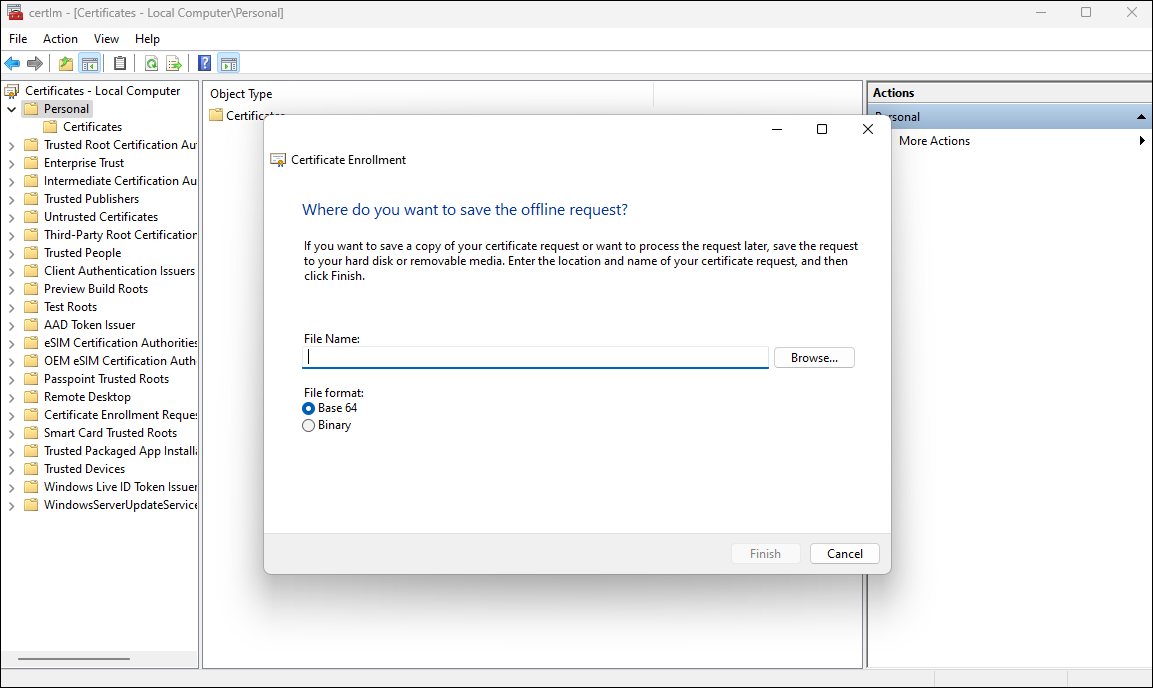
- Click Finish.
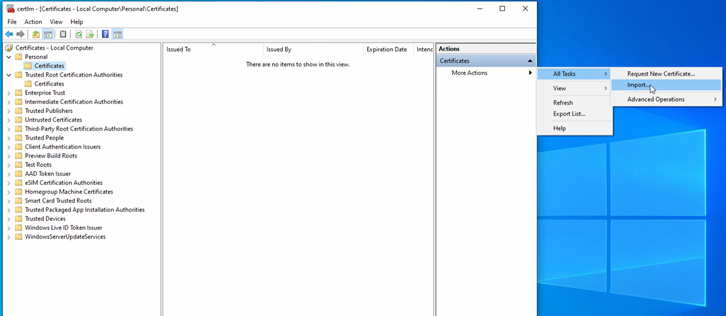
- At the custom certificates menu in the far-right pane titled Actions, click All Tasks > Import to launch the Certificate Import Wizard.
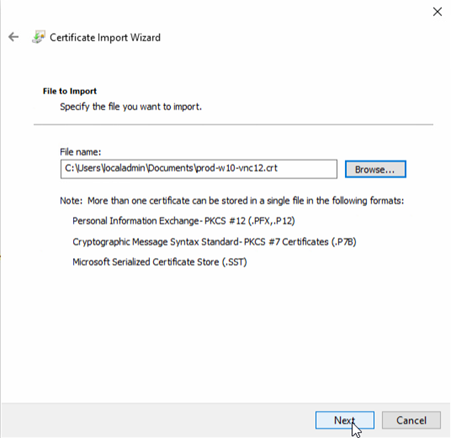
- Enter the file name of the certificate to import, then click Next.
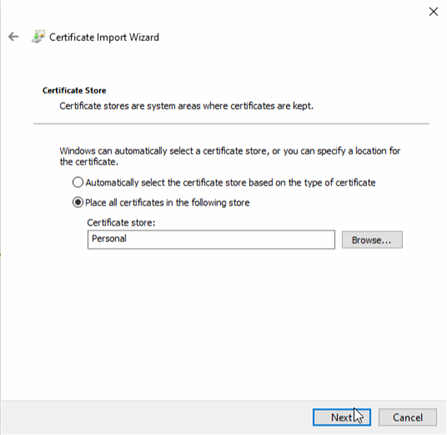
- Select option to Place all certificates in the following store then enter or browse to the personal store, then click Next.
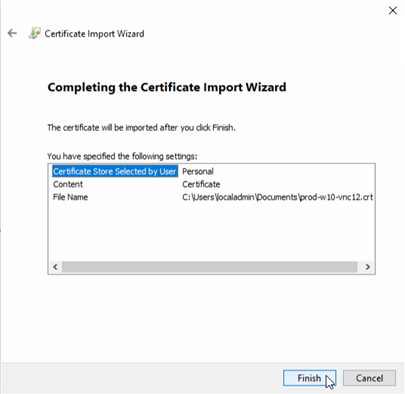
- Review the information on the Completing the Certificate Import Wizard window, then click Finish if accurate.
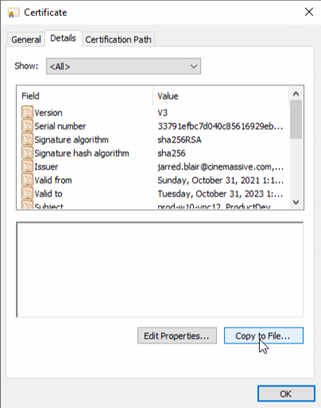
- The new certificate now appears in the Personal certificate folder. Right click the Issued To file and select Open.

- On the Certificates > Details tab, click Copy to File..., then OK.
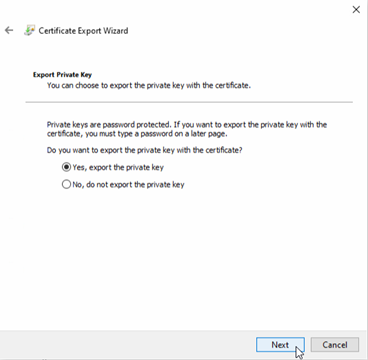
- Click Next on the Welcome to the Certificate Export Wizard.

- Select the Yes, export the private key option, then Next.
- Click the Personal Information Exchange - PKCS #12 (.PFX) option, and enable the Include all certificates in the certification path if possible, and Enable certificate privacy. Click Next.

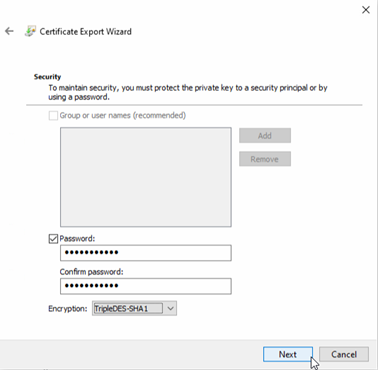
- Check the Password option, then enter a unique Password. Re-enter it to Confirm, select TripleDES-SHA1 Encryption, then click Next.
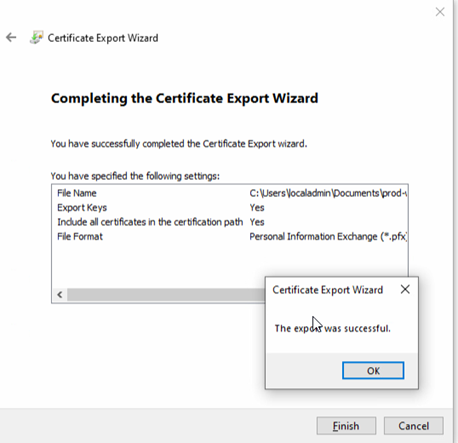
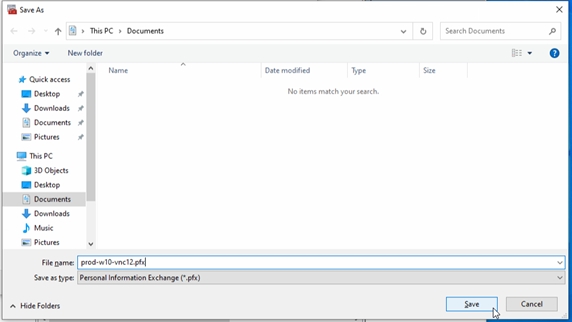
- Enter the appropriate File Name and ensure the (*.pfx) type is selected, then click Save.
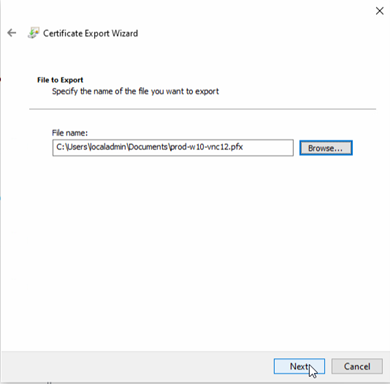
- Enter or browse to the file name saved in the previous step, then click Next.
- If all steps were completed accurately, a notification appears that the export was successful. Click OK to complete the process.