Set Up Access Profiles
To set up Access Profiles (VNC and/or RDP Connections):
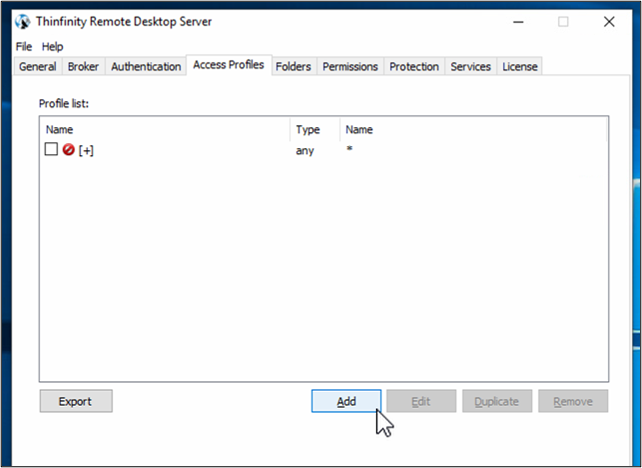
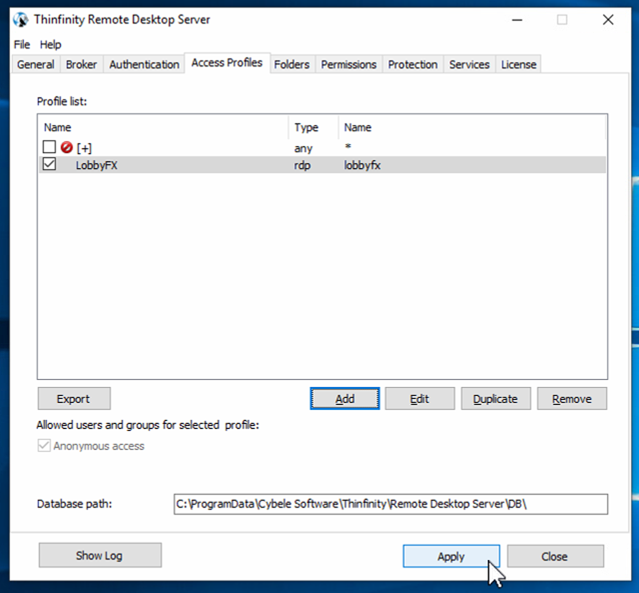
Navigate to the Access Profiles tab and delete the populated list shown by checking each item, then clicking Remove.
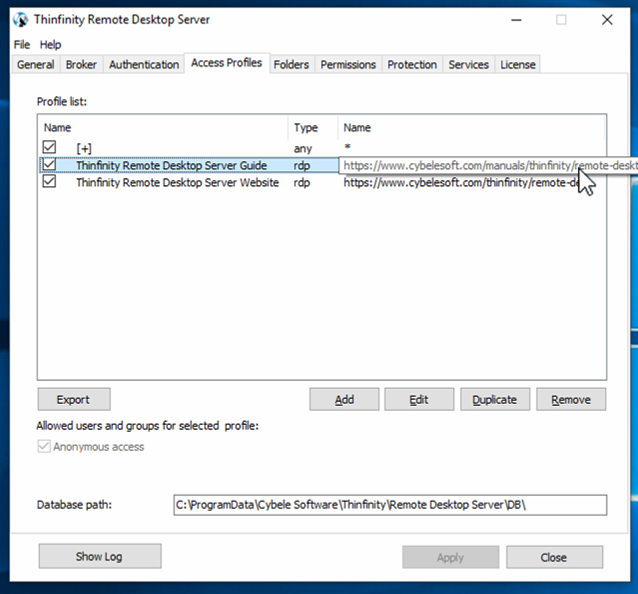
After the items are removed, click Add to add new connections.
Populate the profile information for the new connection.
On the General tab, enter the connection Name. It may auto-fill with a connection from the previous menu page, but it can be renamed. It is beneficial to use a name which references the virtual path and the computer name. In the example below, the computer name is LobbyFX and so the Name, Virtual Path, and Computer are all the same.
Do not use spaces in the name, especially in the Virtual Path as the text entered will appear as part of the URL for the webpage.
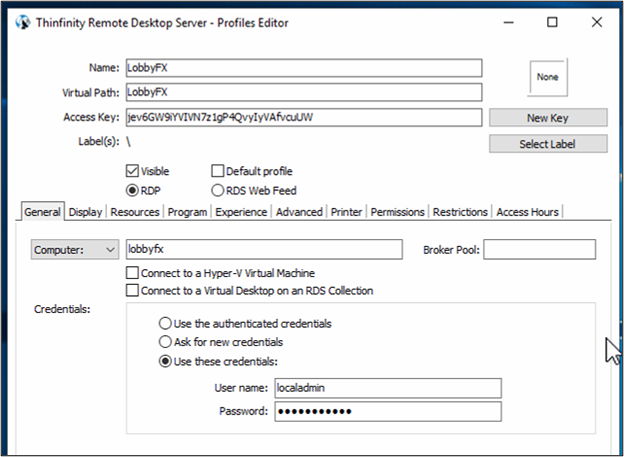
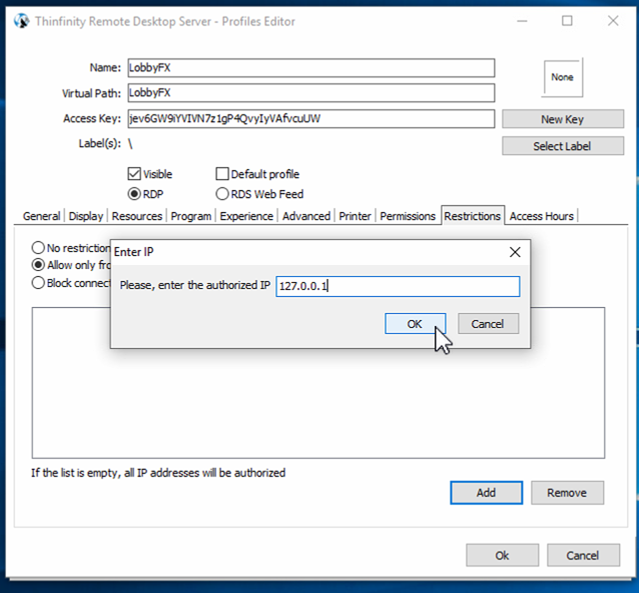
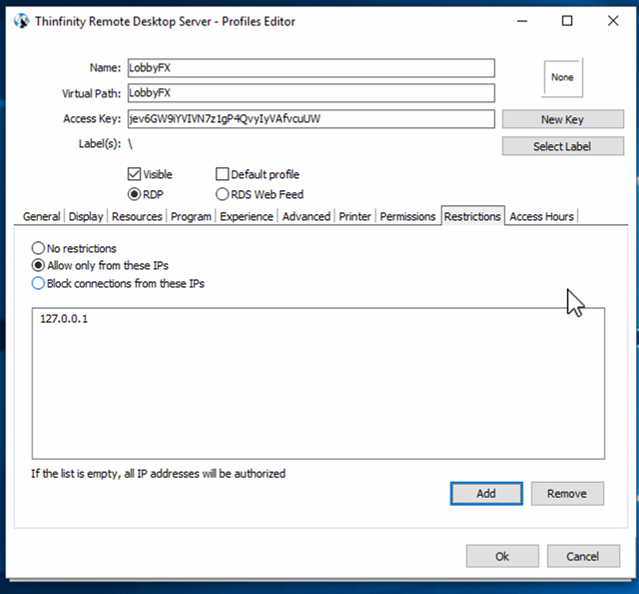
In the example above, an RDP connection is being established. You have the option to save the login credentials so it will auto login for you when connecting.Navigate to the Restrictions tab, select the Allow only for these IPs option.
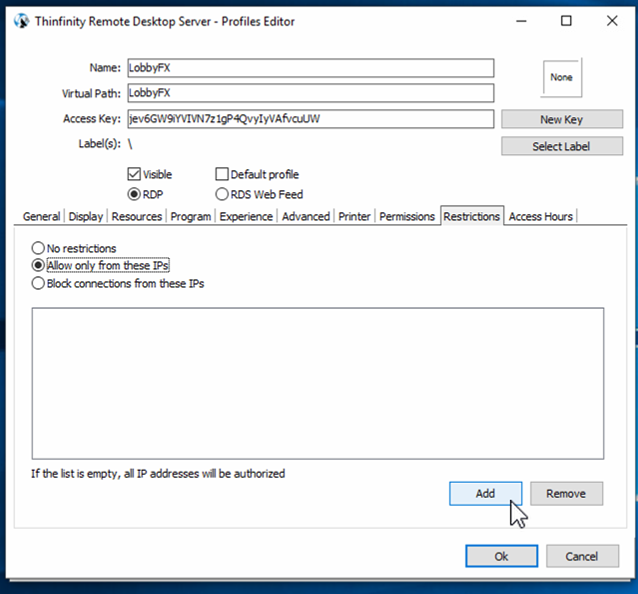
When prompted, enter 127.0.0.1, which is the standard loopback IP address, then click OK. This ensures that only the CineAgent you’re installing this on is allowed to access these machines, providing an additional layer of security.
After verifying the connection has been added to the Access Profile list, click OK.
After verifying the Profile List is accurate, click Apply.
Repeat Steps 1-3 for every additional connection required.