Adding Roles
To add a new role:
Click the user icon in the top right and click Admin > Resources.
Click Account Management on the left navigation column.
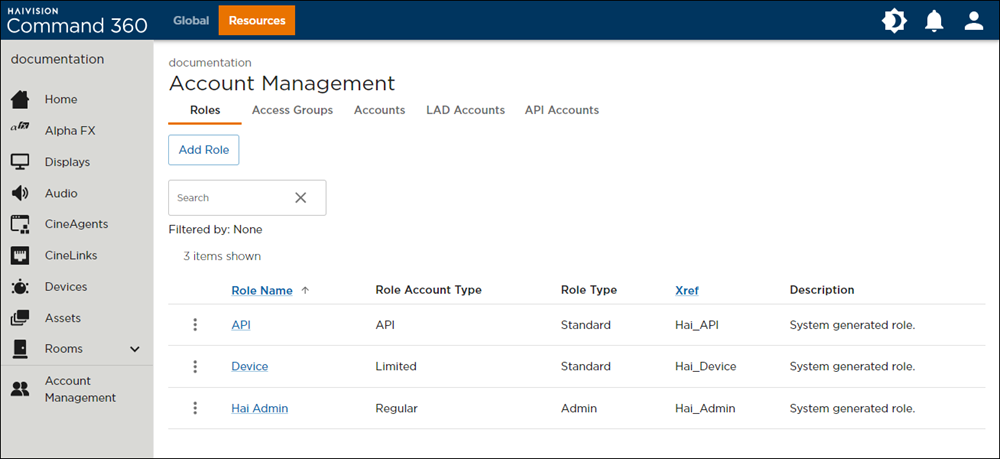
Account Management Page
Click Add Role beneath the Roles menu ribbon.
Select the access group type: Regular Role, Limited Access Device (LAD) Role, or API Role.

Select Role Access Group Type
Enter a unique, required Role Name in the space provided. The Description and Xref fields are optional.
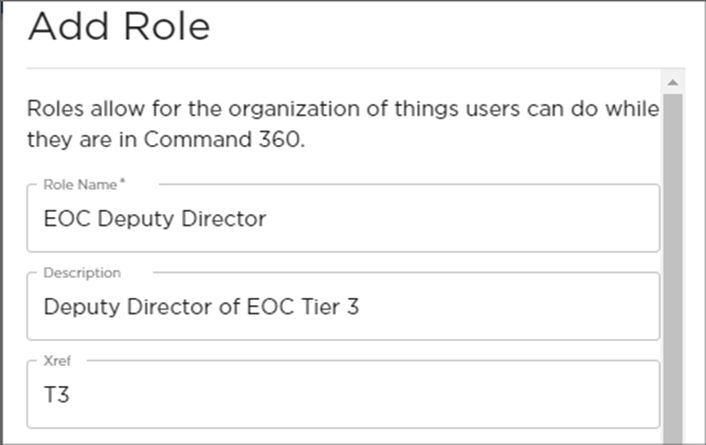
Role Name, Description and Xref Fields
Click the checkbox next to each permission you wish to assign.
When finished, click Save Role.
Note
To see a complete list of permissions and their descriptions, see Roles and Permissions.
View New Role in Account Management Summary
The new role now appears on the Account Management page. If necessary, changes can be made through the Editing Roles option.
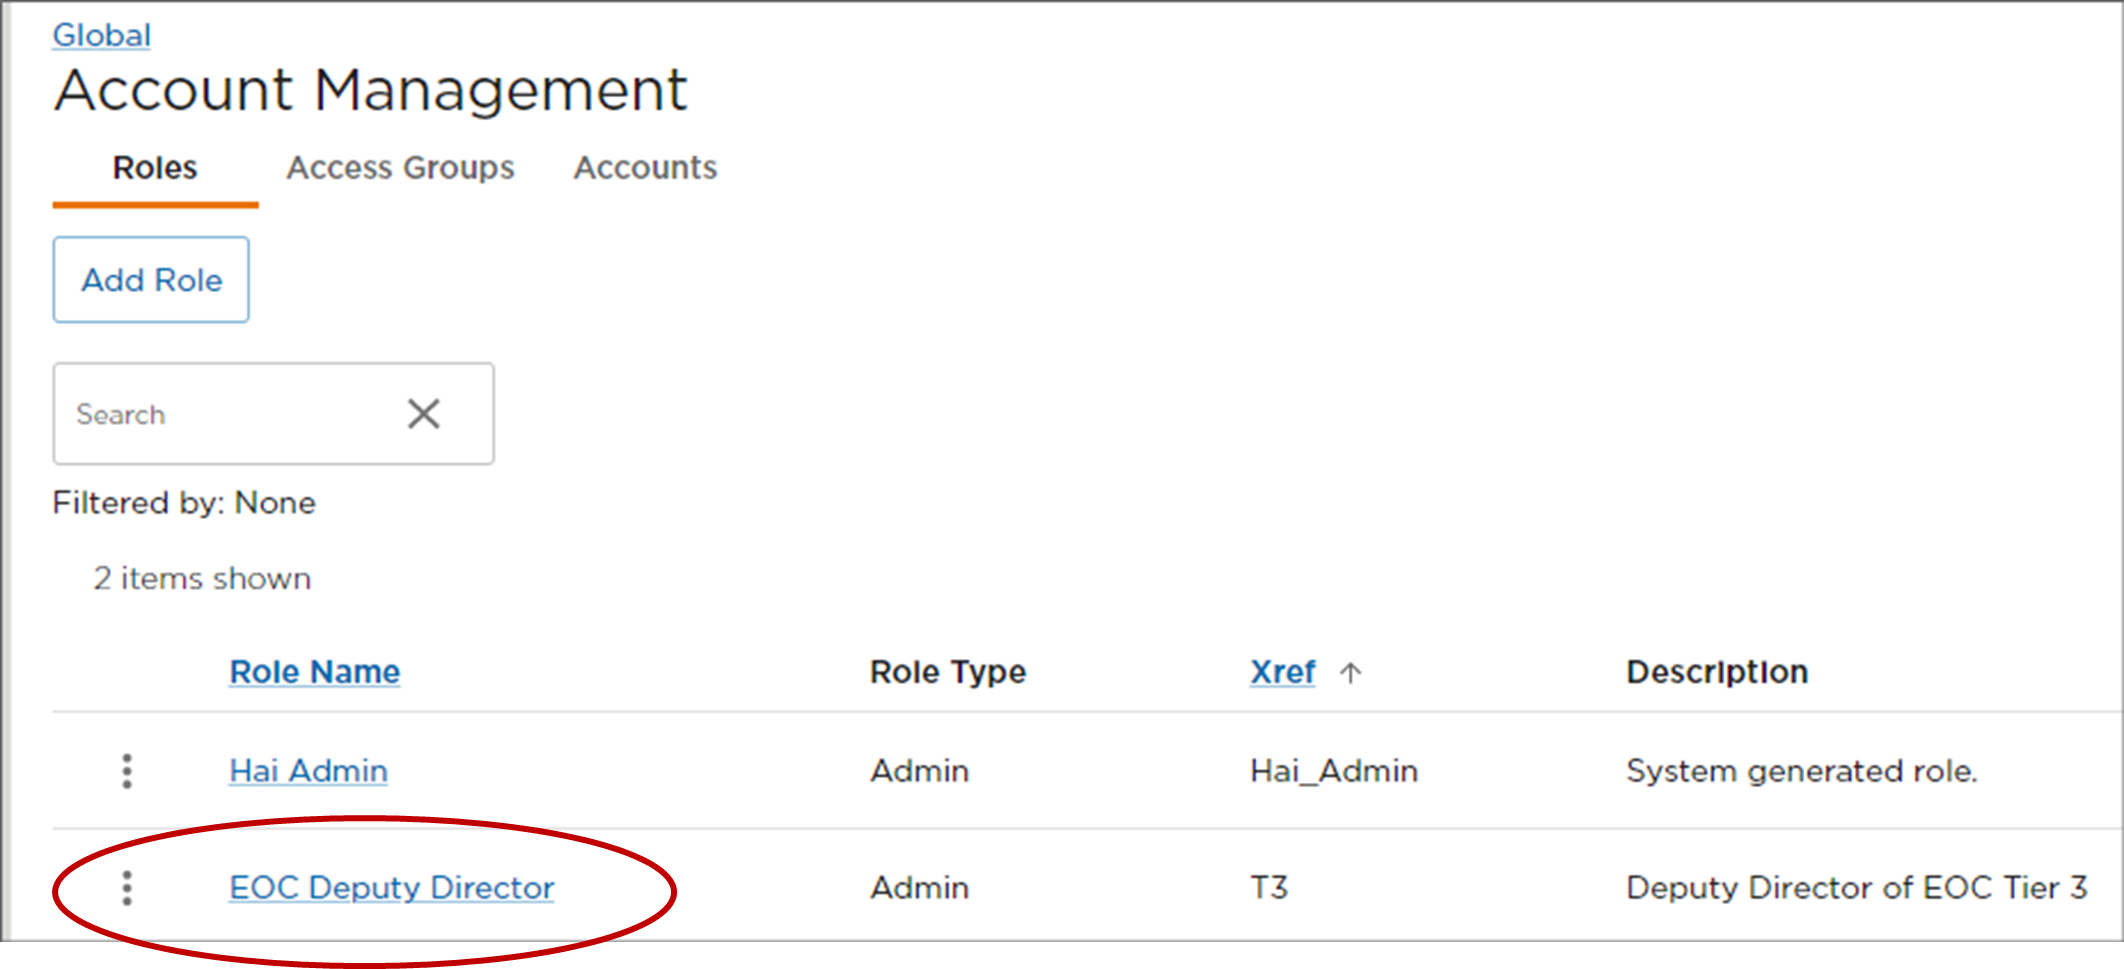
New Role in Account Management Table