Manually Adding a Network
To manually add a network from the Unit Panel or from the Web Interface, see the sections below.
Unit Panel
Use the wheel to select
 > WiFi > Mode > Client >
  .
.Press the wheel again to add a new network.
Use the wheel to enter the Network name, select a Security Mode and enter a Password.
Turn the wheel to select
 and press it to connect the new network.
Turn the wheel to select
 and press it to save the new network.
Web Interface
On the Dashboard in the Networks section, click the
 icon in the Wi-Fi entry.
In the Mode section, if not selected, select Client.
Click the Add button.
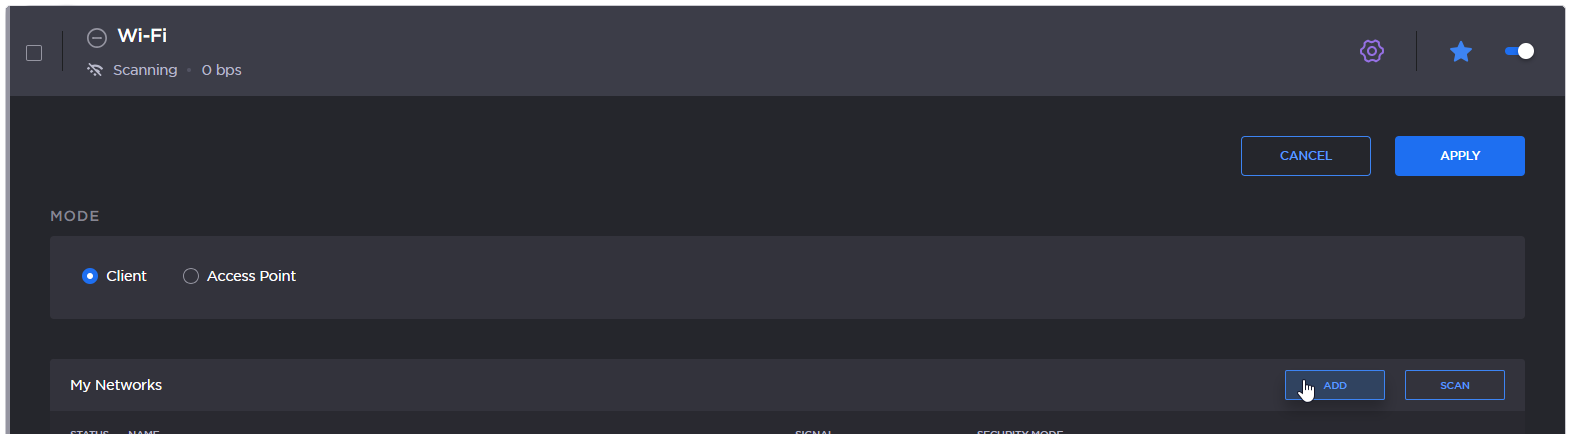
Wifi Add button
Enter the Network name.
Select a Security Mode and enter the information as required for the selected mode (Username / Password / Security Certificate(s) / Private key).
Click the Join button.
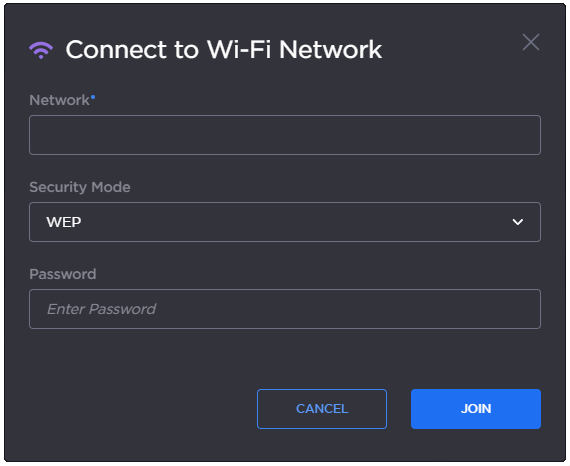
Wifi network details
After successfully joining the network, the connection status appears in the Wi-Fi network entry.

Wifi connected