Configuring a Data Bridge
The data bridge feature allows you to establish an IP tunnel to enable the communication and control of cameras, shading or tally.
When configured in Data Bridge mode, the unit can be used as a Data Bridge that provides access to the Internet from the field, or access to devices connected to the transmitter LAN from the studio (e.g., remote control of the camera).
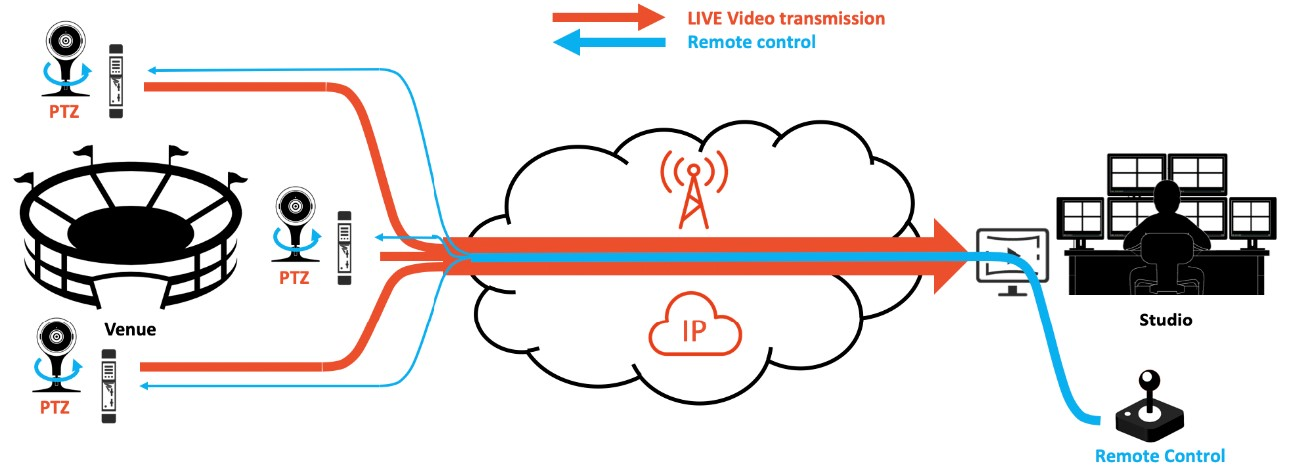
Data Bridge example
In this configuration, Live operation is still allowed, but Record and Forward operations are no longer available. Up to 10 client devices can connect simultaneously to the unit's local network. The Ethernet interface shall be configured in Gateway mode, see Configuring an Ethernet Interface.
To configure a unit as a Data Bridge, you must select the server that should be used (Destination Profile), and then enable Data Bridge mode. The selected server automatically allocates a license token to each Data Bridge that you enable.
To enable or disable the data bridge from the Unit Panel or from the Web Interface, see the sections below:
Unit Panel
From the Home menu, tap
 .
.Tap the Destination field. A green dot (
 ) indicates the currently selected profile.
Tap
 to scroll down the list of Destination Profiles.
Select a Destination Profile.
Tap the toggle button to enable or disable the option.
Web Interface
In the sidebar, click Settings > System.
In the Data Bridge section, click the Data Bridge toggle to enable or disable it.
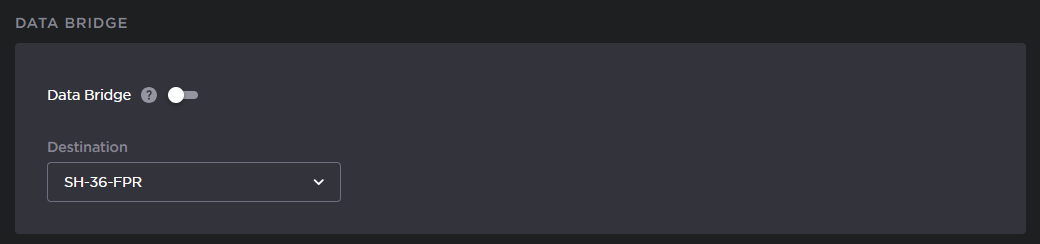
Data Bridge settings
Select the Destination from the dropdown list.
Click the Apply button.