Managing Banners
From the Banner page, administrators can upload a text file for the Advisory and Consent Banner. The banner is typically an advisory/warning notice to be displayed before the Sign-in page.
Only ASCII file format is supported for the banner file; the banner is a single text file with a maximum file size of 4KB.
To upload a text file for the Banner page:
On the Administration page, click Security on the navigation bar and Banner on the sidebar.
The Banner page opens. If banner text has been imported, it will be displayed here.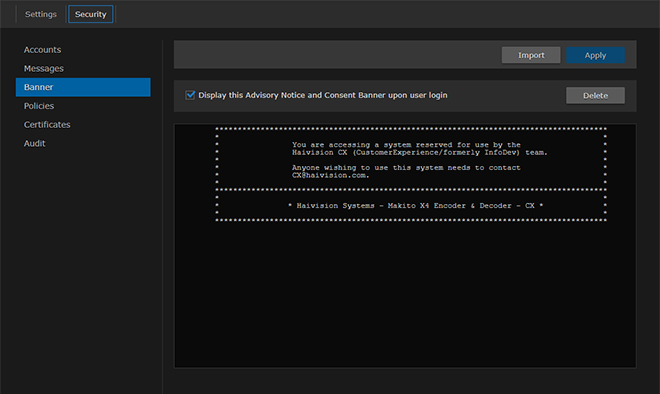
Banner Page
Click Import and select the file in the Open File dialog box.
The banner filename is now displayed on the Upload Banner task bar.
Tip
To select a different banner file, click Change. To remove the selection, click the ![]() icon.
icon.
Click Upload. The banner text is now displayed in the pane.
To display the Advisory Notice and Consent Banner upon user sign-in, check the checkbox.
Note
When the banner is enabled, the time when the banner actually gets displayed may vary with the service in use (such as SSH, Telnet, serial port, or Web interface) and how the services are configured. For example, in some cases, the banner will be displayed right after the sign-in and before the password is entered, whereas with the Web interface, the banner will be displayed before the user gets to the Sign-in page.
Important
IP display is enabled on the serial port login prompt by default and takes precedence over a banner. If both Banner and IP display are enabled, users will see the IP, not the banner on the serial port.
You can disable and re-enable IP display using the CLI commands disable_ip_display_on_serial_port and enable_ip_display_on_serial_port. If you disable IP display with this CLI command, the banner works.
To apply your changes, click Apply.
Tip
You can also install and manage banner files from the CLI using the banner command. The Makito X supports FTP and TFTP client, as well as SCP client and server.
To delete the current banner, click Delete . The banner will be deleted immediately.
To upload a text file for the Banner page:
On the Administration page, click Security on the navigation bar and Banner on the sidebar.
The Banner page opens. If banner text has been imported, it will be displayed here.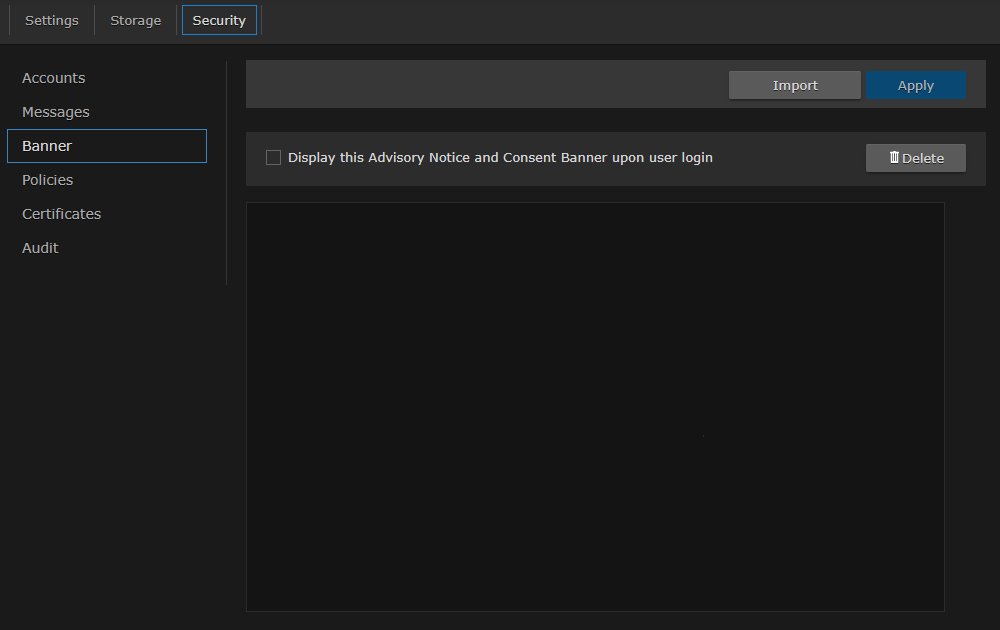
Banner Page
Click Import and select the file in the Open File dialog box.
The banner filename is now displayed on the Upload Banner task bar.
Tip
To select a different banner file, click Change. To remove the selection, click the ![]() icon.
icon.
Click Upload. The banner text is now displayed in the pane.
To display the Advisory Notice and Consent Banner upon user login, check the checkbox.
Note
When the banner is enabled, the time when the banner actually gets displayed may vary with the service in use (such as SSH, Telnet, serial port, or Web interface) and how the services are configured. For example, in some cases, the banner will be displayed right after the login and before the password is entered, whereas with the Web interface, the banner will be displayed before the user gets to the Login page.
Important
IP display is enabled on the serial port login prompt by default and takes precedence over a banner. If both Banner and IP display are enabled, users will see the IP, not the banner on the serial port.
You can disable and re-enable IP display using the CLI commands disable_ip_display_on_serial_port and enable_ip_display_on_serial_port. If you disable IP display with this CLI command, the banner works.
To apply your changes, click Apply.
To delete the current banner, click Delete. The banner will be deleted immediately.
Tip
You can also install and manage banner files from the CLI using the banner command. The Makito X supports FTP and TFTP client, as well as SCP client and server.