Generating a Certificate
To generate a Self-signed Certificate or a Certificate Signing Request (CSR):
Click Security on the sidebar and select the Certificates tab.
The Certificates page opens.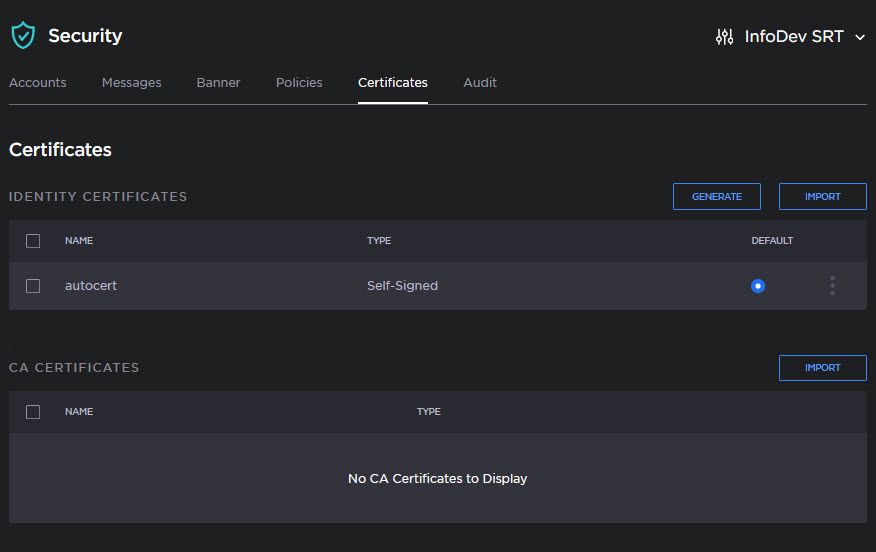
The default Identity Certificate is indicated by the blue radio button in the Default column.Click Generate.
By default, the name will appear as the unit's IP address (as in the example below). To change it, type a unique name into the Name field.
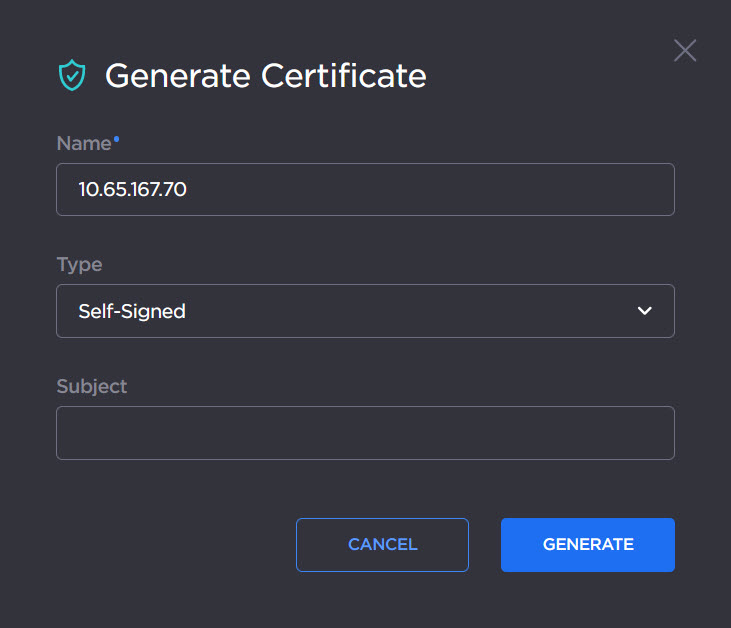
For the Type, select either Self-signed or Certificate Signing Request from the drop-down list. For more information, see "Sign" in Certificate Settings.
For the Subject, type in information about the device that the Identity Certificate represents. For more information, see "Subject" in Certificate Settings.
Click Generate.
If the Certificate Signing Request (CSR) was selected, the generated CSR file needs to be sent to a Certificate Authority to be signed. A copy of it is saved in the current administrator's home directory, or it can be copied and pasted from the CSR view. You can import the signed certificate back later by clicking on the Import button (using the same name as the CSR file).Click the More Options
 menu to View or Delete a certificate. You can also delete one or multiple certificates by checking the check box(es) next to the certificate names and clicking the Delete button at the top of the list.
Tip
Keep in mind that there is a difference between importing a new certificate (that was generated externally) and importing a newly signed certificate whose request was previously generated on a Makito X Series device and exported for signing. For details, see "Certificate Name" in "Certificate Settings".