Change the Network Settings
Note
After first boot, the device is configured for a static IP address as defined in the Important Notice. Prior to accessing the main Web interface, you must configure the device with a valid IP address and gateway to work in your environment. The following section takes you through the steps to update your network settings using the Console UI.
To change the network settings of the device:
Once the Console UI welcome screen appears on the attached monitor, locate the IP Address assigned to the device as noted on the welcome screen.
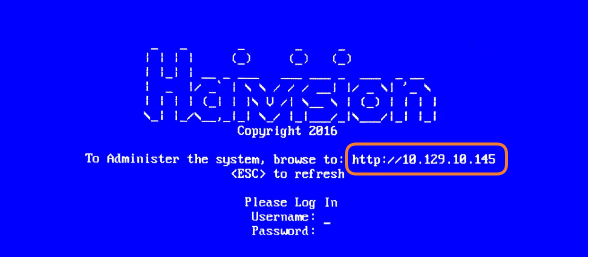
Log in to the Console UI using the credentials provided in the Important Notice.
In the navigation sidebar, use the ↑↓ (up and down arrow) keys to highlight Network Settings, and then press the Enter key.
Using the ↓ (down arrow) to step through all the Network Settings, change the Hostname, NTP Configuration, IP Address, Gateway Address, Boot Protocol (DHCP or static), and any other settings as necessary.
Note
In the Auto NTP textbox, type 'y' to enable Auto NTP, this will pull NTP sources from the DHCP system services. To manually configure your NTP, type in 'n' to disable Auto NTP.
In the Boot Protocol textbox you must type either 'dhcp' or 'static'.
Depending on your SSH client settings, the console window might not display all the available settings. For instance, "Boot Protocol" may not be visible if your screen height is not large enough.
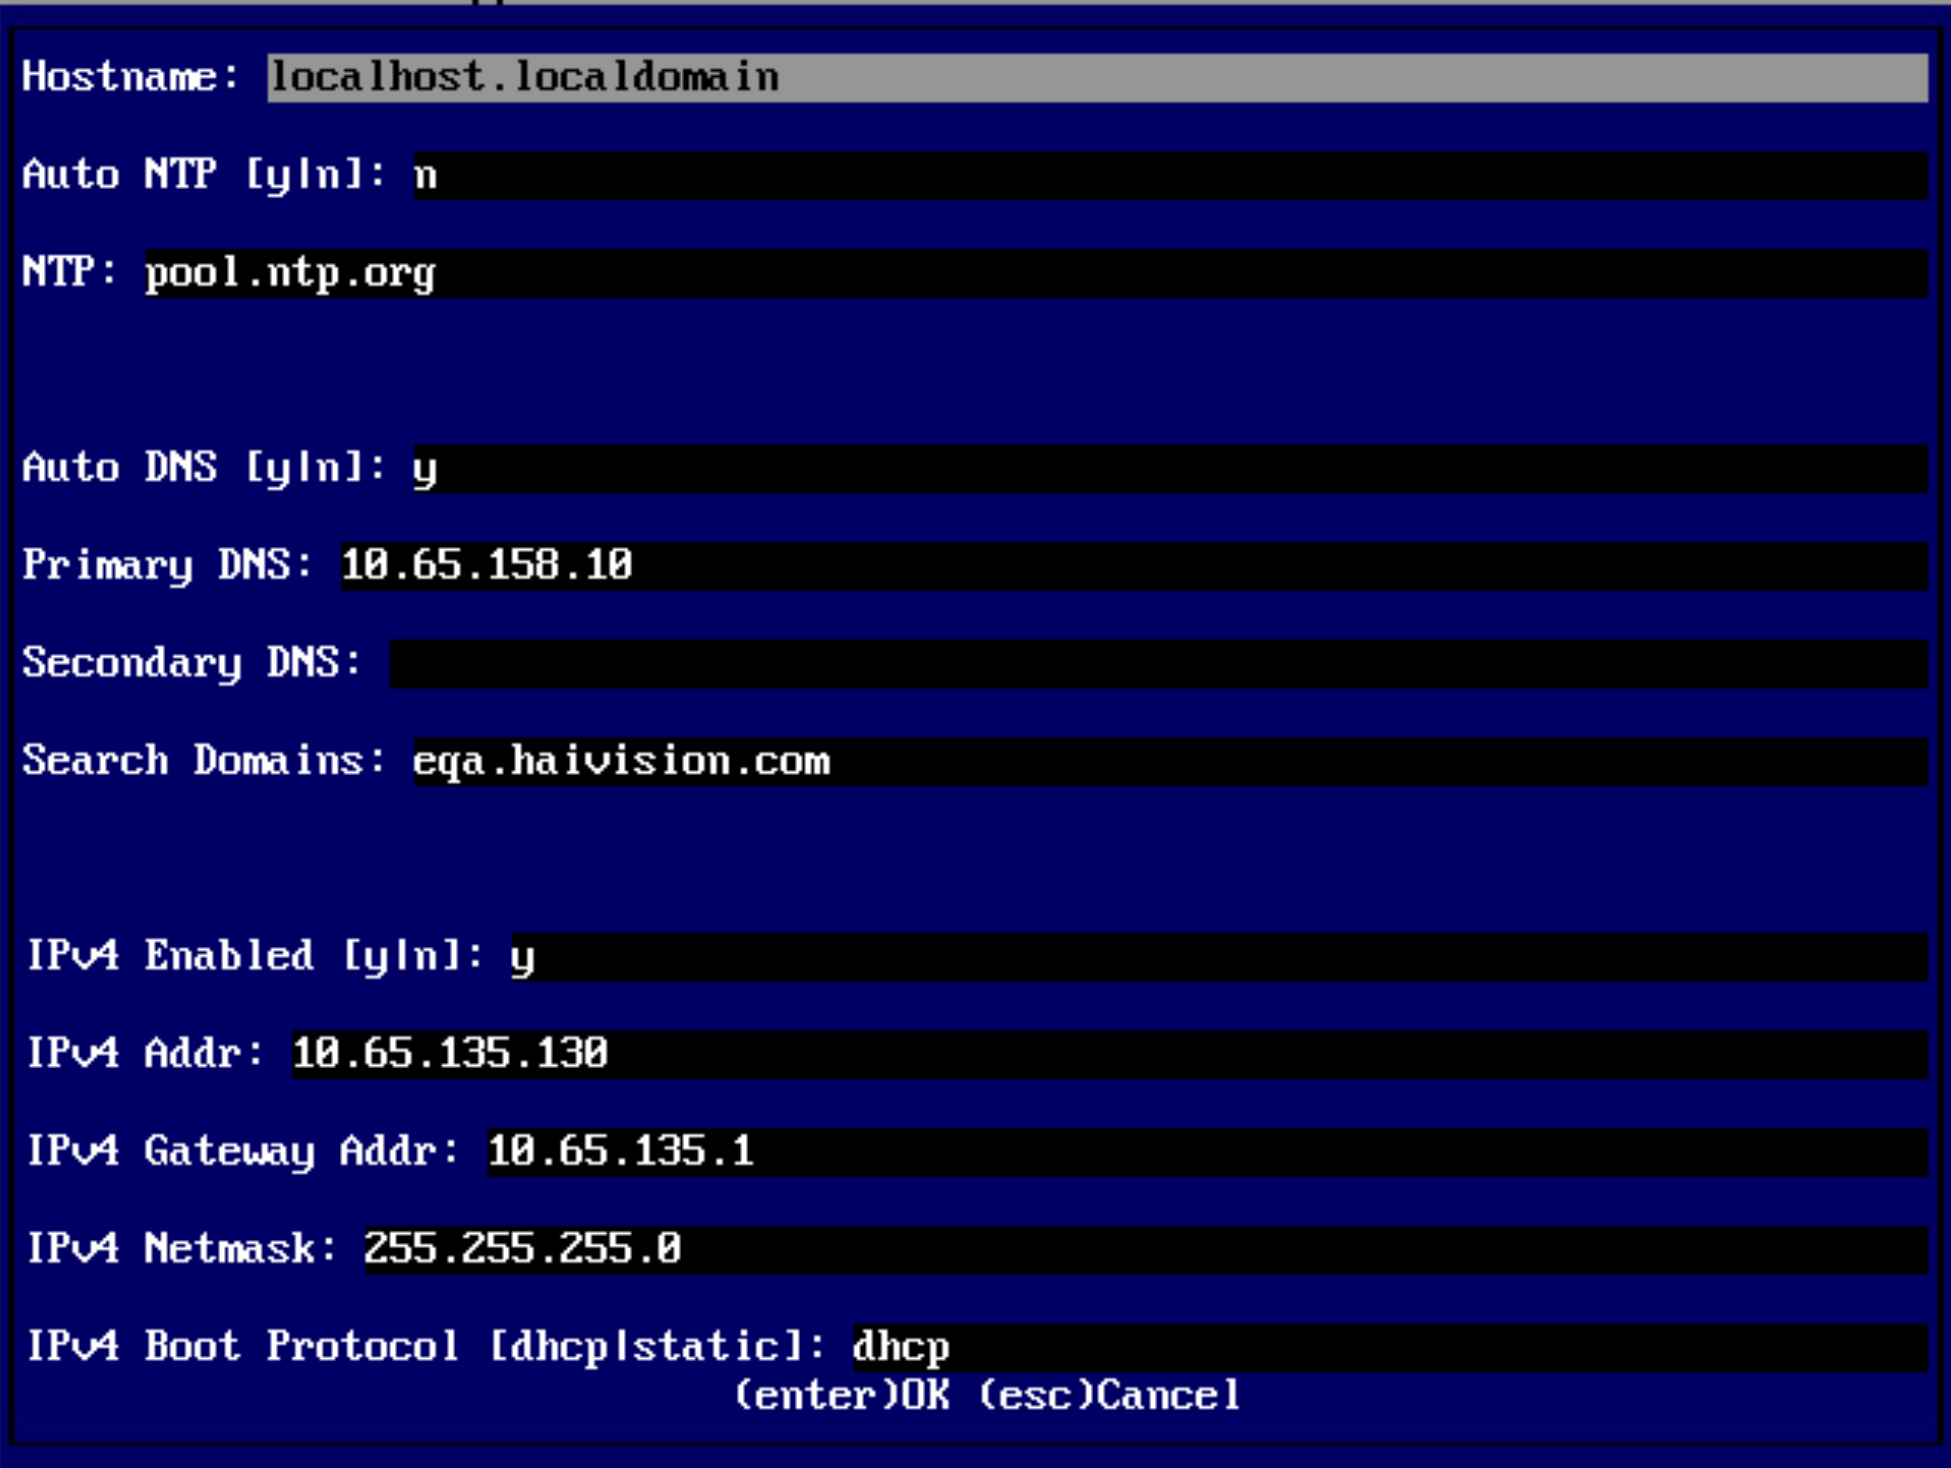
IPv4 settings
If your device supports IPv6, the network settings page contains both IPv4 and IPv6 settings:
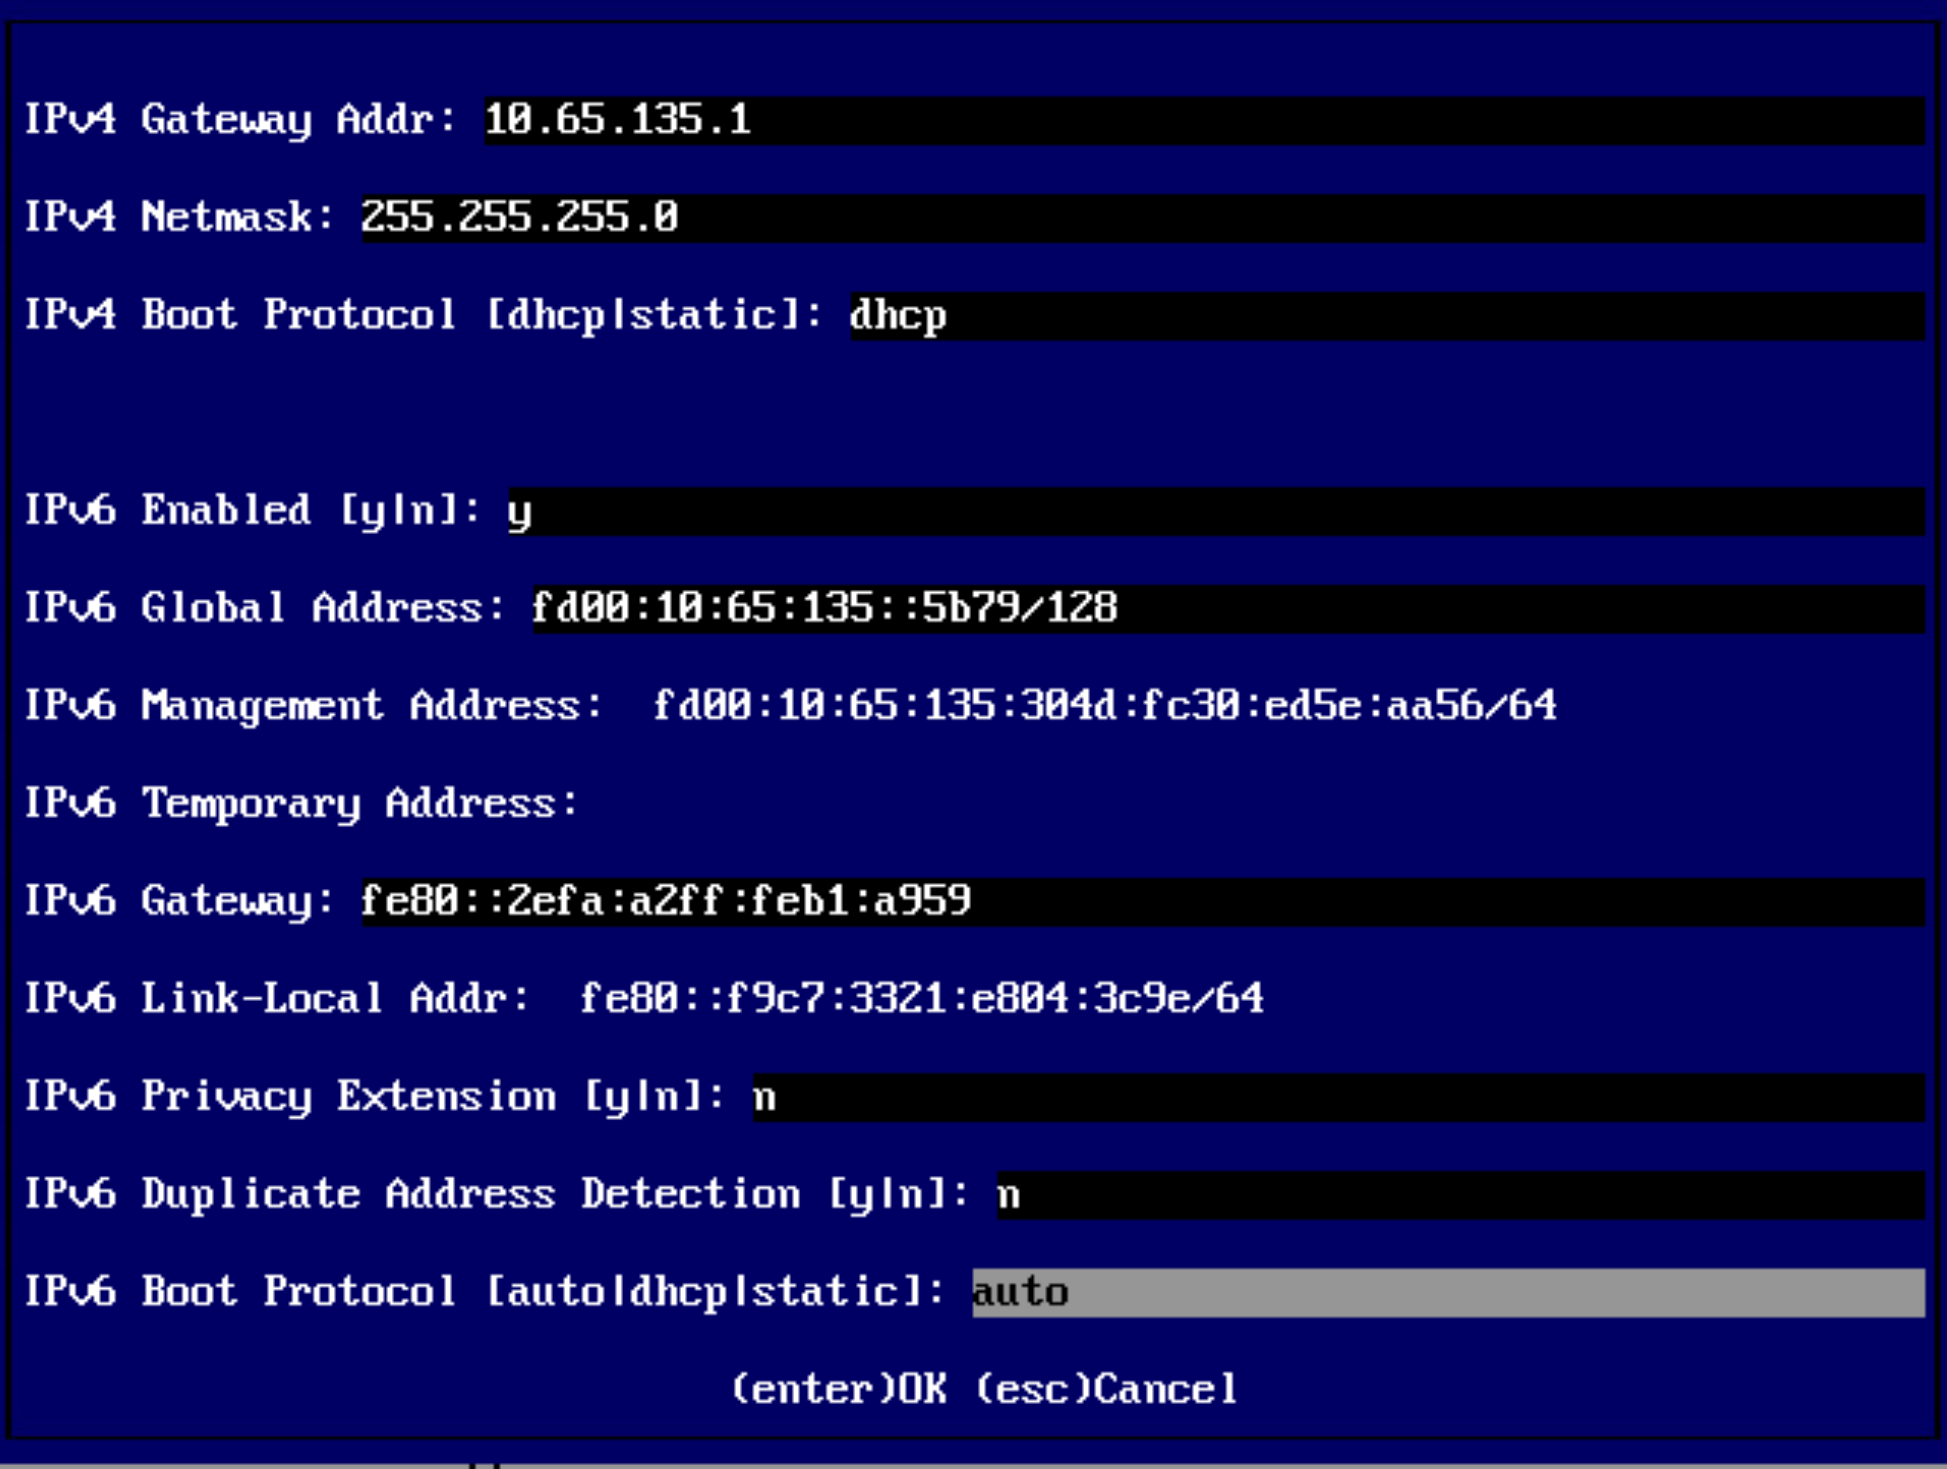
IPv6 settings
Tip
The Auto NTP field is set to 'n' by default. In this case, the default NTP address is pool.ntp.org. You can edit the NTP field to change the NTP address.
Press the Enter key to save your changes and return to the main screen.
Note
After pressing Enter, it takes a few seconds for the settings to be saved. The system may seem unresponsive during this time.
Select Log Out and then press the Enter key to exit the Console UI.
For more details, refer to Using the Console UI with Haivision Hardware.