Modifying the IP Address
Follow these steps to change the IP address or other network settings from the Web Interface.
Tip
You can also modify network settings by connecting directly to the Console UI. To do so, connect a keyboard and monitor to the server (refer to the Server Quick Start Guide). You can also access the Console UI remotely using a secure shell (SSH) connection. For more information, see Using the Console UI with Haivision Hardware.
Click the
 icon on the banner and select Administration from the navigation drop-down menu.
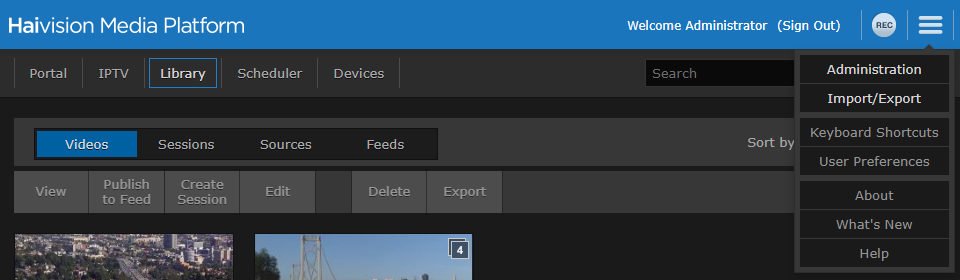
Menu Dropdown
On the Administration page, click System Settings on the toolbar and then click Network on the sidebar.
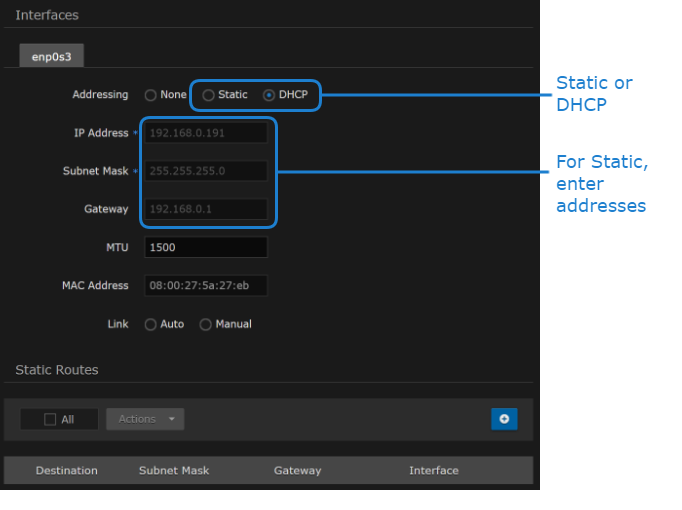
On the Network Configuration page, for the first network interface (enp0s3 in the following example), either:
Select DHCP to automatically assign an IP address from a DHCP server, or
Select Static and enter a valid IP address, subnet mask, and gateway to work in your environment.
Click Save Settings, and then click Reboot and Confirm for the changes to take effect.
After the system reboots, sign in again using the new IP address, if applicable, to continue.
Related Topics