Managing Groups (LDAP/AD/JIT Only)
Important
Groups are only available on Haivision Media Platform if your system is connected to an LDAP or Active Directory server or an identity provider configured for Just-in-Time (JIT) provisioning. See Managing User Provisioning/SSO.
LDAP/AD
If Haivision Media Platform is connected to an LDAP or Active Directory server, the Groups list is populated with information from the directory server. From the Groups list, you can assign roles to groups. This provides a means to efficiently manage multiple users. You cannot add or modify groups directly from HMP.
Note
Groups must be created or modified from the directory server. You cannot add or modify groups from the HMP Web interface, other than to assign the role.
To view groups and assign roles for your platform:
Click the
 icon and select Administration from the navigation drop-down menu.
Click Access Controls on the toolbar and then click Groups on the sidebar.
The Groups list opens, displaying the list of defined groups for your platform (shown in the following example, connected to an Active Directory server).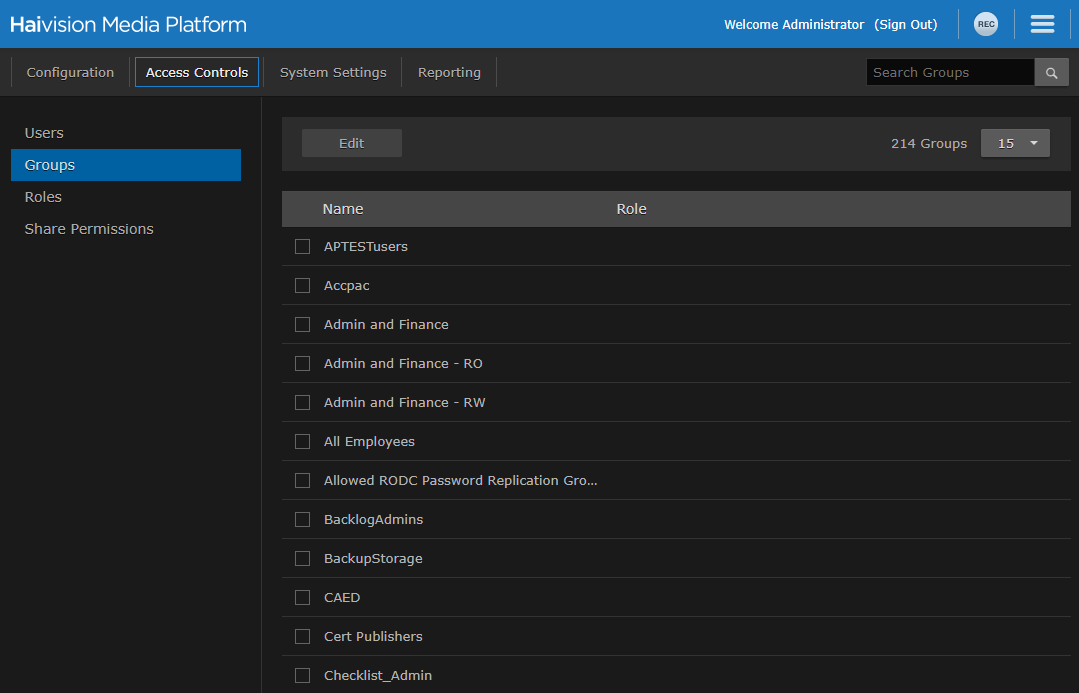
Groups List (Active Directory Server)
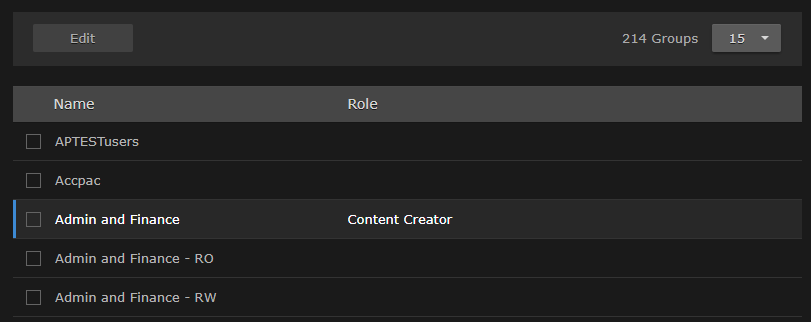
To assign roles to groups:
Click the group name in the Groups list. The Edit Group dialog appears:
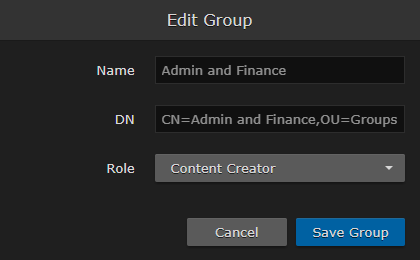
Select the new role from the Role dropdown.
Click the Save Group button. The new role is displayed in the Groups list:
JIT
If Haivision Media Platform is connected to an identity provider (IDP) configured for JIT user provisioning and a Group Membership attribute is defined in Just-In-Time Settings, as users sign into the HMP, they are automatically assigned to the available groups in the Groups list according to the information sent from the IDP. If a Group Membership attribute is not defined, an HMP administrator can manually assign users after they first access HMP.
If users are not assigned to any groups, they are greeted with a No Permissions Available message when accessing HMP:
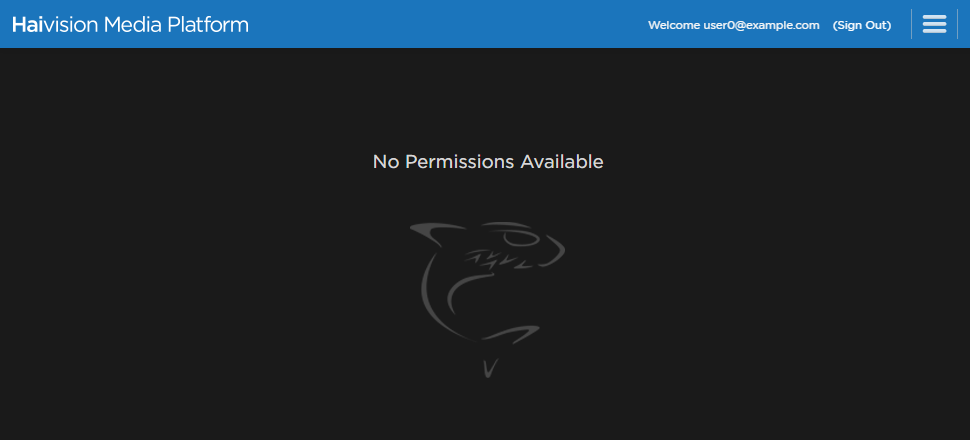
No Permissions Available
From the Groups list, you can add/edit/delete groups. This provides a means to assign roles/permissions to a user the first time they access the HMP. To view and manage the groups for your IDP system:
Click the
icon and select Administration from the navigation drop-down menu.Click Access Controls on the toolbar and then click Groups on the sidebar.
The Groups list opens, displaying the list of defined groups for your platform (shown in the following example, connected to an IDP configured for JIT).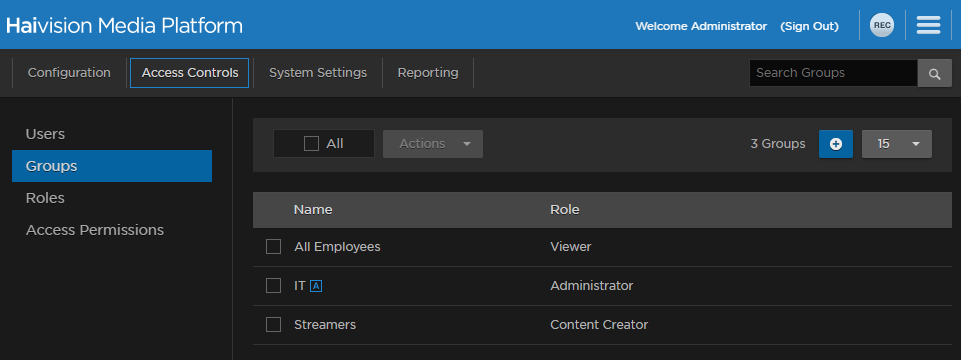
To add a group:
Click the
 button. The Add Group dialog appears:
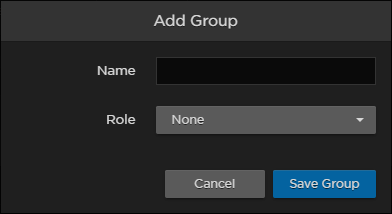
Enter a group name and assign a role to the group.
Click the Save Group button.
To edit a group:
Click the group name in the Groups list.
Edit the group name and/or select a new role.
Click the Save Group button.
To delete groups:
Check the checkbox next to the groups you want to delete and click Actions > Delete.
Click Confirm to confirm deletion.