Starting a Live (MultiMode)
You can start a live manually via the unit panel, web interface, or camera or you can enable the Auto-live at startup. See Enabling/Disabling Auto-Live at Startup.
To start a live:
From the Home menu, tap
 . The video preview appears on screen and the live profile selected is displayed. When tapping
  or
or  , the Live menu displays additional information for each encoder.
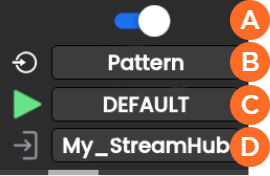
 Enabling / Disabling encoder
 Selected Source
 Selected Live Profile
 Selected Destination Profile
Note
Video source must be all SDI or all Pattern.
All inputs must have the same resolution and the same frame rate.
You can modify settings before starting the Live action:
To select another Source:
Tap the
field.
Tap a different source.
To select another Live profile:
Tap the
field.Tap a different Live profile.
To select another Destination profile:
Tap the
 field.
Tap a different Destination profile.
Tap
to start the Live for all encoders. Video previews appear on screen.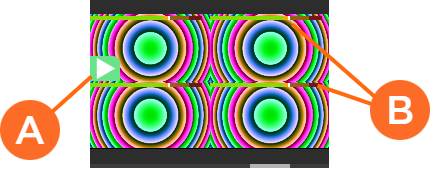 Live icon blinking when running Audio bars indicating audio levels
Tap an encoder to display more information.
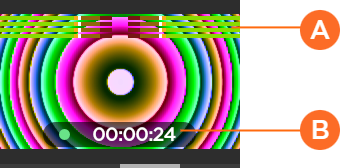 Audio bars indicating audio levels Live duration
Tap
to display some indications about the Live action: 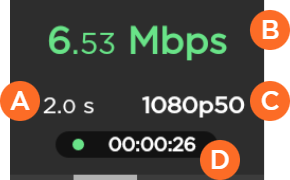 End-to-end Latency configured in the Live Profile or modified remotely from StreamHub interface Network bitrate Source standard Live duration
Note
See the StreamHub User Guide to set another delay during Live operation.
Tap
 to display all encoders and on to display additional information as the bitrate for each encoder or ancillary data.
To stop the Live for all encoders:
Tap
.Tap
 > Stop Live.
To stop the Live for a single encoder:
Tap the preview of the encoder that you want to stop.
Tap
.Tap
> Stop Live.
To start a live:
On the Dashboard, in the Streams section, click the
 icons under each stream to check the settings are configured as required (video source, live profile, and destination profile).
Note
Video Source must be all SDI or all Pattern.
All inputs must have the same resolution and the same frame rate.
Click the
 icon above the streams to start the Live for all encoders.
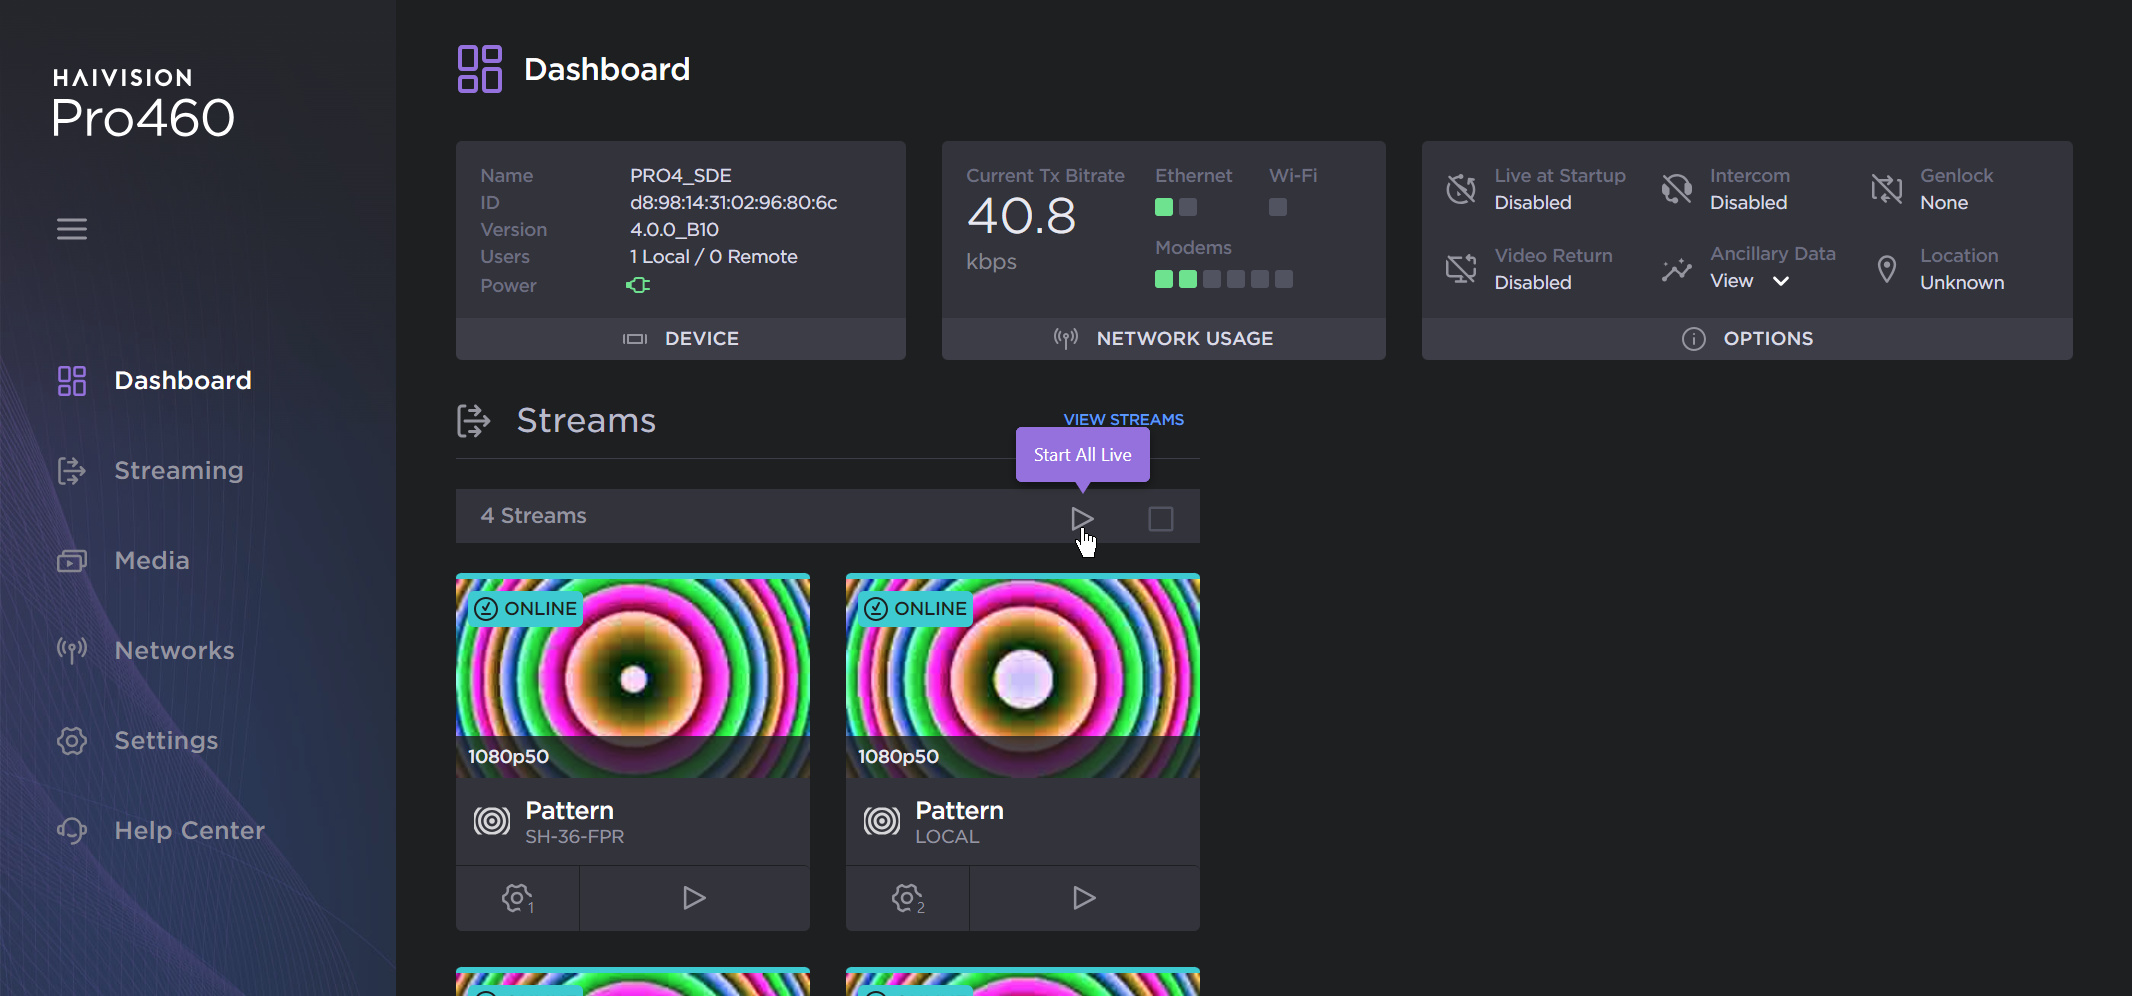
Streams Play icon
To stop the Live:
Click the
 icon above the streams.
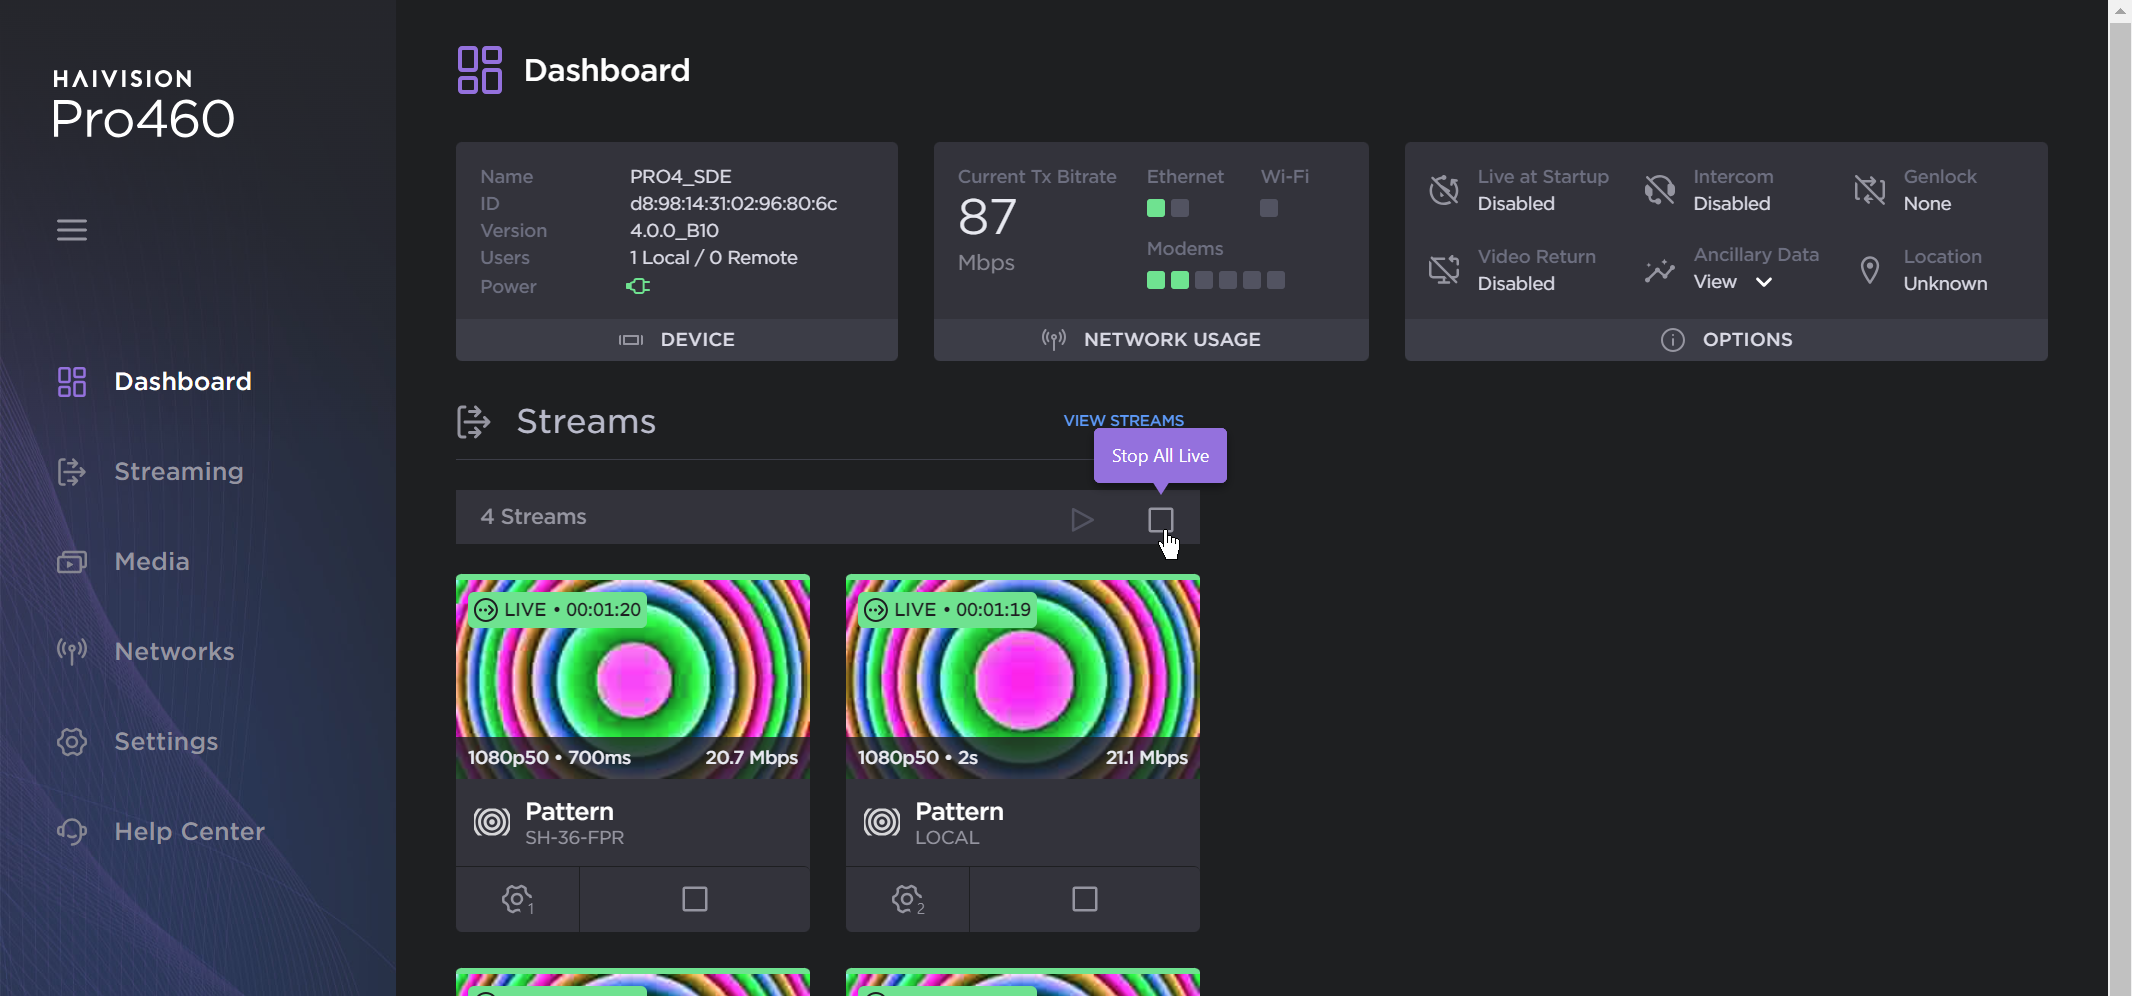
Streams Stop icon
Click the Stop button to confirm stopping the video transmission.
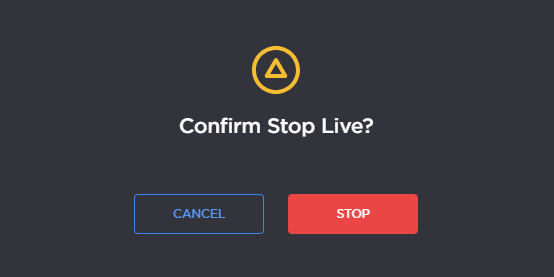
Confirm Stop
Note
Before starting a live, make sure that the REC button, the Live profile, and the Destination profile have been configured. Please see Configuring the Camera's REC Button and Configuring Live Profiles.
To start a live:
Press the camera's REC button.
The Live is in progress.