Make sure that a microSD card is inserted before starting a record. This microSD card must not be in read only (or locked) mode.
You may start a record via the unit panel, the web interface, or the camera's REC button.
Unit Panel
To start a record:
From the Home menu, click on . The video preview appears on screen and the selected record profile is displayed. When clicking on or , the Record menu displays additional information.
Selected Record Profile Auto-record (OFF/ON) Toggle Switch Selected Destination Profile
To select another Record profile:
Click on the field.
Click on another Record profile.
To modify the Auto-forward mode:
Click on the or button option.
To select another Destination profile:
Click on the field.
Click on another Destination profile.
Click on to start the Record. The video preview appears on the screen:
Audio bars indicating audio levels
Record duration
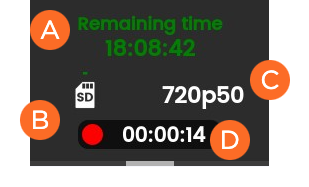
Click on to display more information about the record action.
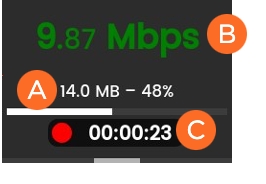
Remaining recording time possible on SD card Space used on SD Source Standard Record Duration In case of a Record and simultaneous Forward, another screen appears when you click on the unit panel:
Network Bitrate Record Duration Amount and percentage of data already forwarded (if option enabled)
To stop the Record:
Click on .
Click on .
Click on to confirm.
To stop the Forward:
Click on .
Click on .
Click on to confirm.
Web Interface
To start the Record:
Click to check that the unit settings are configured and selected as required:
Record profile
Auto-forward option (OFF / ON)
Destination profile
Note
If you enable the Auto-forward option, the video file is automatically forwarded during the record.
Click to start the Record.
Recording Duration Remaining time possible on SD card and percentage
Note
Audio bars are displayed on the unit panel only.
To stop the Record:
Click . A popup appears.
Click or the icon to stop the video recording.
To stop the Forward:
Click .
When prompted, click the icon to stop the video transmission.


 or
or  button option.
 field.
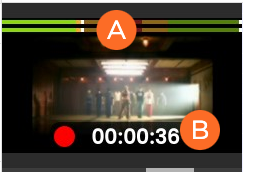

 .
. to confirm.
 .
. to check that the unit settings are configured and selected as required:
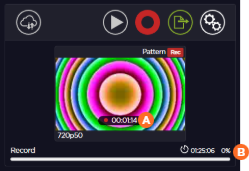
 popup appears.
 .
. icon to stop the video transmission.