Configuring an Ethernet Interface
Devices connected to a local LAN transmitter are remotely controllable from the Media Control Room. The unit can operate in different Ethernet modes:
- DHCP – Use the unit in a domain that has a DHCP server. The DHCP server assigns the IP address, subnet mask, and default gateway to the equipment. DHCP is the default configuration mode for Ethernet.
- STATIC – Connect the unit to a domain without using a DHCP server. In this mode, the network administrator must set the Ethernet interface's IP settings (IP address, netmask, and gateway).
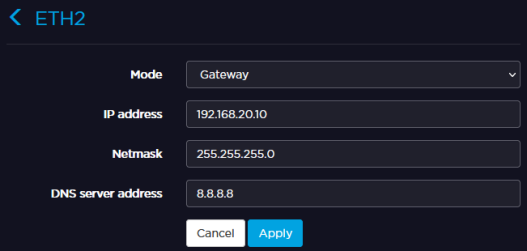
- GATEWAY – Connect a host to the unit (for instance, a laptop). The unit acts as a DHCP server and assigns an IP address to the connected host. The unit automatically detects from the netmask the range of IP addresses that it can use for assigning an IP address to the host connected.
Factory Settings According to Selected Mode
| Interface | Mode | IP Address | Netmask | Gateway |
|---|---|---|---|---|
| Ethernet 1 | DHCP* | Assigned by DHCP Server | ||
| STATIC | 192.168.1.10 | 255.255.255.0 | 192.168.1.1 | |
| Ethernet 2 | DHCP* | Assigned by DHCP server | ||
| STATIC | 192.168.20.10 | 255.255.255.0 | 192.168.20.1 | |
| GATEWAY | 192.168.20.10 | 255.255.255.0 | ||
| OFF | N/A | N/A | N/A | |
Note
When the OFF option is selected, Ethernet mode is disabled. Configuring an Ethernet interface may disconnect the unit.
See the sections below to configure the Ethernet Interface.


